

Bread NOT Cake?
2 years ago
Featured Answer
Sort by:Oldest
Comments (8)
 2 years agolast modified: 2 years ago
Related Discussions
Bread bakers - how can I adapt this to a non-bread machine method
Comments (11)The yogurt shouldn't be a problem reacting with yeast. Yeast actually works best in a mildly acidic environment, which is why ascorbic acid is often mixed with dry yeast products. To improve the rise of breads containing wheat germ and whole wheat flour (which contains wheat germ), I always add an acid ingredient to counteract the gluten-damaging effects of glutathione in the wheat germ. Bacteria (in yogurt and also present in bread dough made without yogurt) produces those tasty acids in bread dough that improve the flavors of bread when we refrigerate it. The acidity already present in sourdough starters help sourdough breads keep longer, inhibit mold growth and also slows staling, and you'll see the same qualities in breads made with yogurt. -Grainlady...See MoreRECIPE: My Grandmother's Swedish Rye Bread (for bread machines)
Comments (9)OK, so if I wanted to make it without using a bread machine (I don't have one). Tell me if this sounds right. Mix dry ingredients. Pour in yeast and water. Knead for 5 minutes in stand mixer. Put in greased bowl. Let it rise until doubled in size. Punch it down and shape it into a loaf pan. Let it rise until it's crowing over the top of the pan? I have some rye sitting in the freezer that I used for a sourdough starter so I guess I could grind a 1/2 cup of that for rye flour....See MoreLOOKING for: Yeast Free Breads (Pita bread, flatbreads, etc.)
Comments (9)I know this is a little late to respond, but I make Rotis all the time. I try to limit the amount of wheat I eat, and using flat breads makes that simpler. I always use whole wheat flour, I find King Arthur the best, because it is finely milled and it makes for a smoother dough. Rule of thumb 1/2 as much liquid as flour. So if I am using 1 cup of flour, I use 1/2 cup water (I often use a tablespoon of whey or even yogurt or kefir - adds a little more flavor to the roti) and salt usually between 1/2 & 1 tsp. The dough is always going to be a little different. If the dough is sticky, I add a little more flour, just enough to make sure it is not sticky. I roll it in a ball and coat it in olive oil then let it rest for at least 15 minutes but usually overnight. (Soaking the dough helps remove the phytic acid, making the nutrients more available. This also makes for a more flavorful roti, as it will sour a little.) I knead the dough briefly to mix in the oil, then roll into little balls, which I flatten and roll in flour until I roll them into disks about 6". The trick with rotis is to make sure your pan is in the right heat zone. Too cool, and the roti will just sit on the pan without puffing, too hot and the roti will burn. I normally use a medium hot...it will be different on every stove. Often my first roti wont puff. If it doesn't puff a little, it will be too dense and a little unpleasant to eat. I just remove it and raise the temp before adding the next roti. Once I have the right temp and the rotis puff before burning, I add the original roti back on. Usually within a few seconds it will puff. I use a spatula to press down on the areas that don't puff, to encourage them to puff. ( I only press down on the cooked side, so not until I have flipped the roti at least 1 time.) I think I generally get about a dozen rotis per cup of flour. I don't usually try seasoning them with anything until they are cooked, because I use them for everything. I have slathered with peanut butter, and sprinkled choco chips and covered with a second roti, back on the grill. I make grilled sandwiches with them, eat scrambled eggs in them, use them for tacos/burritos, heat them, and coat them with cinnamon and sugar, they make great quesadillas, and I even throw them back on the griddle on low heat/or in the oven until they get crispy, and use them for crackers....See MoreBread! Bread! Bread! Oprah's commercial...
Comments (16)I am not a fan of WW. I tried it a few years ago when the points plus program was new. At the end of 4 months tracking my points,exercising and going to the ridiculous(in my opinion, I know they help some people) meetings, I had gained 6 pounds and was hungry and cranky all the time. I am glad my employer paid for the program fully,or I would have been much crankier. While a lot of people in my work group lost weight (mostly the men go figure) I went back to the weight loss clinic,started the lipo shots and low carb life again, and the weight is coming off and I feel much better. ( I will admit that I believe the fact that I pay for the shots and weigh everytime I go get one helps me stay on the program, but at least with low carb, I know I can maintain it forever because I am not starving all day and going to bed with headaches and a empty,growling tummy like I was on ww) WW is kidding themselves. There are too many free apps and websites that will calculate how many calories you should have to lose weight and help people track them. When I did it, I found a free app that calculated how many points I could have and helped me track them for free. It was dead on with the numbers WW gave me. There are a few paid apps with more features, but they are still much cheaper than ww.To me, the only thing about WW that may help better than doing it on your own is the weigh ins and meetings that offer support and accountability, although one can find those for free at any number of venues. And even those are going away since they started the online program, so im not sure of the advantage anymore.And as for Oprahs joyous celebration of carby delights, i cant relate and wont be lured in. I can't have bread,and frankly don't miss it or rice or pasta,but I can eat all the cheese I want...I EAT CHEESE EVERYDAY OPRAH! SUCK ON THAT! And for me, low carb eating means I eat less calories as well, as all the fat and protein is very satisfying and sticks for a long time, so I don't want to eat all day like I did on ww. I can't fathom having to watch and measure and weigh everything and count points for all eternity,even after reaching your target weight. Also, it seems there is no wiggle room in ww. One day a week I allow myself to eat whatever I want,which is not really a nod to indulgence as it is to convenience. Since the big Atkins craze is long over, it's much harder to find tasty low carb food to grab and eat, so I find myself cooking most of my meals. And I usually have to cook 2 separate meals or at least 2 variations on a meal since SO is 6 foot 5 and weighs 175 pounds and has no intention of cutting carbs or anything else. So that one day allows me to just go to a restaurant or cook whatever without worrying about customizing or rearranging or remaking anything. I don't think even Oprah can save ww now....See More 2 years ago
 2 years ago
- 2 years ago
- 2 years ago
 2 years ago
 2 years ago

Related Stories
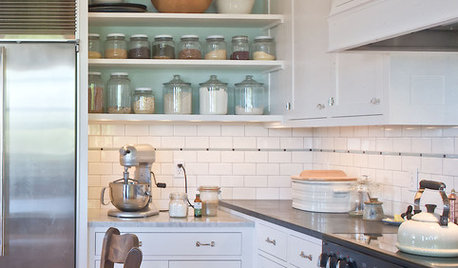
KITCHEN DESIGNLove to Bake? Try These 13 Ideas for a Better Baker's Kitchen
Whether you dabble in devil's food cake or are bidding for a bake-off title, these kitchen ideas will boost your baking experience
Full Story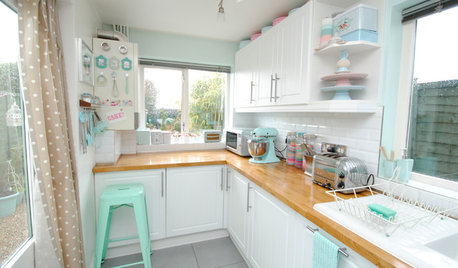
KITCHEN DESIGNGet Your Kitchen ‘Bake Off’ Ready
Make it easy to whip up a cake or a batch of cookies with these tips for organizing your space
Full Story
LIFESimple Pleasures: The Joy of Baking
Fill your house with a heavenly scent and your heart with cheer by making time to bake
Full Story
LIFESimple Pleasures: Indulging in Teatime
Get out the china cups and cream-slathered scones. Tea with treats can make even an uneventful day feel extravagant
Full Story
KITCHEN DESIGNHouzz Call: Tell Us About Your First Kitchen
Great or godforsaken? Ragtag or refined? We want to hear about your younger self’s cooking space
Full Story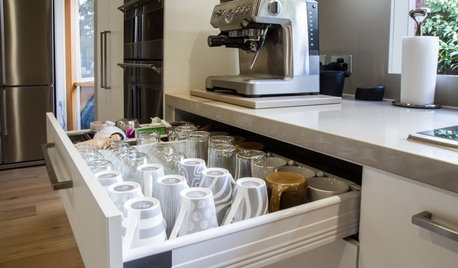
KITCHEN STORAGEPulling Power: Clever Drawer Tactics for a Kitchen
It’s not how many drawers you have in your kitchen; it’s how they work for you
Full Story
GARDENING GUIDESHow I Learned to Be an Imperfect Gardener
Letting go can lead to a deeper level of gardening and a richer relationship with the landscape. Here's how one nature lover did it
Full Story
KITCHEN DESIGNJump-Start Your Kitchen With These Minimalist Essentials
These kitchen tools will get you started on your path to culinary success or delicious downsizing
Full Story
KITCHEN DESIGNHow to Create a Dedicated Baking Station
Avid bakers love having a designated kitchen space. Here’s what to consider when planning yours
Full Story
HOLIDAYSShow Us Your Home Decked Out for Day of the Dead
We’d like to see the altars and other decorations that honor your dearly departed on Día de los Muertos
Full Story
plllog