

Drew's Honeymoon Remodel
8 years ago
Featured Answer
Sort by:Oldest
Comments (14)
 8 years ago
 8 years ago
Related Discussions
Bathroom Reveal, Thanks to the Bathroom and Remodel Forums! (pic
Comments (56)This old thread got revisited. @dani_m08 to answer the question about extra probe, I believe I ordered an extra one when I bought the set up. The probe wire is just setting in the junction box I think but honestly I cant remember. When I laid out the underfloor heating and the probe, I just ran another probe near the first probe, and it was then sealed into the floor self leveling compound as per instructions. then the end was just threaded into the wall like the one that would be live, and not connected, but just laying there in the box. Regarding the tile layout. I just decided to run it this way, after getting instructions on the 90Degree way, IIRC. The herringbone that I love is from my childhood and the side walks in my neighborhood that all ran at 45Degree. so that to me is herringbone. I know you posted on @sochi thread about her amazing bathroom and a wall mounted faucet. I would totally do it if I had the right sink for it. In my case I had made my sink out of soapstone and an integrated backsplash. The pictures of this bathroom reveal are no longer available because of the use of photo bucket, when it was Gardenweb. I did not keep my account with photo bucket. I'll add some of the reveal pictures so you can see the sink and floor. Regarding the sink there is no ledge for water to drip from my hands when using the faucet. The water drips right into the sink. In my other bathroom with a deck mounted faucet I am always wiping up drips and it is a nuisance. I much prefer the setup for this sink. Below: I love the flush finish from the faucet to the bottom of the sink. nothing drips on a counter or edge of a sink. Below: looking in from the doorway. Below: Here I am finishing up the sink. the backsplash was epoxied on as a separate piece. The whole soapstone install in the room took next to nothing to buy as they were all small pieces that I epoxied together with a 3 part stone epoxy. Below: this is the counter at the tub, and is in 2 long pieces but I was able to epoxy them together at there edges to make a wide slab for the top. All the soapstone was finished with a 60 grit sandpaper to be rough and this lovely soft tone of blue/green/gray/white. I did not oil it so this color tone would remain light. Below: If I recall correctly @sochi helped me decide on this Hubberton Forge Mirror. I have 3 different metals in this room, but they are all a cool silver to black color. Below: the center of this tower shares space with the kitchen on the other side of the wall. there is also some extra space that houses some electrical wiring. this is an old simple house. this bathroom was an add on when it got move to the farm in the 30s IIRC. The plumbing was all rearrange and some of the details that were orignially there I kept but updated it, such as this tower feature. The old one went and the carpenter did a wonderful job with this one. Below: This feature was another thing I kept from the old bathroom but flipped it from the other end and had the carpenter put drawers in it. Before it was a hell hole. things got lost and the build was soooo old and creapy I didn't like using it for storage. Now it is perfect for storage....See MoreWho drew up your remodeling plans?
Comments (8)We remodeled, moved walls too, and wanted the peace of mind in knowing that we'd end up with solid construction that wouldn't cause future problems (at least not cause them within a short time frame). Because our original space was horribly laid out (4 rooms involved), we went with an architect to get a plan with better use of space...and we got a wonderful plan. During the project, because we ended up needing support advice when one load bearing wall was due for demo, so we also called in a structural engineer for just that piece of the project. That was another good decision as a previous owner had really muddled the space we were working in and had done some really half-a... things to support the roof in their 80's reno. We general contracted the project and did some of the work ourselves but also hired some out. Having an architect's plan allowed us to double check everything that the workers did and it prevented alot of confusion. We're in a 1918 bungalow and wanted our work to be very sympathetic with the design of the rest of the house so we chose an architect who specialized in old homes. We'd also seen his work on other homes and we made sure that we communicated well (we spoke a need and it made it into the plan). He covered our bases on all code requirements but we had to fine tune a couple of things with our local building department and I handled all that with phone calls and visits. We chose the structural engineer through recommendations of our neighbors. I can't comment on design firms or UBuild it, but I'd go this route again in a minute. It made the planning and execution pretty painless for us....See MoreKitchen Cabinet Remodel Design Help! Light vs Dark, Inset vs. Overlay
Comments (20)“That mix of grease and dust was the worst cleaning job I've ever had. I would never design a gap between cabinets and ceiling, unless I felt positive I would always have the money to pay a cleaning service.” @mcarroll16 - it sounds like there was no proper hood exhaust in your parents’ kitchen. I have 9’ ceilings, and on one wall the cabinets meet the ceiling, and on another wall I have 42” upper cabinets, 3” crown and a gap to the ceiling. I place wax paper up there (it’s the perfect width) to collect any dust or grease that might float up there, and twice a year, when I change smoke alarm batteries, I pick up the wax paper and put down new. Many times I just leave the wax paper there because it is so clean it does not need to be changed. I have a good hood exhaust. With a good hood exhaust, you would not have had such a cleaning chore in your parents’ home. It is quite expensive to take cabinets to meet a 9’ or 10” ceiling. Many people would rather invest in a good hood and correct ductwork for it. Indoor air quality is more important than ever these days....See MoreRemodel Help for Large Great Room & Dining Area w Vaulted Ceilings
Comments (2)That's a lot of house! I totally understand why you want to set off areas that function in different ways. However, the pony wall gives the feeling of a playpen! Since the koi pond space is directly under the huge skylight, replace with with tiles that harmonize with your living area tiles, and install potted plants of many heights under the skylight. Or create an indoor garden bed with stones and add large and medium pots of plants that will do well under your skylight. Use furnishings and art work to define spaces. Often beautiful large estate rugs are available at estate sales from large homes. Turn your sofa or armchair backs to the dining space to visually separate the functions of each space. Here's an article on how to stratagically place large furnishings to create "walls" in an open space. https://www.bhg.com/rooms/living-room/room-arranging/open-floor-plans/ Sofa with back to kitchen, cozy arrangement on a rug that defines living space: Cozy space within a big space with defining rug:...See More 8 years ago
- 8 years ago
- 8 years agolast modified: 8 years ago
 8 years ago
 8 years ago
 8 years ago
- 8 years ago
- 8 years ago
- 8 years ago
- 8 years agolast modified: 8 years ago
- PRO8 years agolast modified: 8 years ago
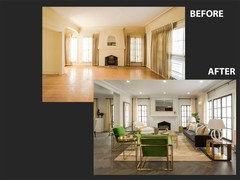

Related Stories
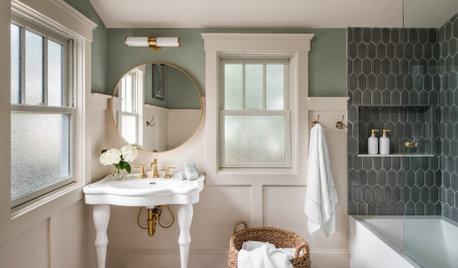
REMODELING GUIDESThe 4 Stages of a Remodel: The Honeymoon Phase
Prepare for the fast-paced progress of demolition, the potential slowdown of structural issues and the journey ahead
Full Story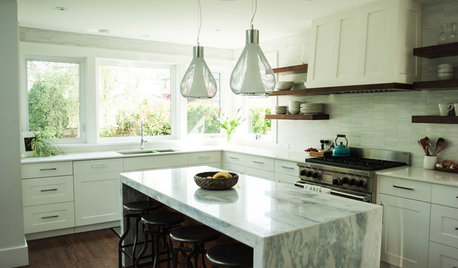
MOST POPULAR15 Remodeling ‘Uh-Oh’ Moments to Learn From
The road to successful design is paved with disaster stories. What’s yours?
Full Story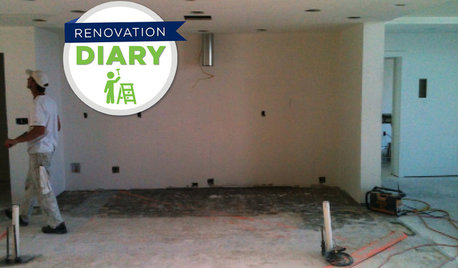
REMODELING GUIDESRanch House Remodel: Installing the Interior Finishes
Renovation Diary, Part 5: Check in on a Florida remodel as the bamboo flooring is laid, the bathroom tiles are set and more
Full Story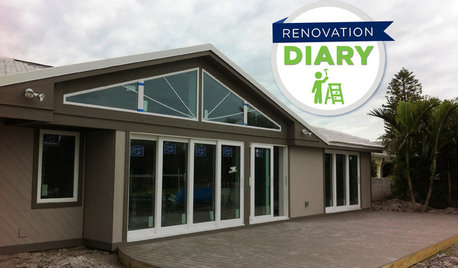
REMODELING GUIDESPlan Your Home Remodel: The Interior Renovation Phase
Renovation Diary, Part 4: Peek in as the team opens a '70s ranch home to a water view, experiments with paint and chooses tile
Full Story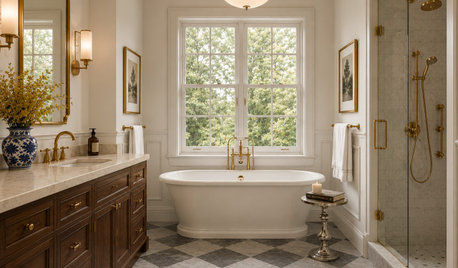
REMODELING GUIDESThe 4 Stages of a Remodel: The Renewal of Vows
In this stage, you’ll reconnect with your original vision of your home and finally start seeing it come together
Full Story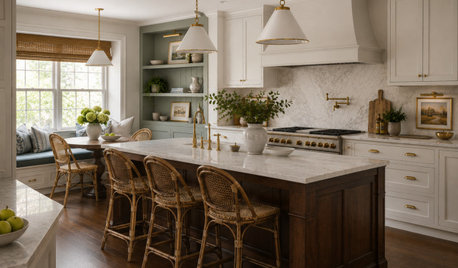
REMODELING GUIDESThe 4 Stages of a Remodel: The Midproject Crisis
Prepare for the mechanical rough-in stage, and don't worry if things don’t look like they’re progressing on the surface
Full Story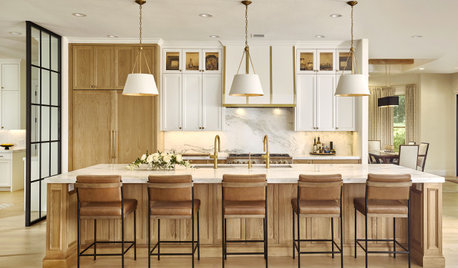
REMODELING GUIDESThe 4 Stages of a Remodel: Happily Ever After
At last your project is coming to a close. Well, almost. Don’t forget these final steps before you settle in
Full Story
THE POLITE HOUSEThe Polite House: Can I Put a Remodel Project on Our Wedding Registry?
Find out how to ask guests for less traditional wedding gifts
Full Story
TRADITIONAL HOMESHouzz Tour: A Historic Remodel Keeps the Romance Alive
It was love at first sight for the owner of a 2-centuries-old house. She and her husband renovated it with tender loving care
Full Story
BATHROOM DESIGN12 Things to Consider for Your Bathroom Remodel
Maybe a tub doesn’t float your boat, but having no threshold is a no-brainer. These points to ponder will help you plan
Full Story

User