


Stairs - paint pretty please.
User
14 years ago
Sort by:Oldest
Comments (33)
Related Stories
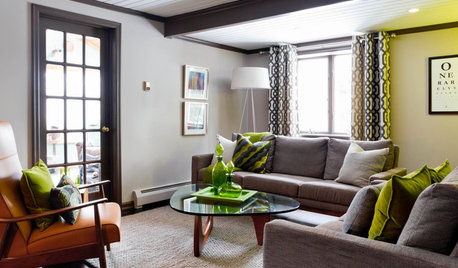
LIVING ROOMSCurtains, Please: See Our Contest Winner's Finished Dream Living Room
Check out the gorgeously designed and furnished new space now that the paint is dry and all the pieces are in place
Full Story
HOME OFFICESQuiet, Please! How to Cut Noise Pollution at Home
Leaf blowers, trucks or noisy neighbors driving you berserk? These sound-reduction strategies can help you hush things up
Full Story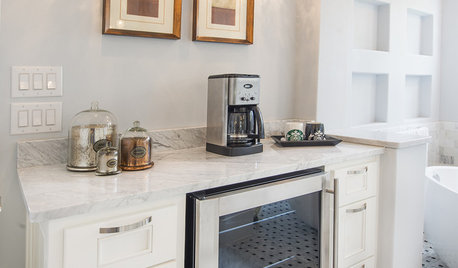
BATHROOM DESIGNUpload of the Day: A Mini Fridge in the Master Bathroom? Yes, Please!
Talk about convenience. Better yet, get it yourself after being inspired by this Texas bath
Full Story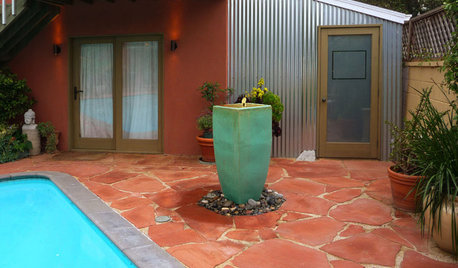
BEFORE AND AFTERSMore Room, Please: 5 Spectacularly Converted Garages
Design — and the desire for more space — turns humble garages into gracious living rooms
Full Story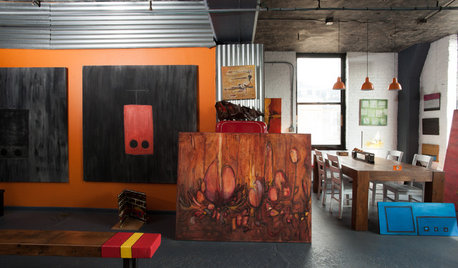
HOUZZ TOURSMy Houzz: Hold the (Freight) Elevator, Please!
Industrial style for this artist's live-work loft in Pittsburgh starts before you even walk through the door
Full Story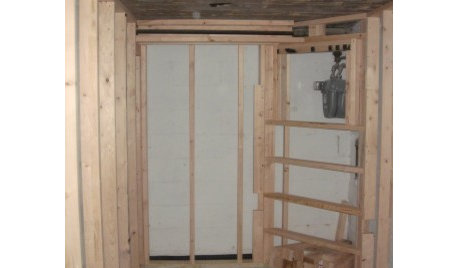
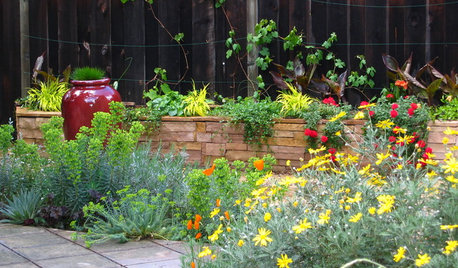
SUMMER GARDENINGHouzz Call: Please Show Us Your Summer Garden!
Share pictures of your home and yard this summer — we’d love to feature them in an upcoming story
Full Story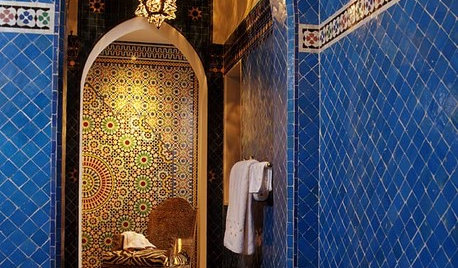
TILEMoor Tile, Please!
Add an exotic touch with Moroccan tiles in everything from intricate patterns and rich colors to subtle, luminous neutrals
Full Story
DECORATING GUIDES10 Bedroom Design Ideas to Please Him and Her
Blend colors and styles to create a harmonious sanctuary for two, using these examples and tips
Full Story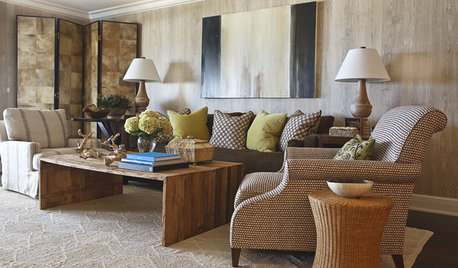
HOUZZ TOURSHouzz Tour: A Neutral Palette Pleases By the Sea
Designer Phoebe Howard creates earth-toned elegance for a family's Florida beach getaway
Full Story

graywings123
hoosiergirl
Related Discussions
Home Plan - Please Review - Pretty Pretty Please :)
Q
ugly utility stairs to my loft - how to make pretty
Q
Mock up help - please, pretty please
Q
Layout help, pretty pretty please
Q
UserOriginal Author
anele_gw
User
artlover13060
2ajsmama
2ajsmama
UserOriginal Author
bonniee818
2ajsmama
UserOriginal Author
2ajsmama
UserOriginal Author
2ajsmama
UserOriginal Author
2ajsmama
dana1079
UserOriginal Author
dana1079
2ajsmama
UserOriginal Author
awm03
UserOriginal Author
2ajsmama
awm03
UserOriginal Author
2ajsmama
UserOriginal Author
2ajsmama
2ajsmama
cliff_and_joann
UserOriginal Author