


DIY Upholstery of Sofa & Love Seat
Laurie
11 years ago


Sort by:Oldest
Comments (36)
Related Stories
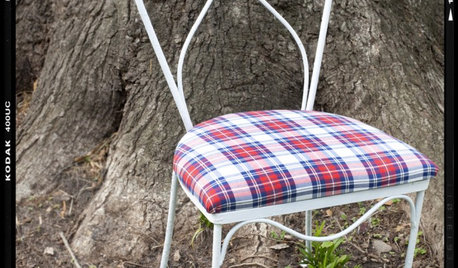
DECORATING PROJECTSDIY Project: How to Re-Cover a Seat Cushion
Makeover a chair with a cool new seat cover, no sewing required
Full Story
TASTEMAKERS3 Extreme Chair Makeovers — Plus DIY Reupholstering Tips
Spoiled seats and forlorn frames get kicked to the curb by a Philadelphia reupholstery whiz with a flair for salvaging and artistic designs
Full Story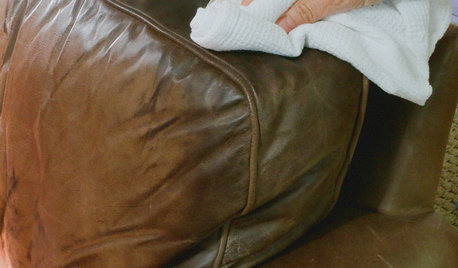
Common Household Cleansers for Leather Upholstery
Clean and condition your leather sofa, chairs, handbags and more with ingredients already in your cabinets
Full Story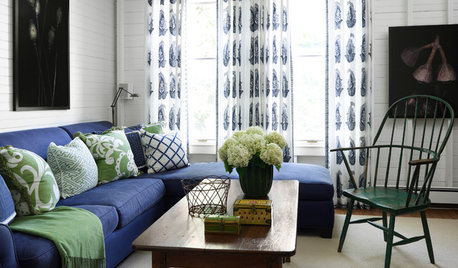
DECORATING GUIDESDare to Decorate With Colorful Upholstery
If a scarlet sofa or royal-blue recliner has your heart singing, here's help to make sure it hits the right notes
Full Story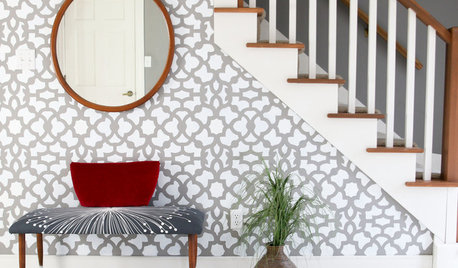
DIY PROJECTSSalvage Style: A DIY Upholstery Project Makes a Grand Entrance
See how to turn a recycled coffee table into a stylish bench for your entryway
Full Story
FURNITUREThe (Baby Steps) Guide to Bold Upholstery
Gauge your comfort level with a dozen ideas for nudging your furniture beyond neutral
Full Story
DECORATING GUIDES11 Distinctive Details for Upscale-Looking Upholstery
Give the upholstery on your chair, sofa, banquette or headboard a high-end look with details that create polish
Full Story
FURNITUREHow to Keep Your Upholstery Looking Good
You wouldn't expect your car to maintain itself. Show your sofa and chairs the same courtesy with this 3-part strategy
Full Story
HOUSEKEEPINGFurniture Clinic: Quick DIY Glides for Sofa, Chair or Table
Smooth things over between your furniture and floor with easy glides cut from leather scraps
Full Story
FURNITUREBold and Beautiful Upholstery
Give a Room Instant Personality With a Wow Fabric on Sofa or Chair
Full Story


chickadee2_gw
hosenemesis
Related Discussions
Sensuede microfiber upholstery...anyone have this upholstery?
Q
Question for upholstery/slipcover/sewing people re quilted velvet
Q
Reupholster leather sofa seat cushions in different fabric?
Q
Sew two sofa/couch seat cushions into one bench cushion?
Q
Olychick
Ilene Perl
Bethpen
My3dogs ME zone 5A
User
cooperbailey
LaurieOriginal Author
LaurieOriginal Author
andee_gw
noellabelle
anele_gw
Arapaho-Rd
LaurieOriginal Author
lizzie_grow
User
badgergal
Valerie Noronha
LaurieOriginal Author
cat_mom
gwlolo
patricianat
gsciencechick
cliff_and_joann
LaurieOriginal Author
outsideplaying_gw
hlove
nancybee_2010
Tmnca
kiki_thinking
LaurieOriginal Author
melsouth
User
bronwynsmom
Irish2