


Furniture Clinic: Quick DIY Glides for Sofa, Chair or Table
Smooth things over between your furniture and floor with easy glides cut from leather scraps

When I was doing custom upholstery for clients and designers, I used to add a little complimentary service. Instead of leaving the furniture with its original harsh metal glides, plastic glides or those drippy, sticky felt pads, I'd replace them with slick leather furniture glides.
We've all experienced that terrible feeling when you see that first big scratch on a new wood, slate or tile floor after you barely move a new chair. These leather glides hold up much better than the ones that usually come with furniture. There's a leather shop in my city that sells wonderful, chunky scraps, but you can also find small pieces of leather online or in craft stores.
We've all experienced that terrible feeling when you see that first big scratch on a new wood, slate or tile floor after you barely move a new chair. These leather glides hold up much better than the ones that usually come with furniture. There's a leather shop in my city that sells wonderful, chunky scraps, but you can also find small pieces of leather online or in craft stores.
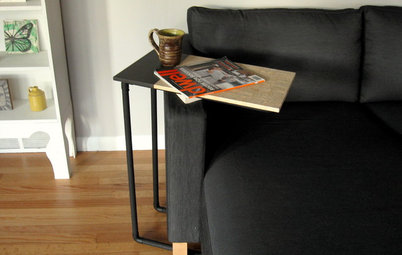
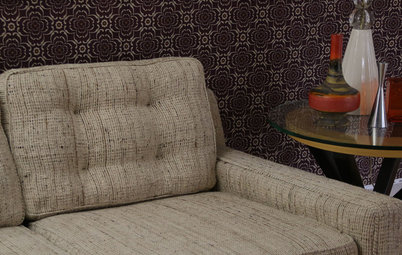
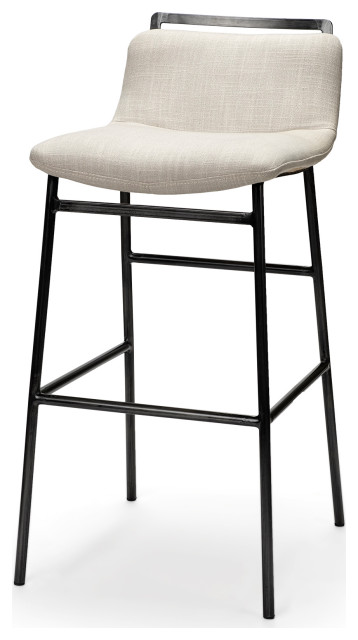
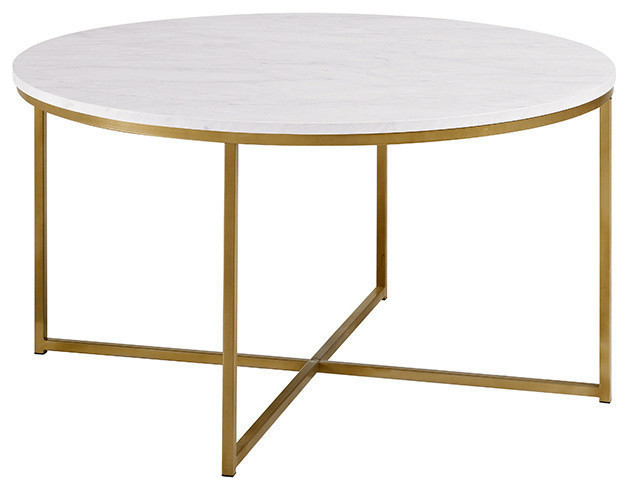
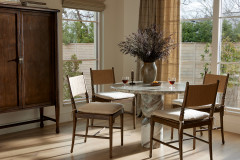
Protecting wood, slate, tile or bamboo from wooden furniture legs can be a never-ending battle.
Metal glides like these — which come standard on most furniture — can chew a wood floor to pieces. If you have the materials and 15 minutes to spare, you can protect your floor from your furniture.
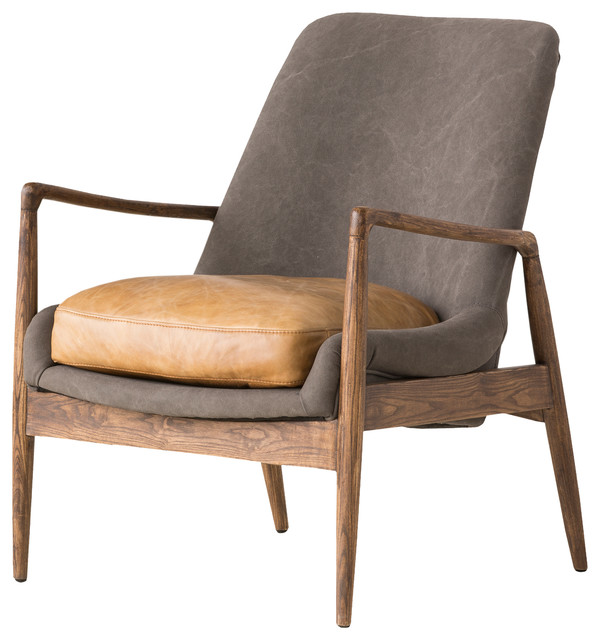
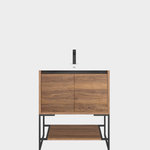
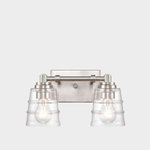
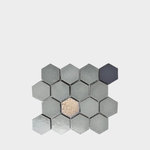
Find floor-friendly furniture
Find floor-friendly furniture
Materials and tools:
Home improvement tools to get the job done
- Scrap leather
- Contact cement
- Scissors
- Pen
- Flat-head screwdriver (for removing metal or plastic glides)
Home improvement tools to get the job done
1. Use the screwdriver to pry off any metal or plastic glides from the bottoms of your furniture legs. Gooey felt ones should peel right off.
2. Cut out a piece of leather to use for your glide. Make sure you cut it larger than the size of the leg bottom.
3. Put your cut piece of leather under the leg and trace the leg's outline on it.
4. Put a dab of contact cement on the bottom of the furniture leg.
5. Put a dab of contact cement on the rough side of the leather (there should be a smooth side and a rough side). Press the leather onto the leg and hold it in place until it's stuck.
6. With a pair of sharp scissors, come in close and snip off all the excess leather. Repeat on all the furniture legs.
Can’t DIY? Hire a furniture repair professional
More: 29 Home Projects to Make You a DIY Superstar
Can’t DIY? Hire a furniture repair professional
More: 29 Home Projects to Make You a DIY Superstar