


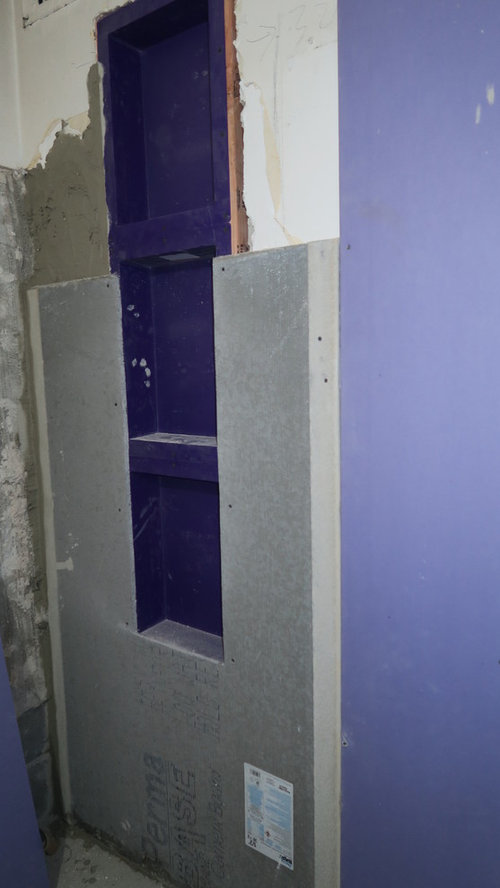
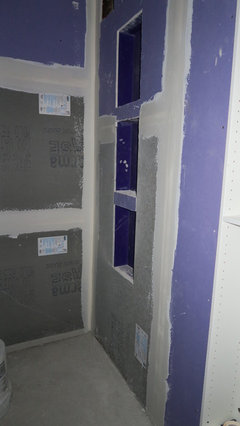
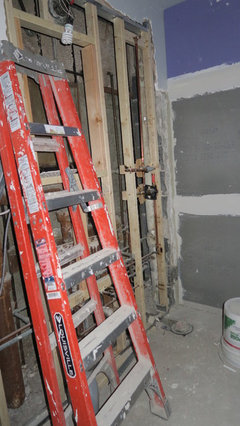
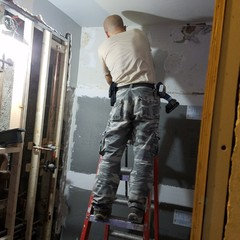
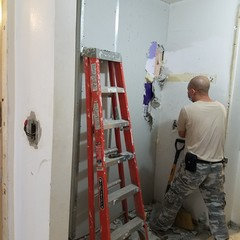
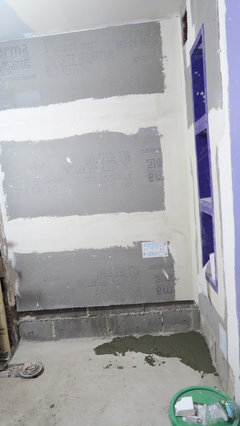
Sheetrock install has started in the bathroom
Katrina Tate
7 years ago
Featured Answer
Sort by:Oldest
Comments (24)

MongoCT
7 years ago PRO
PROCreative Tile Eastern CT
7 years agoRelated Discussions
Bathroom Remodel, where to start
Comments (1)Building codes and get those municipal construction notices if necessary. Dumpster rental? Haul? I would talk to city/town first and find out what needs to be legally. Then: Walls. Insulation. Moisture barriers. Check for mold. Electrical upgrades. (wiring for appliances, lighting, supply sockets) Ventilation. Heat/AC supplies/returns. Then plumbing. Not sure if you are going to pre-purchase large items before install? Just be sure to measure width/depth and mark on subflooring just where everything is going. Do you have room for the elongated toilet seat when opening the door? Things like this. I don't know how many times I was sent back to get the right item once the wrong one just didn't fit. Some distributors will charge a restock fee for returned items. Be warned. :) Walls - taping, sealing, prime and paint/finish. This is when - after all is dry and looking wonderful - fans and lights too, are installed. Be sure as rain where they are to be placed. Once the hole is there in the ceiling...if it needs to be moved -- you will notice patching. Switch plates, etc. (might want to buy TWO of them, if one gets ruined) Some say floor next. (Heating in floor?) I say install tub/toilet/sink. Run the water to be sure there is no leaking/sealing probs. More than one time a nice floor has been ruined due to leaks between the sub and the flooring. Then tile or whatever. Vanity can be placed on top of flooring and probably should if you decide to change from vanity to pedestal type later. Unless you rip out the old flooring and start over... your choice. Then light fixtures. Once all the huge hammers, ladders, etc have been removed :) Broke a glass to a lamp during install that could not be returned or replaced due to it being on clearance. Had to change out the entire light fixture :(. Still sad about that but it looks ok. Hope all goes well and you have no uh-ohs at all that can't be cared for quickly. Getting ready to do a tiny reno on my upstairs bath too after the estimates from local companies went way over budget. OUCH! Glad the one downstairs is done but that light fixture!! ;) Remember, perhaps to buy 2 of some items, in the off chance something breaks during install. Just a suggestion. Video for later. Always fun to watch once it is done. Have fun! :)...See Morestarting bathroom . Have questions re tiling
Comments (4)1) Ply on floor does not have to be aterproofed. 2) Manufactured niches are waterproof. Install the niche and when you waterproof the cbu you'll seal the niche flange and cbu nice and tight. 3) It's certainly easier to buy a pre-made one and plop it in place. But you're limited by the offerings out there. If you want something different you can certainly frame your own. The niche I put in my shower is pretty wide, about 32" if I recall. Bottom opening is maybe 13" or 14" high, the top about 11 or 12" high. Wood framed, then covered in backer board. The roll-on membranes are fine, I used kerdi. then tile. Pitch the shelves for drainage....See MoreBathroom Reveal, Thanks to the Bathroom and Remodel Forums! (pic
Comments (56)This old thread got revisited. @dani_m08 to answer the question about extra probe, I believe I ordered an extra one when I bought the set up. The probe wire is just setting in the junction box I think but honestly I cant remember. When I laid out the underfloor heating and the probe, I just ran another probe near the first probe, and it was then sealed into the floor self leveling compound as per instructions. then the end was just threaded into the wall like the one that would be live, and not connected, but just laying there in the box. Regarding the tile layout. I just decided to run it this way, after getting instructions on the 90Degree way, IIRC. The herringbone that I love is from my childhood and the side walks in my neighborhood that all ran at 45Degree. so that to me is herringbone. I know you posted on @sochi thread about her amazing bathroom and a wall mounted faucet. I would totally do it if I had the right sink for it. In my case I had made my sink out of soapstone and an integrated backsplash. The pictures of this bathroom reveal are no longer available because of the use of photo bucket, when it was Gardenweb. I did not keep my account with photo bucket. I'll add some of the reveal pictures so you can see the sink and floor. Regarding the sink there is no ledge for water to drip from my hands when using the faucet. The water drips right into the sink. In my other bathroom with a deck mounted faucet I am always wiping up drips and it is a nuisance. I much prefer the setup for this sink. Below: I love the flush finish from the faucet to the bottom of the sink. nothing drips on a counter or edge of a sink. Below: looking in from the doorway. Below: Here I am finishing up the sink. the backsplash was epoxied on as a separate piece. The whole soapstone install in the room took next to nothing to buy as they were all small pieces that I epoxied together with a 3 part stone epoxy. Below: this is the counter at the tub, and is in 2 long pieces but I was able to epoxy them together at there edges to make a wide slab for the top. All the soapstone was finished with a 60 grit sandpaper to be rough and this lovely soft tone of blue/green/gray/white. I did not oil it so this color tone would remain light. Below: If I recall correctly @sochi helped me decide on this Hubberton Forge Mirror. I have 3 different metals in this room, but they are all a cool silver to black color. Below: the center of this tower shares space with the kitchen on the other side of the wall. there is also some extra space that houses some electrical wiring. this is an old simple house. this bathroom was an add on when it got move to the farm in the 30s IIRC. The plumbing was all rearrange and some of the details that were orignially there I kept but updated it, such as this tower feature. The old one went and the carpenter did a wonderful job with this one. Below: This feature was another thing I kept from the old bathroom but flipped it from the other end and had the carpenter put drawers in it. Before it was a hell hole. things got lost and the build was soooo old and creapy I didn't like using it for storage. Now it is perfect for storage....See MoreOld bathroom addition has mold - eek!
Comments (9)A bath like you just described, with questionable framing and insulation, should really be targeted for gutting so that all of the other hidden issues, besides the mold, can be addressed. Unfortunately, there are sure to be other issues, possibly structural in nature. Porch enclosures are rarely done in a top notch manner, as you can already see for yourself. Costs to pay a pro to do a bandaid can approach that of the gut, but without solving the real culprits of the problems. What is your experience level for DIY projects? A $50 box store acrylic surround placed over the existing walls with a new valve and insulation could be a stopgap for a couple of months until you could plan the gut. But paying a contractor for the temp ''repair'' would take away funding from the needed gut. That IS something that someone with low to medium DIY experience could do at minimal cost as a temp measure....See Morekudzu9
7 years ago- PRO
Creative Tile Eastern CT
7 years agolast modified: 7 years ago 
Katrina Tate
7 years agolast modified: 7 years agoKatrina Tate
7 years agolast modified: 7 years agoKatrina Tate
7 years agoKatrina Tate
7 years agolast modified: 7 years agoKatrina Tate
7 years agoKatrina Tate
7 years agolast modified: 7 years ago- PRO
Creative Tile Eastern CT
7 years ago Katrina Tate
7 years agolast modified: 7 years agoKatrina Tate
7 years ago- PRO
Creative Tile Eastern CT
7 years agolast modified: 7 years ago Katrina Tate
7 years ago- PRO
Creative Tile Eastern CT
7 years ago Katrina Tate
7 years agoKatrina Tate
7 years agoKatrina Tate
7 years agolast modified: 7 years ago
millworkman
7 years agoKatrina Tate
7 years agoKatrina Tate
7 years agolast modified: 7 years agoKatrina Tate
7 years ago

Related Stories
CONTRACTOR TIPSContractor Tips: Countertop Installation from Start to Finish
From counter templates to ongoing care, a professional contractor shares what you need to know
Full Story
KITCHEN BACKSPLASHESHow to Install a Tile Backsplash
If you've got a steady hand, a few easy-to-find supplies and patience, you can install a tile backsplash in a kitchen or bathroom
Full Story
BATHROOM DESIGNHow to Install a Toilet in an Hour
Putting a new commode in a bathroom or powder room yourself saves plumber fees, and it's less scary than you might expect
Full Story
BATHROOM DESIGNShould You Install a Urinal at Home?
Wall-mounted pit stops are handy in more than just man caves — and they can look better than you might think
Full Story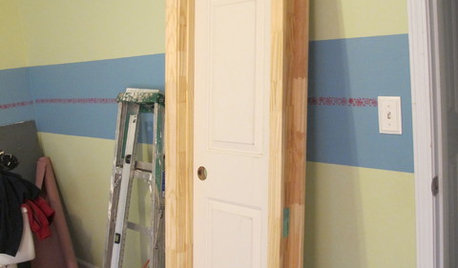
REMODELING GUIDESDIY: How to Install a Door
Homeowners who aren't afraid of nail guns can tackle their own pre-hung door project in a couple of hours
Full Story
REMODELING GUIDESContractor Tips: How to Install Tile
Before you pick up a single tile, pull from these tips for expert results
Full Story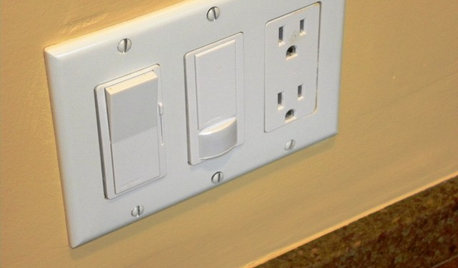
GREAT HOME PROJECTSHow to Install a Dimmer Switch
New project for a new year: Take control of your lighting to set the right mood for entertaining, dining and work
Full Story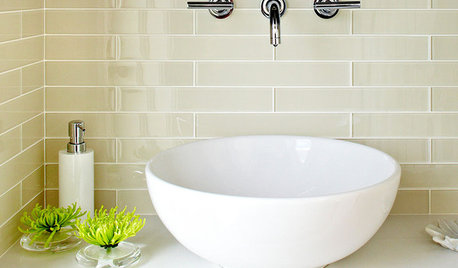
REMODELING GUIDESFinishing Touches: Pro Tricks for Installing Fixtures in Your Tile
Cracked tile, broken drill bits and sloppy-looking fixture installations? Not when you follow these pro tips
Full Story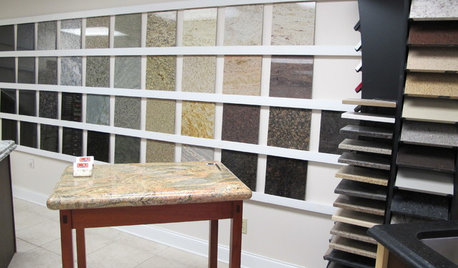
KITCHEN COUNTERTOPSWalk Through a Granite Countertop Installation — Showroom to Finish
Learn exactly what to expect during a granite installation and how to maximize your investment
Full Story
REMODELING GUIDESRanch House Remodel: Installing the Interior Finishes
Renovation Diary, Part 5: Check in on a Florida remodel as the bamboo flooring is laid, the bathroom tiles are set and more
Full Story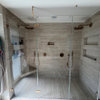
Creative Tile Eastern CT