


Stencils? Pics? Tips?
anele_gw
16 years ago
Sort by:Oldest
Comments (25)
Related Stories
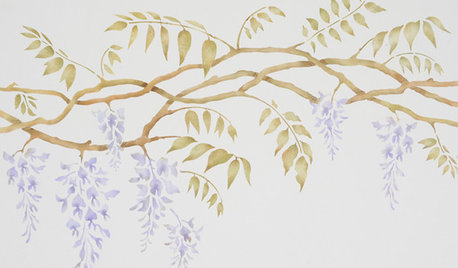
DIY PROJECTSDIY: How to Paint a Wall Stencil
Getting the Stencil Right: Planning, Prep and a Light Hand with the Brush
Full Story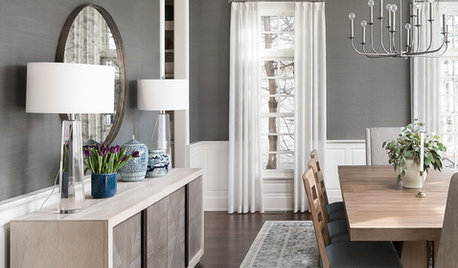
RUGS10 Tips for Getting a Dining Room Rug Just Right
Is the rug you’re considering the right size, shape and weave for your dining room? Here’s what to keep in mind
Full Story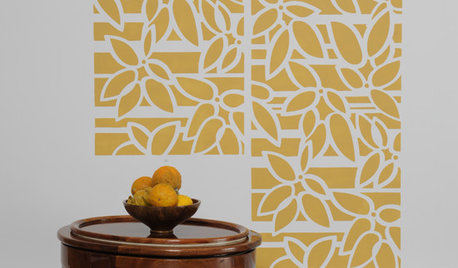
DIY PROJECTSHow to Use an All-Over Wall Stencil
Step-by-Step: Punch Up a Wall With a Bright, Bold Stencil Pattern
Full Story
DECORATING GUIDESStencils: All Grown Up and Sophisticated
Have a steady hand? Get the look of wallpaper for a lot less
Full Story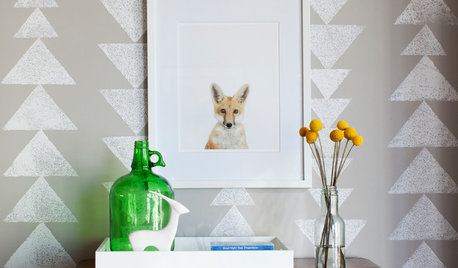
DECORATING GUIDESStamp, Stencil, Paste: Try a New Pattern on a Wall
Here are 10 ways to create a feature wall with classic and contemporary designs
Full Story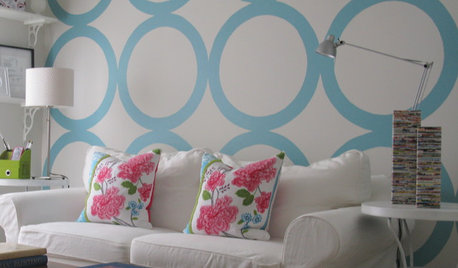
DECORATING PROJECTSDIY Project: Pizza-Box Stencil Wall
Treat your wall to a giant graphic using paint and a pizza box
Full Story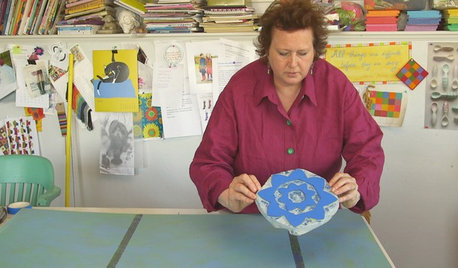
HOUZZ TVHouzz TV: Create Your Own Mural Wall With Easy DIY Stencils and Stamps
Artist Kristin Nicholas shows us how she makes her one-of-a-kind art walls. Watch the 3-minute video
Full Story
REMODELING GUIDES100 Contractor Tips to Read Before You Remodel
Have a better remodel experience with tips from a contractor on how to plan, shop and communicate
Full Story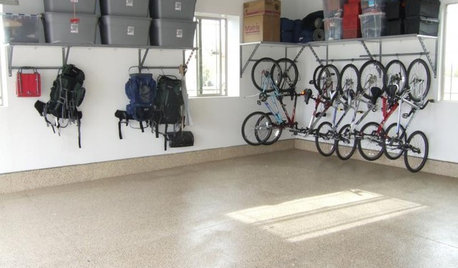
MOST POPULARGarage Cleaning Tips for the Overwhelmed
Don’t let this catch-all space get the better of you. These baby steps can get you started
Full Story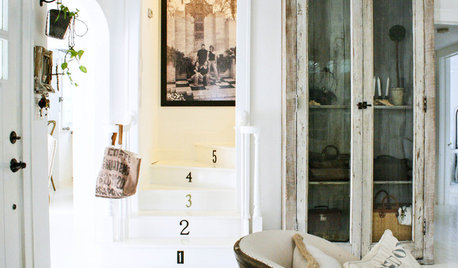
DECORATING GUIDES13 Decorating Tips for Older Homes
Preserve the personality of the past while designing for now with these tips for paint, rugs, window treatments and more
Full StorySponsored
Custom Craftsmanship & Construction Solutions in Franklin County


les917
squirrelheaven
Related Discussions
New bonsai owner, Dwarf Jade tips? Pics included.
Q
peach/nectarine tip disease- pics
Q
Identification and tips! [pic]
Q
Blackberry tips dying (pics)
Q
cyn10
snickysnacker
snickysnacker
Sueb20
amsunshine
skypathway
squirrelheaven
chelone
anele_gwOriginal Author
amsunshine
anele_gwOriginal Author
chelone
anele_gwOriginal Author
ladyamity
littledog
User
chelone
anele_gwOriginal Author
maggie3_2006
ladyamity
ladyamity
stu2900
chelone