DIY: How to Paint a Wall Stencil
Getting the Stencil Right: Planning, Prep and a Light Hand with the Brush

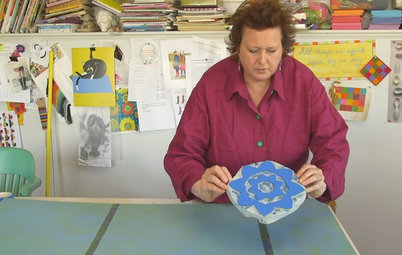
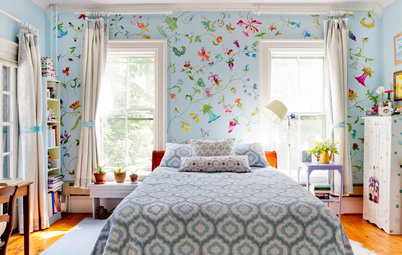
Dramatic stencils are all over Houzz these days, on walls, floors, fabrics, furniture — even ceilings. For someone with a knack for DIY, they offer near-endless possibilities for custom patterns and personal color schemes. I've done a lot of freehand painting, and I have to say I'm intrigued by the near-instant gratification a stencil can offer. (One rule to live by makes all the difference; we'll get to that in a minute.) Stencil designer Janna Makaeva, partner in Cutting Edge Designs, creates original stencils from her workshop in New Jersey. She takes us through the process, from blank wall to "ta-da" moment:
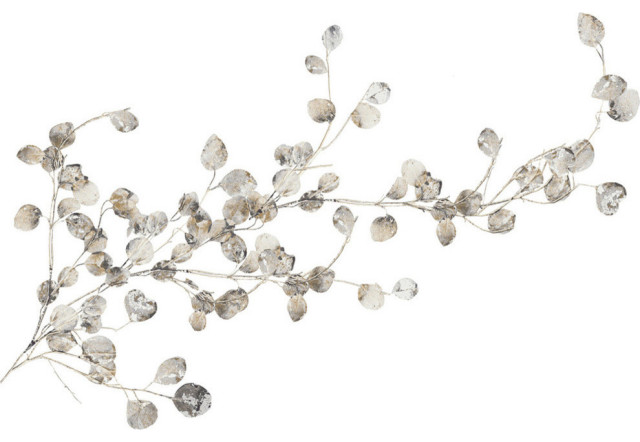
First, here's what we'll be working toward: twining wisteria branches and blooms, just in time for spring.
Makaeva likes to use stencil brushes for smaller, more detailed designs like this frilly wisteria. "I personally just love stencil brushes. That is where you get creative and experiment with color blending and shadowing."
Here's the No. 1 Stencil Rule to Live By: After dipping your brush into your acrylic paint, rub off most of it onto a folder paper towel. Then gently dab it onto your surface in light layers. It's this dabbing motion with a nearly-dry brush that keeps the edges of your design clean and crisp.
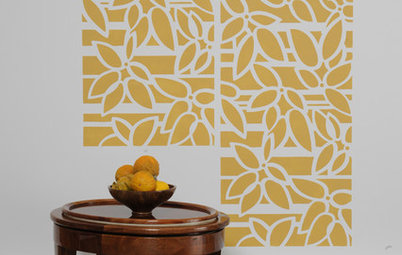
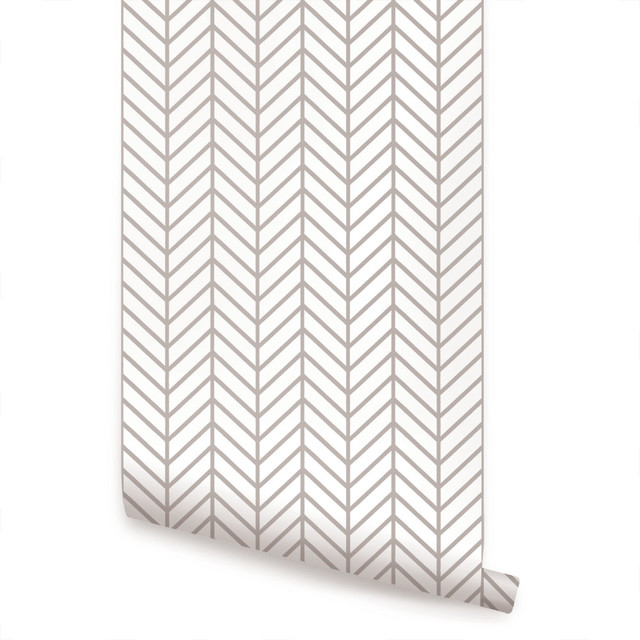
For geometric patterns that cover a whole wall, you'll probably want to use a stencil roller.
Here's the No. 1 Stencil Rule to Live By: After dipping your brush into your acrylic paint, rub off most of it onto a folder paper towel. Then gently dab it onto your surface in light layers. It's this dabbing motion with a nearly-dry brush that keeps the edges of your design clean and crisp.
For geometric patterns that cover a whole wall, you'll probably want to use a stencil roller.
Step 1: Secure the stencil on your surface with blue painter’s tape or spray adhesive.
Makaeva uses a foam plate as a pallet for the acrylic paint colors she'll use in her stencil. "I squeeze a dollop of each acrylic color I am going to use around the perimeter of the plate leaving the middle empty for mixing colors."
Makaeva uses a foam plate as a pallet for the acrylic paint colors she'll use in her stencil. "I squeeze a dollop of each acrylic color I am going to use around the perimeter of the plate leaving the middle empty for mixing colors."
Step 2: Put a little paint on your stencil brush and brush off the excess on a paper towel. Then, with a light touch, start dabbing your brush onto the stencil design. The lighter you do it, the more light and translucent the coverage will be.
"I like to tape my folded paper towel right to to the wall next my stenciling," she says. "It’s a very handy trick that often saves you trips up and down the ladder."
"I like to tape my folded paper towel right to to the wall next my stenciling," she says. "It’s a very handy trick that often saves you trips up and down the ladder."
Step 3: Start dabbing. "If you need to add another color, take a second stencil brush, load it with your new color and dab it over the parts of the stencil design that need that color," she says.
Here she adds some olive green to the edges of some leaves on a wisteria border design.
"Don’t forget to always wipe the excess paint on the paper towel after each time you re-load your brush," she says.
"I love over-dabbing the previous color here and there with another color to get nice blended effects on my stencil," she says. Here she adds rust and yellow ochre to her green leaves.
Don't worry about that extra paint over the top of the design. All that goes away when you lift off the stencil. "Your color blending doesn’t have to be perfect or very smooth."
Use a separate brush for each color. You can recycle the same brush by wiping it off well on paper towels and then using it with a similar color. But "do not recycle dark color brush for a light color," she says. "It’s going to look dirty no matter how nicely you wiped it. I don’t recommend washing the brush in the middle of the project because it will be too wet to use even if you dry it."
The design will quickly be covered with paint. Lift a corner and take a look. If you like the effect and paint coverage, put the corner back and continue to stencil until the whole design has the desired paint coverage and shading.
The design will quickly be covered with paint. Lift a corner and take a look. If you like the effect and paint coverage, put the corner back and continue to stencil until the whole design has the desired paint coverage and shading.
Nice crisp edges.
Step 4: Add shading. Once all the main colors are on, "pounce a dark color around the edges of the stencil openings," Makaeva says. "This very simple touch gives you amazing depth and dimension."
Important note about shading: Don't use black! "There are no black shadows in nature," Makaeva says. "They all have some color in them...black will give you a stark unnatural look." Instead, use raw umber or a neutral dark brown.
Shading tip: Don't apply shading on all sides of a leaf or other object. Light and shadow in nature depends on the light source. So just choose which side of each element will stay light, and shade just the opposite side. Don't sweat it too much, Makaeva says. "I often start shading on one side, then forget about the light source and shade the other side, and in the end it looks great anyway!"
For a realistic look on foliage, Makaeva likes to shade all the tips and ends of the leaves.
The reveal!
Step 5: Fill in. For a more hand-painted look, you can connect some bridges, or gaps in the design left by the stencil, using a watercolor brush.
The wisteria as a border and ceiling medallion in a traditional interior. Check out Makaeva's site for this stencil design, more Makaeva originals and tutorials.
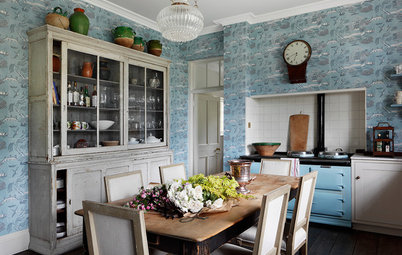
More: Stencils: All Grown Up and Sophisticated
More: Stencils: All Grown Up and Sophisticated