


Got my HFGH (6x8)! Now I have questions!
imqtpi
16 years ago
Sort by:Oldest
Comments (31)
Related Stories

MOST POPULAR8 Questions to Ask Yourself Before Meeting With Your Designer
Thinking in advance about how you use your space will get your first design consultation off to its best start
Full Story
HOUSEKEEPINGGot a Disastrously Messy Area? Try Triage
Get your priorities straight when it comes to housekeeping by applying an emergency response system
Full Story
SALVAGEBike-Chain Chandeliers You've Got to See
Take a video ride with us to see how an artist creates amazing lighting fixtures solely from bike parts
Full Story
KITCHEN CABINETSHold Everything — Your White Kitchen Cabinets Just Got Better
These design moves will add even more to white kitchen cabinets’ appeal
Full Story
STAIRWAYSGot Stairs? Here’s How to Choose the Right Runner for You
Get the skinny on material selection, color and pattern, installation and more
Full Story
ECLECTIC STYLESee How a Bright Victorian Apartment Got Its Collected Look
Arriving in San Francisco with little but a chair and bed, a couple hits on an interior style that feels collected over time
Full Story
ORGANIZING4 Questions to Help You Organize Your Favorite Photos
Organize your keeper photos with a system that's just right for you, whether it's in the cloud or you can hold it in your hand
Full Story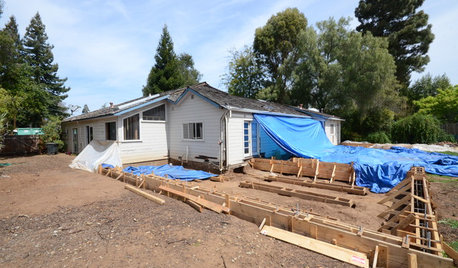
REMODELING GUIDESSurvive Your Home Remodel: 11 Must-Ask Questions
Plan ahead to keep minor hassles from turning into major headaches during an extensive renovation
Full Story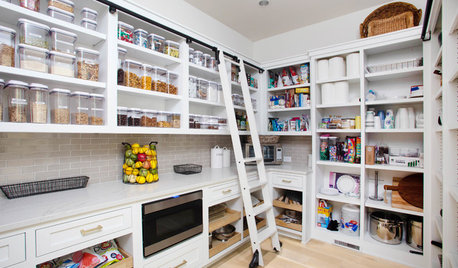
KITCHEN DESIGN9 Questions to Ask When Planning a Kitchen Pantry
Avoid blunders and get the storage space and layout you need by asking these questions before you begin
Full Story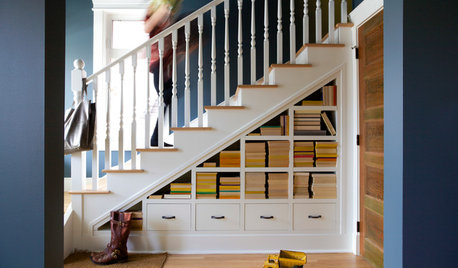
ORGANIZINGPre-Storage Checklist: 10 Questions to Ask Yourself Before You Store
Wait, stop. Do you really need to keep that item you’re about to put into storage?
Full Story
imqtpiOriginal Author
milwdave
Related Discussions
Two in RI building HFGH 8x10 and 6x8!
Q
6 x 8 HFGH couple questions after reading old threads
Q
Hubby will buy 6 x 8 HFGH for my birthday! Questions
Q
HFGH 6x8 Question
Q
imqtpiOriginal Author
agardenstateof_mind
milwdave
milwdave
stressbaby
imqtpiOriginal Author
amigatec
agardenstateof_mind
imqtpiOriginal Author
imqtpiOriginal Author
agardenstateof_mind
milwdave
amigatec
agardenstateof_mind
imqtpiOriginal Author
milwdave
imqtpiOriginal Author
milwdave
imqtpiOriginal Author
milwdave
imqtpiOriginal Author
milwdave
imqtpiOriginal Author
stressbaby
imqtpiOriginal Author
imqtpiOriginal Author
agardenstateof_mind
stressbaby
imqtpiOriginal Author