


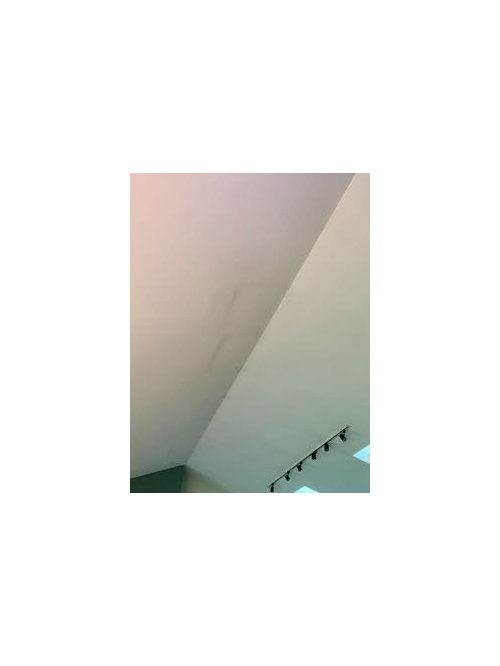
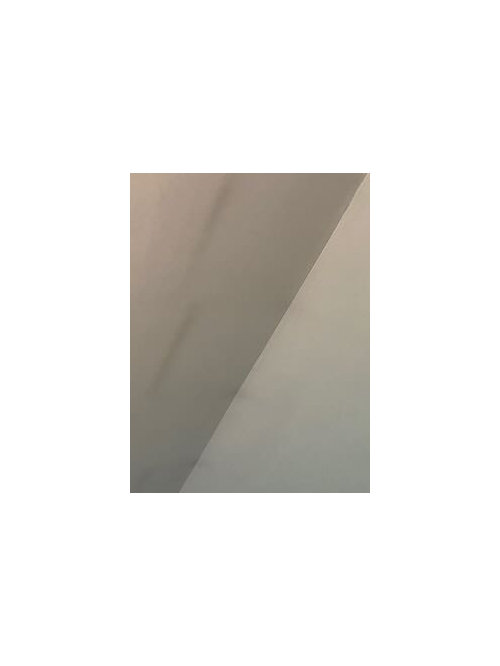
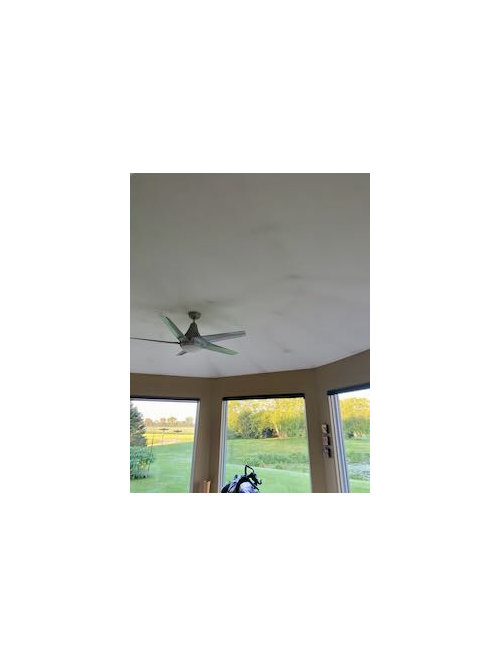
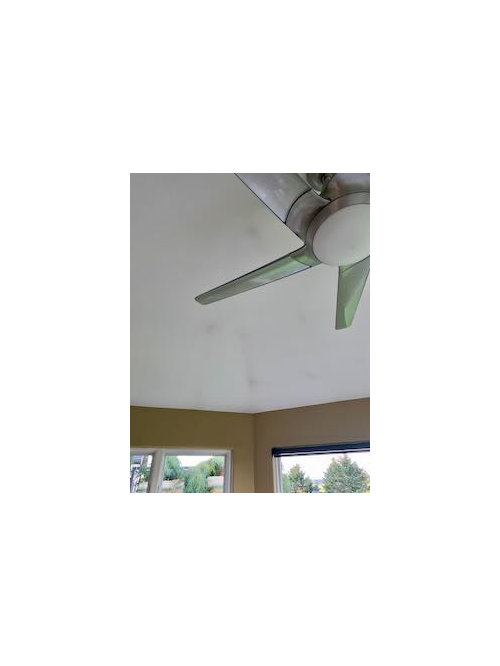
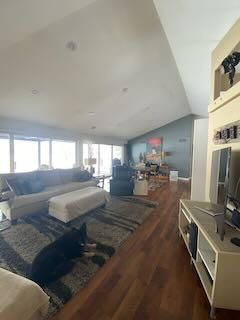
Ceiling drywall ghosting - dark markings
ykindschi
last year
Featured Answer
Sort by:Oldest
Comments (13)

ykindschi
last yearRelated Discussions
Aura roller marks & painters tape issue
Comments (16)Generally, you are correct. Lower nap means less stipple. But I have used 1" nap sleeves to roll flats plenty of times. I used to work for a contractor that only did new homes and speed was the name of the game. His theory was bigger naps hold more paint so that painter has to dip less which saves time. It says right on the package that 1" nap is for 'rough surfaces'. 3/4" nap is for 'semi-rough surfaces'. Eventually I learned how to apply paint with big naps so that it looked like I used a 1/2" nap. Now, we had 30 guys and not all of them could do that....some were pigs. Give a pig a 1" nap sleeve and they could really make a mess. I'm talking BIG stipple and ugly skid marks that would come from loading that sleeve up with so much paint that the roller would slide around on the wall. And of course, they would leave it. That's new construction painting for ya. So, generally speaking it is true that lower naps=lower stipple, but the application technique is also very important. Plus, if you are painting with flats and you are using a 3/8" nap sleeve because you are trying to maintain a low stipple, you may be creating other problems. It's important to put enough paint on the wall to keep that wet edge going...with a 3/8" nap size, that may be difficult to do. It's possible of course, but I just find rolling flats to be much easier when I am putting the paint on heavier and spreading it out. Another factor to consider is that paints dry fast. If you are using a small nap sleeve, they are going to dry even faster. One way to get roller stipple to show is to roll back into something that has already started to dry...this you certainly want to avoid. The W pattern to me is just simply a way to explain to people to spread the paint out and then roll back into it. What you don't want to do is slap your dip in one place. Here is what I do. Imagine that one column is 9" (the size of your roller). One dip of my roller will get me 2 columns worth of wall space done if the walls are 7-9 feet high roughly. I dip my sleeve and skip that first column so that all that paint I just unloaded from my fresh dip on the wall is in column #2. I then roll out column #1 and then roll back into column #2 once or twice to finish filling column #1 in. After that first column is filled, column #2 doesn't have that much paint in it because I worked it out already....yeah, really really hard to explain with words, but I hope you get the idea. I'm really not making a letter, and I'm certainly not breaking the wall down into upper and lower. You really want to roll ceiling to floor. If you go and watch videos on youtube by pro painters, this is how you will see most of them paint. I think maybe the W pattern concept was invented before they used rolling poles....See MoreBasement exposed ceiling
Comments (13)We had an electrician do all the lights outlets etc (to ensure it was to code and prevent myself from getting injured and/or burning down the house). They're 4 in. dimmable LEDs. There's 11 total for the 32x12 foot room (10 for the room itself and one for the bottom of the stairs (where the yellow wall is). They're evenly spaced apart along the 32 foot length, so rough math says 6 ft or so apart. The blue wall to gray wall is 12 feet, I'm not home but looks like maybe three feet from long walls and 6 feet between the 2 rows). We're happy with how it turned out. Originally the ceiling was going to be exposed as this thread started but firecode changed that. That back wall with the door/windows was going to be all brick, making a loft look. Loosing the ceiling meant loosing the loft look, so I didn't want to spend the money doing the brick wall....See MoreChanging a dark ceiling and tall brick fireplace wall in a family room
Comments (15)All good suggestions. Thank you everyone. So we have had many discussions and have made some progress and now we are leaning towards the following. We are going to "cap" the ceiling at the triangle, just above the second beams. So we eliminate the high triangle, thus regulating the room temp better and allowing for lighting install. We will drop the fan lower, keep it centered, and add recessed lights on either side of the fan (front and back) on the flat/new ceiling. Add sconces above the mantle (wiring behind the new drywall). Rather than paint the brick and while we have scaffolding here anyway, we think we will box in the brick from new flat ceiling to the mantle (not with shiplap) and run trim down either side. We will then frame out a new mantle down each side and across the brick. We will keep the brick as is around the fireplace and on the hearth (I don't like the idea of floor to ceiling painted white brick and felt that since we use the fireplace we are better keeping natural brick so it won't show soot and dirt), but put a new piece of stone in for the hearth. Smooth the outdated plaster walls (since plasterer has to come for the new ceiling). Paint the ceiling, the trim and fireplace walls/mantle white, and the walls a soft gray (Edgecomb BM). Cap the track lighting unless we decide down the road we need it. I'd also love to consider refacing the brick with stone veneer but maybe not this time around. So yes, our budget is blown but it seems to be a situation of go all in or don't half spend. Trying to resemble something like this but not with shiplap and with our brick not whitewashed: Thoughts/feedback? Good news is that my contractor knows us and works slowly so I can modify as we go if something doesn't look right. I toyed with keeping beams but they really aren't nice beams. We've also done away with the wood beam mantle but I think if we keep the look more robust and less delicate that we might be okay -- more thick/shaker than formal crown. Also adding trim to the supporting beams that connect wall to ceiling to make them look more "finished" - they look like planks or 2x4s now and I never realized they were actually beams until we just put the window in and broke into the wall. They are just above the windows and you probably can't tell from the previous photos. Any thoughts - would love to hear them. You've really turned me around on the shiplap - thank you!...See MorePros & cons of keeping a low basement ceiling exposed/unfinished
Comments (40)The basement ceiling height of the house we lived in when our kids were teenagers wasn't much higher than yours. My husband sprayed the underside of the main level floor matte black, covering all pipes and ducts. If you DIY, be sure to use a good respirator mask. Our son was the same height as your husband (now slightly taller) and my husband was just a tad shorter. Neither one was bothered by feeling as if they were about to bump their heads. We had no issues with dust. As for noise in the basement, I think it was only noticeable when someone overhead wore high heels. I didn't find that the sound of video games or movies in the basement carried upstairs any more than in a later house with a drywall ceiling. My family liked the look and I was happy to put the money that would have been spent on a finished ceiling toward other things in the house....See Moreykindschi
last yearykindschi
last year PRO
PROCharles Ross Homes
last year
mike_home
last year- PRO
Charles Ross Homes
last year ykindschi
last year- PRO
Charles Ross Homes
last year ykindschi
last yearlast modified: last year

Related Stories
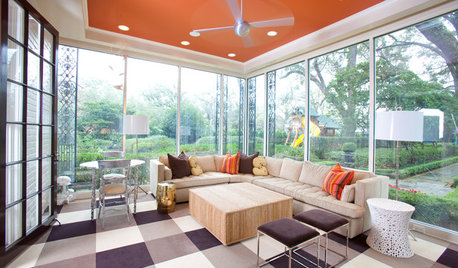
MOST POPULARHeads-Up Hues: 10 Bold Ceiling Colors
Visually raise or lower a ceiling, or just add an eyeful of interest, with paint from splashy to soothing
Full Story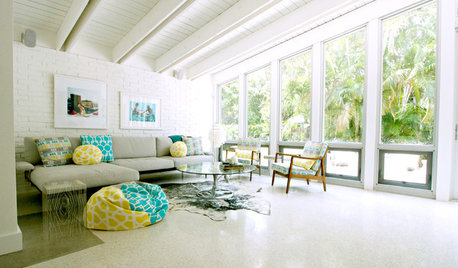
DECORATING GUIDESDesign Debate: Should You Ever Paint a Wood Ceiling White?
In week 2 of our debate series, designers go head to head over how classic wood ceilings should be handled in modern times
Full Story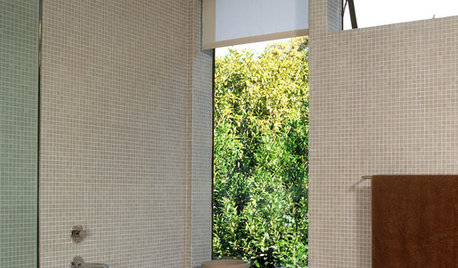
BATHROOM DESIGNFloor-to-Ceiling Tile Takes Bathrooms Above and Beyond
Generous tile in a bathroom can bounce light, give the illusion of more space and provide a cohesive look
Full Story
CEILINGSAppealing Ceiling: Warm It Up With Wood
Add charm to any room with a wood-clad ceiling
Full Story
DECORATING GUIDESStandout Ceilings Give Rooms a Lift
Ceilings with mirrors, polka-dot decals and tin tiles help these rooms look pulled together
Full Story
HOUZZ TOURSHouzz Tour: Redo Stays True to a California Home’s Ranch Roots
Vaulted ceilings, windows galore and a simple white palette make for casual indoor-outdoor living
Full Story
BEFORE AND AFTERSSmall Kitchen Gets a Fresher Look and Better Function
A Minnesota family’s kitchen goes from dark and cramped to bright and warm, with good flow and lots of storage
Full StoryRANCH HOMESHouzz Tour: An Eclectic Ranch Revival in Washington, D.C.
Well-considered renovations, clever art and treasures from family make their mark on an architect’s never-ending work in progress
Full Story
PAINTINGBulletproof Decorating: How to Pick the Right Kind of Paint
Choose a paint with some heft and a little sheen for walls and ceilings with long-lasting good looks. Here are some getting-started tips
Full Story
LIVING ROOMSThe Most Popular Living Room Photos of 2015
Sectional sofas, vaulted ceilings and custom built-ins are just some of the features that made a big showing this year
Full Story
Charles Ross Homes