

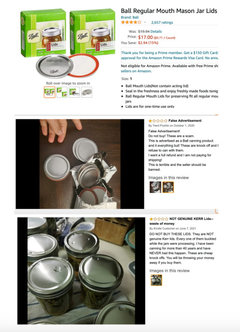
lid supplies still iffy ... but
5 years ago
last modified: 5 years ago
Featured Answer
Sort by:Oldest
Comments (13)
Related Discussions
Shelf life of lids?
Comments (4)Heather, this is a bit off topic from canning, but relates to your stash of your grandmother's lids. If you decide to use the lids for canning, you can still keep them after opening the jars by using them in craft projects. Do you cross stitch? They are many patterns available using canning lids, new or used, as the backing for cross-stitched pieces. They can be used as jar toppers (candy, nuts, dried beans, etc), Christmas ornaments, and other things. I expect a Google search would yield many patterns and ideas. I'm a sentimentalist, so things like this appeal to me. Just a thought, Barbara in Virginia...See MoreTattler lids - worth it?
Comments (7)If you've found Tattler lids for $1.49 a box, buy them! Tattler lids are used in exactly the same way although you should carefully read the instructions on the box. With Tattler lids you screw the rings down hard when you remove them from the canner. You would never do that with regular lids. I have friends who are on their third year with Tattlers. They love them. The only downside is that the Tattler lids and especially the rubber rings, must be heated before use. The rubber has to soften. Personally, I like using regular lids. I don't have to fool with heating up the lids and I give a lot of my canning away as Christmas gifts so I would be wasting a lot of money using expensive lids....See MoreAmish outlet fur supplies
Comments (24)I can't get to the produce auctions there are during the week when I work. Anyone can take there too, my neighor takes over rabbits or hens who aren't good layers anymore. Fresh eggs! I had Auracanas, the blue egg layers, gave them to the neighbor when they wanted to keep following me into the house, friendly they are. Ordering purple guineas this year, I like Guineas Yup 2B stone sure hurts more than I remember as a kid! I hate wearing shoes, flippies or barefeet for me in the summer. Yoder is a big name here too Annie, although no hitches at WallyWorld, my closest is in the college town near the Interstate. Good idea about the hand tools! I have some I can't use anymore because of tendonitis, they can have em or trade me for something.. alot of bartering around here...See MoreLids on/Lids off??
Comments (27)I have been on a mission to get rid of the clutter in my kitchen cabinets. I cleared out all the old pots and pans, glasses, and other stuff I have not used since I moved here. I am going to get rid of the rest of the plastic ware and only have the rubbermade sets that have the lids that lock together and snap to the bottom of the containers, I bought one set to try and love them. I will keep some of the ziplock ones for giving food in them, will not worry about returns. If looking for what to do with your discarded stuff consider using your local freecycle you may find someone with something that you would want to trade for. I give a lot of my stuff to my cleaning lady and she makes great use of it on freecycle. I am amazed by some of the things she gets on freecycle. We go through my clothes and closets too, she gets all kinds of things which she sells on craigslist, or gives on freecycle, she has made some extra money that way, and I have less clutter!!...See More 5 years ago
 5 years ago
 5 years agolast modified: 5 years ago
 5 years ago
- 5 years ago
 5 years ago
- 5 years ago



Related Stories

DECORATING GUIDESSuper-Versatile Storage: Lidded Glass Jars
See-Through Containers for Kitchen, Bathroom, Laundry Room and Beyond
Full Story
KITCHEN DESIGNDisplaying Kitchen Supplies — Hot or Not?
Do some kitchens just beg for a cozy row of canisters and gear for all to see? Have a look and let us know what you think
Full Story
PRODUCT PICKSGuest Picks: A Tidy Roundup of Cleaning Supplies
Practical and pretty cleansers and cleaning accessories to make housecleaning chores a pleasure
Full Story
LAUNDRY ROOMSThe Hardworking Laundry: Make Room for Supplies
You can carve out space for detergents and dryer sheets in even the smallest laundry room
Full Story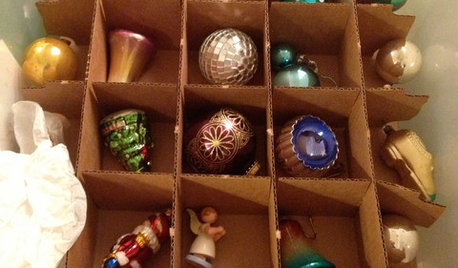
HOLIDAYSChristmas Cleanup Tips for the Not Naturally Organized
Dreading the postholiday chores? First let yourself unwind. Then grab some boxes, a few supplies and this easy guide
Full Story
LIFE10 Smart Organizing Ideas That Make Life Easier
Rethink where and how you store household basics, from bills to baking supplies, to buy some time and save some headaches
Full Story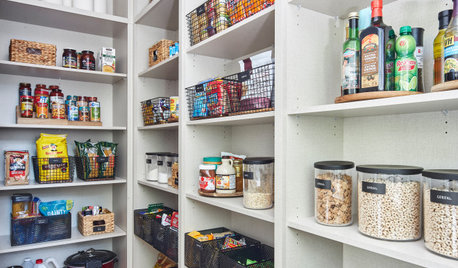
KITCHEN PANTRIES15 Smart Ideas From Beautifully Organized Pantries
See cabinetry and lighting setups that can help keep your food and supplies in good order
Full Story
GREAT HOME PROJECTSHow to Make Your Garage a Storage Powerhouse
New project for a new year: Add shelving and containers to get your stuff off the garage floor — and still have room for the car
Full Story
CRAFTS20 Ways to Organize Your Craft Space
Tired of looking for a needle in a haystack? Giving tools and supplies a proper place steps up productivity and cuts down on frustration
Full Story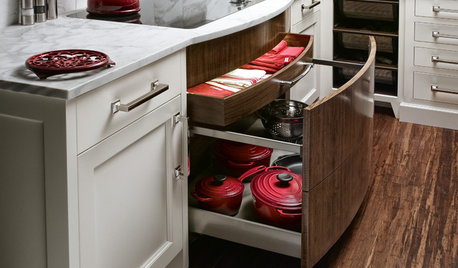
KITCHEN STORAGEHow to Organize Your Specialty Kitchen Storage Areas
Make working in your kitchen easier with these tips for storing pots and pans, spices, cleaning supplies and more
Full Story

Lars