
20 Ways to Organize Your Craft Space
Tired of looking for a needle in a haystack? Giving tools and supplies a proper place steps up productivity and cuts down on frustration

Rows of paints, jars of colored pencils, baskets of yarn — be ready to whip up holiday gifts or to just relax with your favorite handicraft in an inspiring and well-organized craft space. Whether you have a corner, a cupboard or an entire room to devote to creative endeavors, keeping your tools and materials neat and within reach will make it easy to get started. Here are 20 ideas for sorting and storing fabric, paper and more.
2. Stand paper rolls in a basket. A tall wire basket or a repurposed umbrella stand or hamper keeps rolls of gift wrap and drawing paper neat. Prevent open rolls from unfurling with twine, twist-ties or rubber bands.
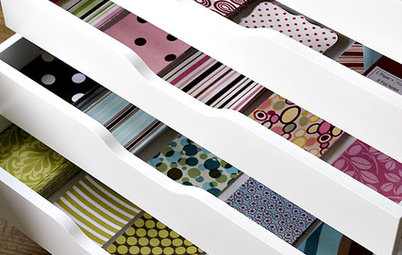
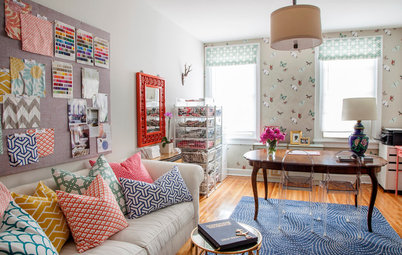
3. Place loose paper in clear drawers. Sort individual sheets of scrapbooking and drawing paper by color and type in see-through drawers that stack. Another good choice is a paper organizer of the kind preschools use to store construction paper. Whichever method you pick, the important thing to avoid is the too-high stack of mixed papers, which makes it impossible to find what you’re looking for.
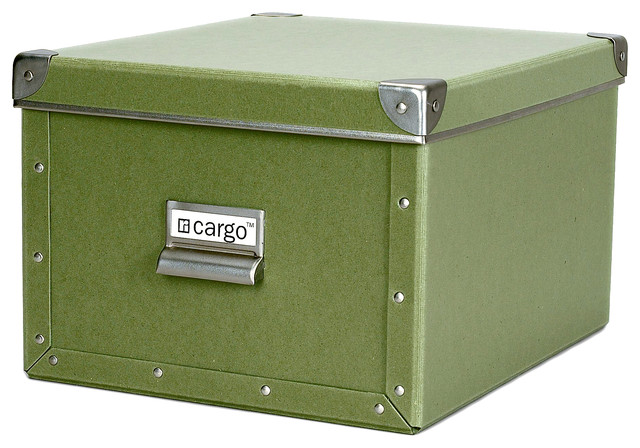
4. Put small tools and supplies in clear bins with lids. Sure, you can label photo boxes or shoe boxes for this purpose, but being able to see what’s inside at a glance makes the hunt for little items much easier. Choose rectangular, clear plastic containers with lids for stacking. Refine your organization further by labeling the contents.
5. Store large paper and canvases in a vertical organizer or art portfolio. Oversize paper, poster board, and canvases should be kept where they won’t be bent or otherwise damaged. If you have only a few large pieces, pick up an inexpensive paper art portfolio. If you have a bigger collection, you may want to invest in a large art organizer.
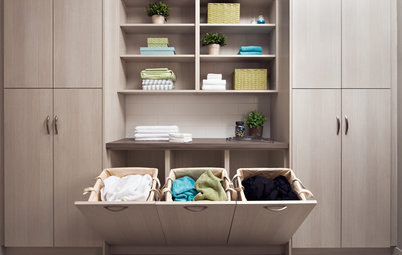
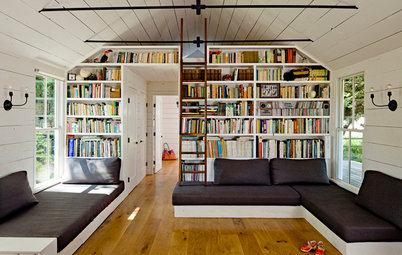
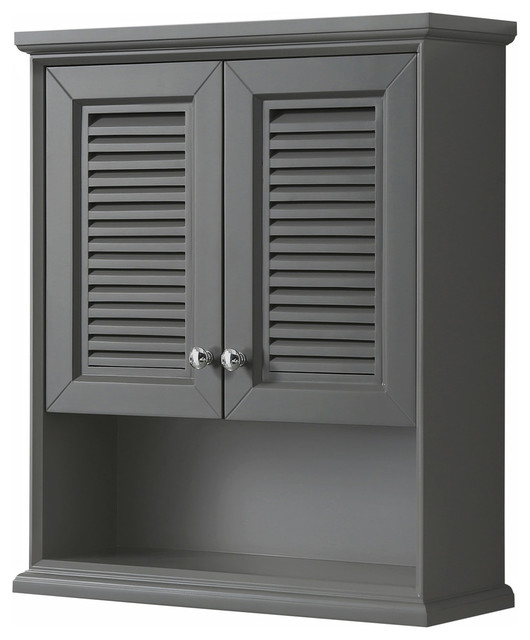
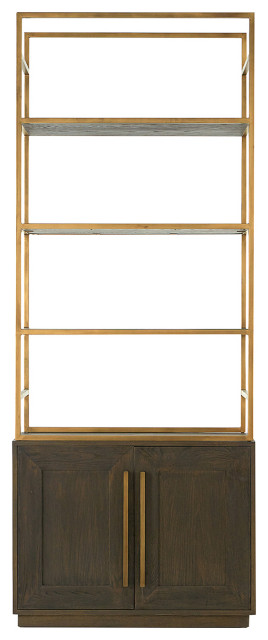
6. Stack fabric on shelves by color. As with yarn, fabric is generally best sorted by hue. Keep your stash neatly folded and stacked on shelving. If you don’t work with your fabrics frequently, you may want to store them behind closed doors or in solid drawers, where they’re away from dust and light.
7. Keep works-in-progress in baskets or totes. Projects that are underway can be one of the most frustrating things to store in the craft area. Consider keeping yours in sturdy tote bags or baskets with handles so they can easily be moved from the storage area to your workspace and back again.
7. Keep works-in-progress in baskets or totes. Projects that are underway can be one of the most frustrating things to store in the craft area. Consider keeping yours in sturdy tote bags or baskets with handles so they can easily be moved from the storage area to your workspace and back again.
8. Stash fabric in wire drawers. If stacking fabrics on open shelves sounds a little too fussy, think about picking up a set of stacking wire drawers to store your stash instead. They make it easy to see the colors and patterns of your lovely fabrics but allow for more leeway when it comes to neatness.
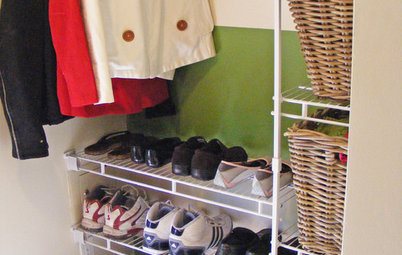
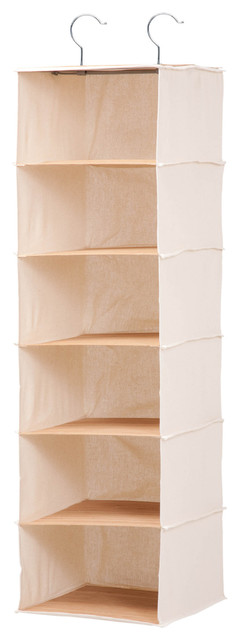
9. Hang fabric in the closet. Have a smidgen of extra space in the closet? Pants hangers make ideal organizers for fabric — to maximize space, use the type designed to hold multiple articles of clothing. Just stick with sturdier fabrics for hanging; lay delicate materials flat in a drawer or on shelves.
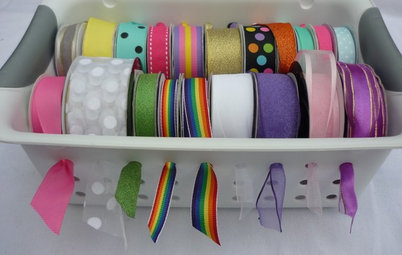
10. Arrange spools on a thread rack. It’s not always worth it to purchase uni-tasking storage items, but a thread rack really is the best way to keep spools organized and untangled. The racks have been made pretty much the same way for more than a century, so it’s relatively easy to find vintage wooden versions at flea markets and antiques fairs. Or scoop up a new model at a craft store or online.
11. Hang tools on a pegboard. Pegs and hooks are perfect for keeping tools and supplies like scissors, embroidery hoops and spools within reach. Add function with baskets and clipboards.
12. Attach scissors to a magnetic rail. A magnetic knife rail isn’t just for the kitchen — mount one above your craft table to keep scissors handy. It also holds magnetic spice containers filled with tiny items like seed beads or glitter.
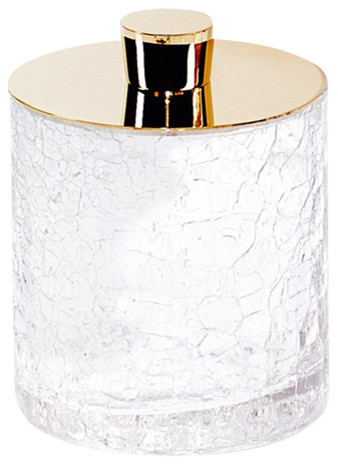
13. Organize small items in lidded glass jars. Spice jars, jam jars, apothecary jars and Mason jars make excellent and budget-friendly containers for all manner of small crafting supplies, such as washi tape and buttons. Annoying-to-clean-up items like sequins and beads should always go in lidded containers since an accidental bump can send them flying far and wide.
14. Stick paintbrushes, knitting needles and pens in open containers. Long, slender items like paintbrushes, colored pencils, markers and crochet hooks stay tidy when plunked into simple glass jars or recycled tins. If you’re a painter, keep your brushes in separate containers sorted by their type: watercolor, acrylic, glue.
15. Employ handled baskets for frequently used materials. Open-top baskets with handles are easier to grab from a shelf and reach into than lidded bins, so make this your container of choice for frequently used materials. Seek out inexpensive baskets at yard sales and thrift stores, and you won’t have to worry about a little spilled paint.
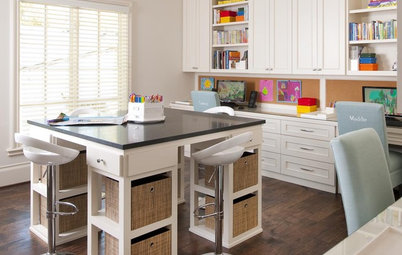
16. Repurpose a tiered cake stand as a portable caddy. Cake or treat stands with two or more tiers can make a handy spot to put supplies in frequent rotation. Keep it in the center of your worktable Lazy Susan-style and tuck it on a shelf or the floor when you need more room. Look for one with a raised lip on each tier to prevent your materials from falling off.
17. Create a pop-up sewing corner. If you’re short on space, a folding table and ironing board can be stored in a nearby closet, with the sewing machine and fabric stash on a small bookcase. Set up the table when you’re ready to sew, then fold it away when you need to use the space.
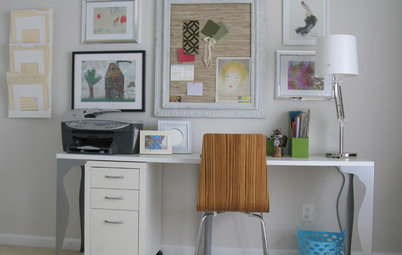
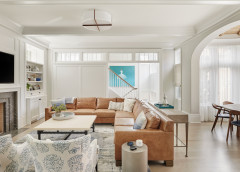
19. Enable a desk or dining table to do double duty. Often the only work surface available for crafting is your desk or dining table. But getting your craft supplies out (and cleaned up again) can be a pain. To make it simpler, keep inexpensive plastic tablecloths or a big roll of butcher paper on hand to cover the surface, and put your most-used supplies in easy-to-grab caddies that can go from workspace to storage in a few seconds.
20. List project to-dos on a chalkboard wall. Take a cue from ultraorganized pros who must stay on top of multiple projects, and manage your holiday gift crafting with a chalkboard list. The visual nature of a chalkboard wall makes it ideal for keeping track of your gift ideas, shopping lists and to-dos during the busy holiday season and beyond.
Tell us: Are you a crafter? If so, are you devoted to one craft (like knitting or sewing) or do you like to dabble? Share a photo of your favorite spot to create in the Comments!
More
Fresh Start: Organizing Your Craft Room
A Stitch in Time: Creative Sewing Spaces
Tell us: Are you a crafter? If so, are you devoted to one craft (like knitting or sewing) or do you like to dabble? Share a photo of your favorite spot to create in the Comments!
More
Fresh Start: Organizing Your Craft Room
A Stitch in Time: Creative Sewing Spaces