


Has anyone tried a subscription clothing plan?
dedtired
6 years ago
Featured Answer
Sort by:Oldest
Comments (20)

llitm
6 years ago
deegw
6 years agolast modified: 6 years agoRelated Discussions
Has anyone tried this yet?
Comments (5)I second fred on the dryish tufa with the wire mesh I actually use chicken wire to help the tufa have something to cling on to when doing long vertical surfaces, such as the wall on your dog (hobbit) house. You wante a peanut butter consistensy... something that wont run, but will also not crumble. Also, if you want the "hobbit" house effect, I found out, by accidentally using too much dye, that the dyes from Olde World (particularly terracotta and the bright yellow-rust color) will give you that effect. And it wont wear out with time. As far as the pre-mix, I don't know if it'll be easier and cheaper to just buy your portland (white), sand and peat on your own. It's not that difficult to mix, although, a doghouse will involve a LOT of mixing. You're going to want rounded edges, so I'd probably dress an existing structure so you will have something lighter that also requires less tufa Good luck on your project and be sure to post some pictures :-)...See MoreHas anyone tried the Tobi Clothes Steamer?
Comments (2)I havent, but have seen the commercial and I also have wondered the same thing since I hate ironing! My husband says its just another one of those advertisements to catch people who are up late and cant sleep! lol I guess we are so delirious from sleep deprivation that we'll buy anything! lol I am interested in following this post to see if it works! If so, I'll buy it and just be up late "steaming" my clothes! lol Ang...See MoreHas anyone tried to make shelves?
Comments (3)You might also check out an unfinished furniture store; you could be surprised. I installed those metal shelf standards & brackets and put wooden shelves on them. I used plywood--had a lumberyard cut it to size, and got some iron-on veneer tape (and a little squeezer thing to shave the edge-banding down to size). It worked great. The brackets get in the way sometimes, but they're very adjustable. Cleats, while strong, are not; they're permanent (which is sometimes what you want). As for dimensions, well, anything will work in the right situation. Look at the shelving you have in other places, and see what it holds well. Bookcases are often 8" deep, and thatholds more than you'd think, and is good for smallish things (cleaning supplies, craft supplies, etc.); utility shelves are often 12" deep, which is too deep in some situations, too short in others. If you want to store big storage bins, you might need more like 24". Ihave a closet that's long and skinny like that. Where is your door? Is the closet open all the way across the 30 feet, or will you have to scooch down in front of the shelves? I would say, do those standards and brackets. Less work, and greater flexibility. You can buy longer or shorter brackets for different sections, if you want, without having to do anything more than install a shallower shelf. So you could have 24"-deep shelves using . And you can swap out the 24" brackets (or 18.5") and use 5" brackets in some other section where you want the shelves to be shallower. You could even install heavy-duty ones ($) in one section and light-duty ones () in another. I would also say, w/ a length of 30 feet to cover, that you should think of it in terms of 36" to 52" sections or something--so you can adjust the shelving to be different from one section to another, and so you don't have to wrestle some huge long boards around. For example: Measure 2 It's 23.9 inches end to end, so let's pretend you have room to store it end-in on a 24"-deep shelf. That means two of them side-by-side (at 15.9"wide) are 36" wide; you need a 36" space between the brackets. (You want this, because you want to be able to slip the Rubbermaid bin all the way back to the wall, and not get hung up on the bottom of the bracket as it angles down. The standards themselves are 1" wide; the brackets a tad less. Go w/ the 1", and figure drilling the holes 1/2" on the outside of each end that 36" space (holes are then 37" apart). The shelves need to be the 36" plus 1" on each end to get to the outside of the standard & bracket combo (38"). I don't know for sure whether you need to have an extra inch or two to the ends to go BEYOND the standard; if you attach that shelf to the bracket itself, you may not. In most of those systems, there are hole in the underside of the bracket', and you can put a pair of long screw up into the shelf from the bottom. Change the dimensions to match whatever storage things you're using. And of course, worry about sag--the can help you figure out how much weight the plywood will hold between the brackets. (and maybe, just maybe the extra wood that sticks out beyond the bracket will held work against sag, but maybe not) If you want a longer shelf, you may find you want a middle bracket to avoid sag, so plan its placement as best you can, based on what you'll store there. You might consider having one section that's just for big storage bins like that, and measure a few different brands to see if there's any commonality you can count on (or, commit to a brand, and buy a bunch). And other sections could be made to hold slightly smaller bins, or to have open areas for just stuff. I installed shelving like this and wanted SIDES, so stuff couldn't fall off the edges. I attached a vertical piece of wood to both ends the top shelf using L brackets, and then used L brackets to mount it to the wall midway down so it wouldn't wobble. I can still adjust the shelves between them. (I did it this way instead of a bookcase because the left side couldn't go all the way to the ground, or I wouldn't be able to reach the radiator valve) In the living room especially, I didn't want the shelves to bump up against the brackets and leave a gap behind them, so I cut a notch where the standards were. (next time, I'm going to use a hole saw to cut a semicircle there, isntead of trying to use a jigsaw to cut a 1.25" x 1.25" notch--those corners were a pain) And the shelf slides up against the wall. (if you do that notch thin, you'll need 25" deep shelves to go on 24" brackets. I even painted my standards to match the wall, and used white brackets to match the white shelves. If you wanted a section w/ a hanging bar, you could either install a hanging bar to the underside of the shelf, or try to find a standard-and-bracket system that has a hanging-bar type component. Or, maybe get two 18" brackets, and wire (or weld) a bar to the end of the bracket)...See MoreHas anyone tried KonMari?
Comments (8)Thanks for the responses! I'm glad you are enjoying the process....and that folding clothes is working. I like the way mine look so far, but I still have a long way to go. Still working on my room...and have another bag of trash (lots of papers) and one to Goodwill. Went through jewelry and still have to finish the 'stuff' in the closet, besides clothes. I store quite a bit of seasonal storage in my closet, but there will probably be a lot less of it, tomorrow : ) Also got all my 'pretty stationery' out of a storage container and onto my bookshelf. It is wonderful to actually see it...and use it, again! Right now I'm just working on MY things. I'm hoping I can get my mom excited about this, so she'll want to go through the dishes with me. We've gone through everything once with the move, but we still have a lot of duplicates. Pots and pans alone are probably enough for three households! LOL But I am determined to get rid of all the excess and make cleaning/tidying much easier. I've been trying to downsize for a long time. I have plenty of very good excuses for why I have too much stuff, but I just don't want to think about it anymore. I just want to do it!...See Moreeld6161
6 years agolast modified: 6 years ago
OutsidePlaying
6 years agoarcy_gw
6 years agolast modified: 6 years ago
jakabedy
6 years agoeld6161
6 years ago
dedtired
6 years ago
Sueb20
6 years ago
maddielee
6 years agoeld6161
6 years agodedtired
6 years agohhireno
6 years agoSueb20
6 years agodeegw
6 years agoeld6161
6 years agodeegw
6 years agohhireno
6 years ago
DYH
6 years ago
Related Stories
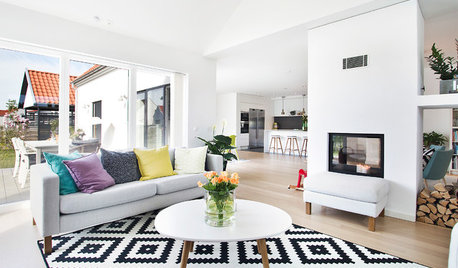
ARCHITECTUREOpen Plan Not Your Thing? Try ‘Broken Plan’
This modern spin on open-plan living offers greater privacy while retaining a sense of flow
Full Story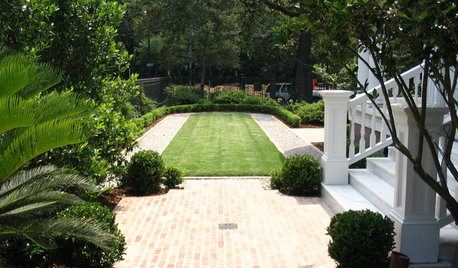
GARDENING AND LANDSCAPINGBocce, Anyone? Toss Some Popular Games Into Your Yard Plans
Score points for entertaining with a yard set up for lawn bowling, croquet, chess and more
Full Story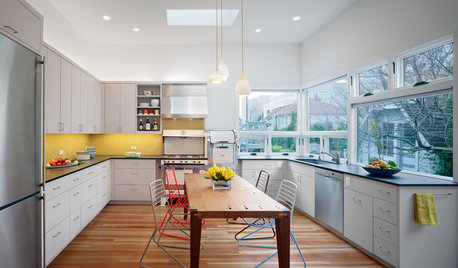
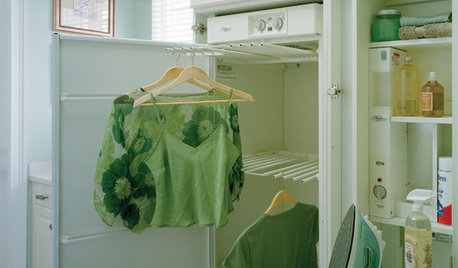
HOUSEKEEPINGHow to Care for Your Clothes to Make Them Last Longer
How you launder, store and dry your garments has an effect on their longevity. Here are 9 tips to extend their life
Full Story
HOUSEKEEPINGChoose Your Own Spring Cleaning Plan
Instead of trying to do it all, pick one of these six cleaning approaches that’s right for you now
Full Story
KIDS’ SPACESWho Says a Dining Room Has to Be a Dining Room?
Chucking the builder’s floor plan, a family reassigns rooms to work better for their needs
Full Story
KITCHEN WORKBOOKHow to Plan Your Kitchen Space During a Remodel
Good design may be more critical in the kitchen than in any other room. These tips for working with a pro can help
Full Story
LAUNDRY ROOMSThe Cure for Houzz Envy: Laundry Room Touches Anyone Can Do
Make fluffing and folding more enjoyable by borrowing these ideas from beautifully designed laundry rooms
Full Story
CLOSETSThe Cure for Houzz Envy: Closet Touches Anyone Can Do
These easy and inexpensive moves for more space and better organization are right in fashion
Full Story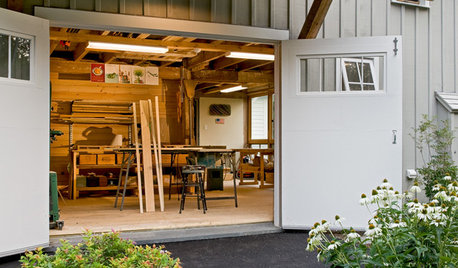
LIFEStressed Out? Try Hitting the Woodshop
Building things with your hands just might boost your mood while giving you personal new pieces for your home
Full Story
3katz4me