


Would you give up your laundry room to add a half bath?
onlywhnchasd
7 years ago
Featured Answer
Sort by:Oldest
Comments (19)

onlywhnchasd
7 years agoRelated Discussions
Mongo, would you give me some specs on your fab bath??
Comments (11)I thought I had a more comprehensive series of photos, but I might have not brought them over when I bought new computers a few weeks ago. The following are not pretty, but they might help: ABOVE: This shows a couple of things I had to work around. High over the toilet is a jog of the vent pipe, it comes into the room because it jogs around a load bearing beam in the wall. Lighting: You see two illuminated light bulbs. Those are the sconce locations for the "new' design. The original design had two sinks, two wall mirrors, and three wall sconces. The old wall sconce locations are the covered up junction boxes. I redid the wiring so there is no live wring in those now unused j-boxes. Outlets: Look at the middle shelf in the closet on the left. In the back right corner you can see a box. I built that to house a couple of electrical outlets. Two outlets for inside the closet, another outlet that is on the closet sidewall facing the sink, you can barely see the cover plate for that box on the closet wall to the left of the drill. More electrical: In the 48" tall cabinet that hides the toilet, there are four outlets in the upper part of that cabinet box. There is one outlet that faces the sink, there is another on the opposite side that faces the toilet. There are two inside the upper cubby to provide power to items in the upper drawer. To protect those outlets, there is a false back wall in the rear of the upper cubby of that toilet cabinet. The cabinet itself is about 32" deep, the false back wall is about 10" out from the cabinet's back, affording roughly 22" of depth for the upper toilet drawer. The cabinets: Nothing fancy, 3/4" birch plywood boxes. Horizontal shelves/tops/bottoms are recessed into the cabinet sides in a 1/4" deep dado. Titebond glue and screws. Cabinet backs are 1/2" MDF, recessed into the cabinet sides/top/bottom. Glued and screwed. Recessing the cabinet backs into the cabinet helps keep the cabinet perfectly square. I typically use a 2" wide vertical stile on my cabinet face frames. I prefer my frames to be flush with the edges of the cabinet sides. With the cabinet sides being 3/4" thick, two of them make 1-1/2". So I'll use a strip of 1/2" filler between adjacent boxes to get that 2" thickness. With my face frames being flush with the inside faces of the cabinet sides, to get square face frames you need square cabinet carcasses. You can't disguise sloppy construction with this method. Toekicks: Under the cabinets you see scrap pieces of 2x4. Those were eventually covered with wood and painted black. They simply limit the depth of the hole under the cabinet to round 8", giving dust bunnies less room to hide. ABOVE: This shows the same run of cabinets with the face frames installed. You can see the electrical outlet on wall of the left closet, facing the sink. You can see the outlet on right side of the toilet cabinet, facing the toilet. ABOVE: Everyone needs a place to keep their "to do" list. I know I'll never lose this list. At least not until I cover it with the teak top. ABOVE: Remember that really small vent pipe that jogged into the room? Well, I covered it with this really big soffit. Nothing like overkill, eh? I actually used it to balance out the visual weight of the upper part of the closet on the left side of the sink. Visually, it centers things to the open area over the center of the sink. Might sound like a lot of silly voodoo design, but visually it feels comfortable to me. The band around the upper walls is backer for the crown molding. ABOVE: Speaking of teak...this is 4/4 teak, or "four quarter" teak. If you go t a lumberyard and by a "one-by-four", it'll be 3/4" thick by 3-1/2" wide. If you go to a lumberyard and order 4/4 lumber, it'll be 1" thick. For 4/4 thickness or less, I'll use one row of biscuits. For 5/4 and thicker, I'll use a double row. In this bathroom the tub deck is 2" (8/4) thick, the sink countertop is 1-1/2" (6/4) thick, and the toilet cabinet teak top is 1" (4/4) thick. ABOVE: I usually use epoxy with teak. I thought I read a recent article that the newer titebond forumations work well on teak, but hey, when you buy epoxy by the gallon, you may as well use it, right? Except that I buy Titebond 4 gallons at a time. Hmmmmmm.... Okay, anyhow, I use epoxy. Teak is an oily wood, so prior to using epoxy I'll wipe down the edges to be glued with acetone. The acetone removes the oils. I mix the epoxy, apply it to the biscuits and the edges with an acid (flux) brush, sap it all together and clamp it up. Biscuits are designed to absorb moisture from water-based glues like Titebond and expand within the cut slots, they really lock the pieces together. Although there is no moisture in epoxy for the biscuit to absorb, it still provides more surface area for the epoxy, plus the biscuits help register and align the teak during the clamping process. ABOVE: After the epoxy has cured. I'm getting ready to belt sand these with 80-grit to smooth it out. Top photo is for the "toilet" cabinet, the bottom photo is a teak window sill for the window behind the tub. So...not the greatest series of "how to" photos. But hopefully they'll help a bit. Mongo...See MoreHas Anyone Converted a Half Bath to a Laundry Room? PIC
Comments (5)Deb Bathrooms get premium in resale - so I would give serious consideration before converting. In general, most home buyers dont have foresight to say I'll convert that laundry room back to 1/2 bath - So, it could be a deal breaker that said - The location of the powder room is another factor if it is the only BR on that level - I would say no, don't bother. IF there is another w/in relative close proximity & easy to get to then continue w/the other considerations good luck...See MoreGlam laundry room versus laundry/bath, which would you choose?
Comments (31)enduring, thanks, you bring up a lot of good points. i noticed in my existing laundry room that the tiles are all loose. i had assumed it was just because it is old and in need of a refresh, but wonder now if this is an indication of a poorly located washer? i also see that the dryer vents out onto the roof (a lot of old lint here). i didn't know there were ventless dryers! i will have to read up on those. thank you! Jan, initially i didn't think I should do the laundry in the smaller bath since that bath is small as it is. but the exterior wall of that bath is on my deck, which would be much better to clean out the dryer vents that way. so your and hemina's suggestion of moving it to the other bath is warming up to me. i agree with you regarding the attic not being worth tapping into. Laura, thanks for those suggestions. I do think we need a second bath and do feel it will add value. i also am thinking about having the upstairs laundry be a secondary unit stowed away somewhere, and putting the main laundry in my mudroom, since it is closer to where I am most of the day. perhaps a laundry chute would be a fun and useful item to add. i need to work on the location and concept of how i do laundry a bit more, think through all of my home's issues too. thank you so much everyone. it has been such helpful feedback!...See MoreOddball bath/laundry room shape - what would you do?
Comments (23)jslazart - one reason is we would lose the existing (valuable if small) storage space at the end of the shower (it's not in the sketch, but it's counter height, maybe 15 inches deep, as wide as the shower) - unless we got a really small bathtub. (that shower space actually once had a tub/shower but it was pulled out before my time). our purpose is to add a good bathtub upstairs and bring the washer/dryer up from the basement (exterior access only) without breaking the bank. on another note, i'm interested in people's takes on oval tubs (no jets needed!) - is it worth the extra space needed?...See Moreonlywhnchasd
7 years agoonlywhnchasd
7 years agolast modified: 7 years agoonlywhnchasd
7 years agoonlywhnchasd
7 years agoonlywhnchasd
7 years ago


Related Stories
GREAT HOME PROJECTSHate Hauling Laundry? Give Dirty Clothes the Chute
New project for a new year: Install a quick route to the laundry room
Full StoryBATHROOM DESIGN7 Reasons to Give Your Bath Zone a Living Room Vibe
With a few living room–like touches, you can transform your bathroom into a practical, relaxing retreat that’s overflowing with personality
Full Story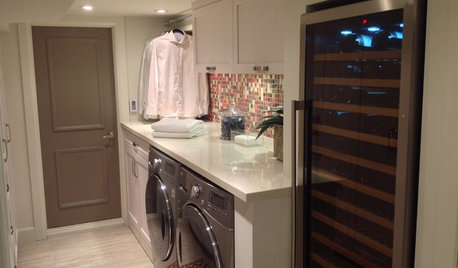
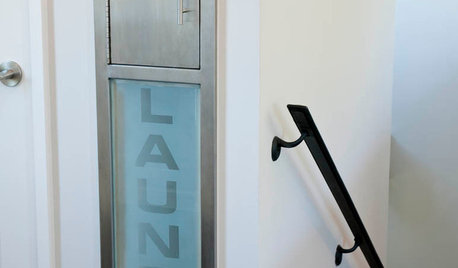
LAUNDRY ROOMSLaundry Room Redo Adds Function, Looks and Storage
After demolishing their old laundry room, this couple felt stuck. A design pro helped them get on track — and even find room to store wine
Full Story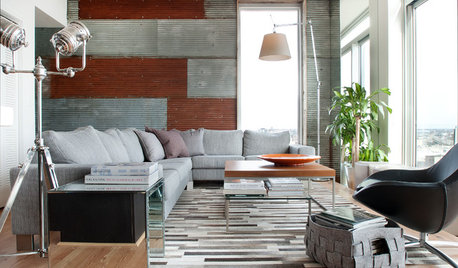
DECORATING GUIDESBring in da Funk: How Humble Touches Give a Home Soul
Shake up expectations and stir up interest with pieces that show patina, create contrast or offer a jolt of surprise
Full Story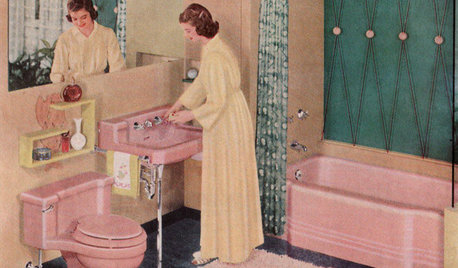
MOST POPULARHomeowners Give the Pink Sink Some Love
When it comes to pastel sinks in a vintage bath, some people love ’em and leave ’em. Would you?
Full Story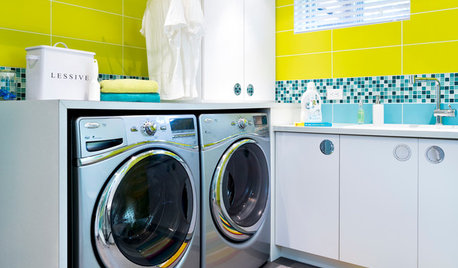
MOST POPULAR8 Ways to Add a Load of Color to Your Laundry Room
Give a tedious task a boost by surrounding yourself with a bold, happy hue
Full Story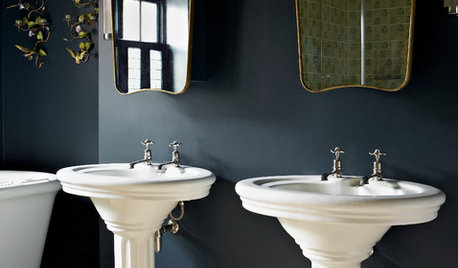
DECORATING GUIDESBlack, White and Gold Add Up to Bathroom Design Heaven
There is no more deliciously decadent palette for a bathroom than black, white and gold. Here’s how to work the mix for an elegant result
Full Story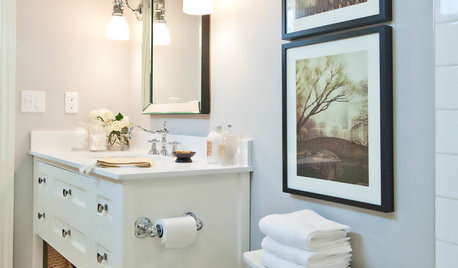
PRODUCT PICKSGuest Picks: Lighting to Perk Up a Powder Room
Sconces and pendants in classic, contemporary and even glam styles to brighten a small half bath
Full Story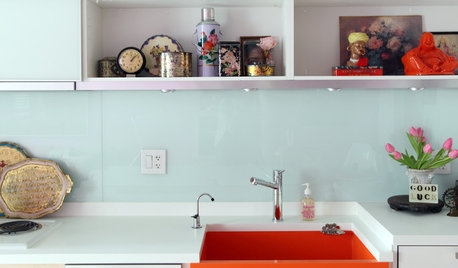
LIFEYou Said It: ‘Give the Kitchen a Little Wake-Up Call’ and More
Design advice, inspiration and observations that struck a chord this week
Full Story
BATHROOM DESIGNGive a Little Glitz for the Bath
Houzz Gift Guide 2010: What to Give Your Spa-Loving Friends
Full StorySponsored
Columbus Area's Luxury Design Build Firm | 17x Best of Houzz Winner!


palimpsest