


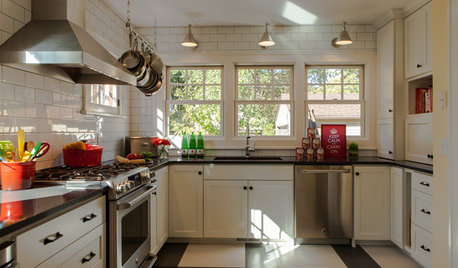
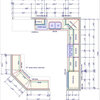
My kitchen makeover is done - photos to share
Window Accents by Vanessa Downs
15 years ago
Sort by:Oldest
Comments (42)
Related Stories
KITCHEN DESIGNGet Ideas from 10 Kitchen Makeovers
Share your thoughts on gorgeous kitchen transformations from Boston to Bristol. Which is your favorite?
Full Story
LIFEShare Your Winter Storm Jonas Photos and Survival Tips!
Let’s see your pictures and hear your ideas on how you’re keeping your house warm and staving off cabin fever
Full Story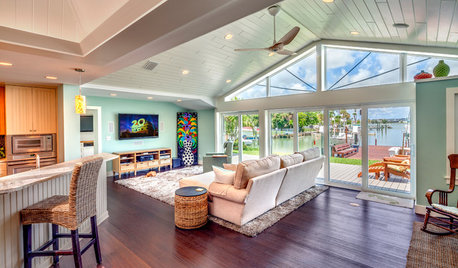
REMODELING GUIDESCoastal Makeover: A Florida Home Sees the Light
They're done! Check out the result of a ranch home that went from dark and dated to bright and airy — with a coveted water view
Full Story
DECORATING GUIDES9 Planning Musts Before You Start a Makeover
Don’t buy even a single chair without measuring and mapping, and you’ll be sitting pretty when your new room is done
Full Story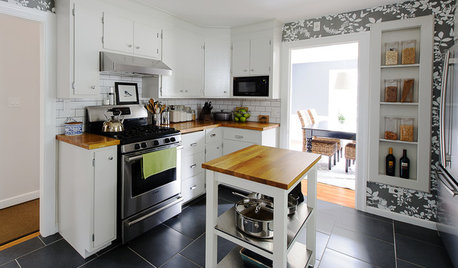
KITCHEN DESIGNKitchen of the Week: A Budget Makeover in Massachusetts
For less than $3,000 (not including appliances), a designing couple gets a new kitchen that honors the past
Full Story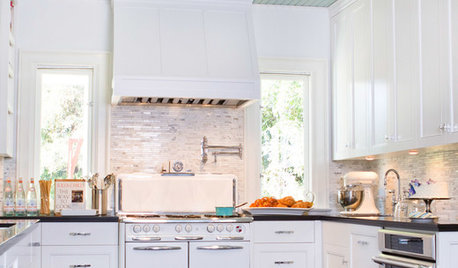
KITCHEN DESIGNJulia Child's Childhood Kitchen Gets a Makeover
Drop in on the California kitchen that may have influenced a legend, now remodeled for a next-generation cooking and entertaining enthusiast
Full Story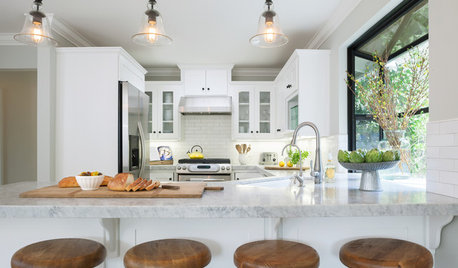
KITCHEN DESIGNKitchen of the Week: A Burst Pipe Spurs a Makeover
Once dark and clunky, this compact kitchen in a 1962 ranch is now light, bright and cheerful
Full Story
KITCHEN STORAGEGet It Done: How to Clean Out the Pantry
Crumbs, dust bunnies and old cocoa, beware — your pantry time is up
Full Story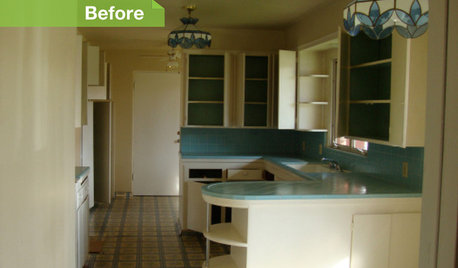
KITCHEN DESIGN24 Dramatic Kitchen Makeovers
From drab, dreary or just plain outdated to modernized marvels, these kitchens were transformed at the hands of resourceful Houzzers
Full Story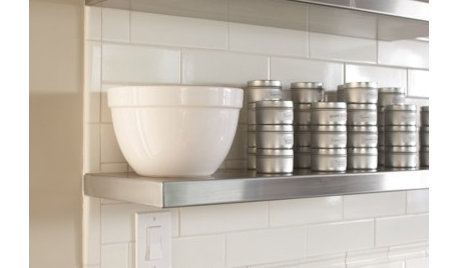
KITCHEN DESIGNHow Much Does a Kitchen Makeover Cost?
See what upgrades you can expect in 3 budget ranges, from basic swap-outs to full-on overhauls
Full Story

Jean Farrell
rhome410
Related Discussions
Kitchen Backsplash Finally Done! (photos)
Q
Sierra Guest House Finish Photos!Will my main house ever be done?
Q
Photos of my almost done White and Walnut kitchen/mudroom remodel
Q
Kitchen finally done(photos)
Q
moonkat99
jnjmom
mahatmacat1
loves2cook4six
busybme
Christine Decker
fran1523
maydl
pluckymama
robynpa
malhgold
booboo60
trixieinthegarden
cat_mom
crazyhouse6
marybeth1
acountryfarm
mom3suns
rosie
ccoombs1
gwent
mustbnuts zone 9 sunset 9
raehelen
evilbunnie
Window Accents by Vanessa DownsOriginal Author
megradek
gam51
jejvtr
Window Accents by Vanessa DownsOriginal Author
Happyladi
danajw
Window Accents by Vanessa DownsOriginal Author
janepa
neesie
madeyna
chicoryflower
annes_arbor
katybuggs
arleneb
Window Accents by Vanessa DownsOriginal Author