


Fireplace tile came! Mid-reno preview...
williamsem
10 years ago


Sort by:Oldest
Comments (23)
Related Stories
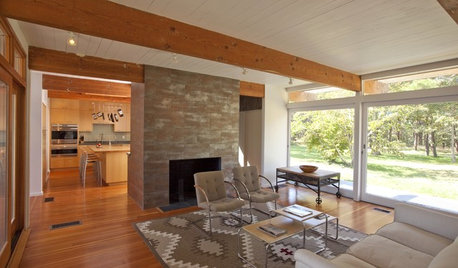
HOUZZ TOURSHouzz Tour: Mid-century Modern on Cape Cod
Visit a sprawling International Style home updated for a 21st-century family
Full Story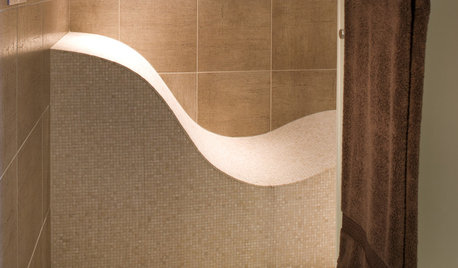
REMODELING GUIDESTop 10 Tips for Choosing Shower Tile
Slip resistance, curves and even the mineral content of your water all affect which tile is best for your shower
Full Story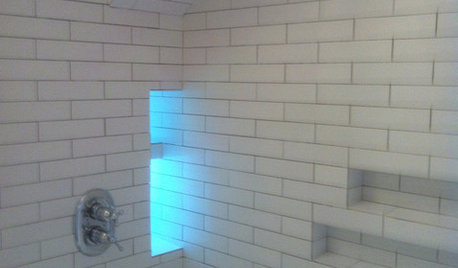
BATHROOM DESIGN10 Top Tips for Getting Bathroom Tile Right
Good planning is essential for bathroom tile that's set properly and works with the rest of your renovation. These tips help you do it right
Full Story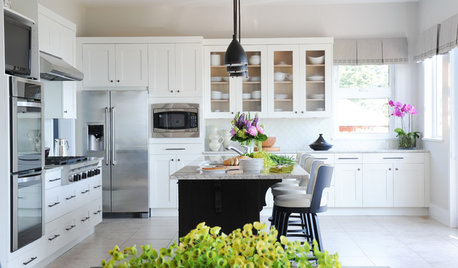
INSIDE HOUZZInside Houzz: Refaced Cabinets Transform a Kitchen
No walls came down. No windows were added. But this once-dark kitchen looks completely different, thanks to bright new surfaces
Full Story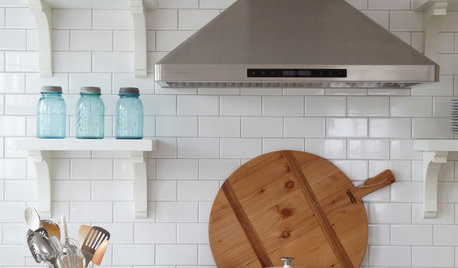
TILEHow to Choose the Right Tile Layout
Brick, stacked, mosaic and more — get to know the most popular tile layouts and see which one is best for your room
Full Story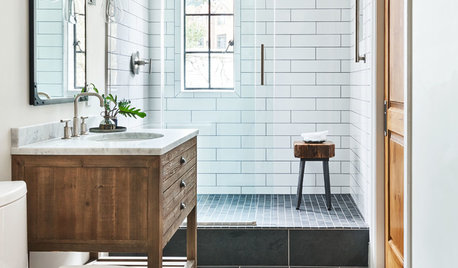
BATHROOM WORKBOOK12 Ways to Get a Luxe Bathroom Look for Less
Your budget bathroom can have a high-end feel with the right tile, stone, vanity and accessories
Full Story
BATHROOM COLOR8 Ways to Spruce Up an Older Bathroom (Without Remodeling)
Mint tiles got you feeling blue? Don’t demolish — distract the eye by updating small details
Full Story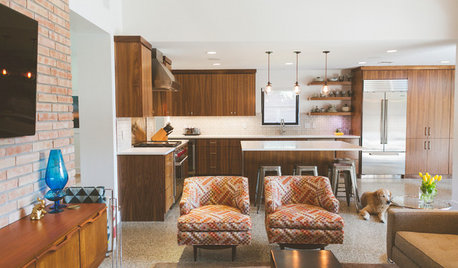
MY HOUZZMy Houzz: 1955 Texas Ranch Moves On Up With a Modern Addition
Graphic tiles, wood accents, modern furnishings and a new second story help elevate a dated interior and layout
Full Story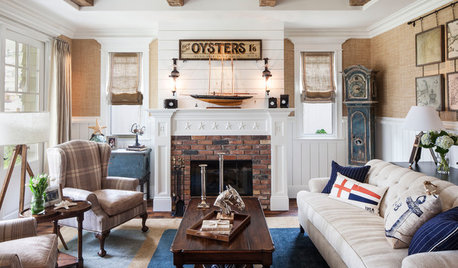
FIREPLACESWhat Goes With a Redbrick Fireplace?
Play up or tone down your redbrick fireplace by pairing it strategically with other colors and materials
Full Story
HOUZZ TV FAVORITESHouzz TV: Flickering Virtual Fireplaces to Warm Your Heart
Sit back and enjoy a crackling fire set to seasonal music and surrounded by ideas for your own dream living room
Full Story


User
madtown_2006_gw
Related Discussions
Need backsplash ideas for kitchen reno
Q
Stephanj's Sektion kitchen preview
Q
Big Reveal: Mid-Century Ikea and SemiHandmade
Q
Sneak Peek/Preview - Cpartist's kitchen
Q
Holly- Kay
Jess TKA
cat_mom
Annie Deighnaugh
doodledog_gw
alex9179
andee_gw
joaniepoanie
williamsemOriginal Author
oldbat2be
williamsemOriginal Author
equest17
williamsemOriginal Author
williamsemOriginal Author
User
williamsemOriginal Author
williamsemOriginal Author
User
williamsemOriginal Author
4boys2
williamsemOriginal Author