


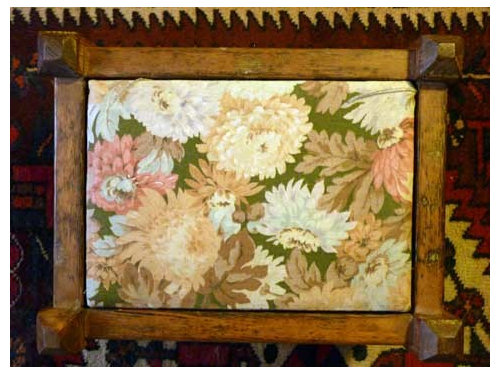
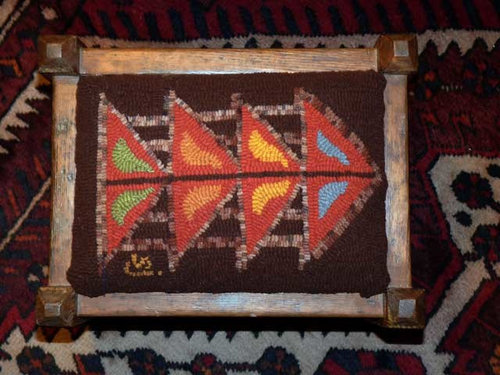
My latest hooking project (illustrated with pics)
alisande
12 years ago


Sort by:Oldest
Comments (6)
Related Stories
BATHROOM DESIGNSweet Retreats: The Latest Looks for the Bath
You asked for it; you got it: Here’s how designers are incorporating the latest looks into smaller master-bath designs
Full Story
KITCHEN DESIGNHouzz Call: Pros, Show Us Your Latest Kitchen!
Tiny, spacious, modern, vintage ... whatever kitchen designs you've worked on lately, we'd like to see
Full Story
Call for DIY Projects: Show Us What You've Got!
Share a Pic of Your Handiwork with the Houzz Community
Full Story
BUDGETING YOUR PROJECTDesign Workshop: Is a Phased Construction Project Right for You?
Breaking up your remodel or custom home project has benefits and disadvantages. See if it’s right for you
Full Story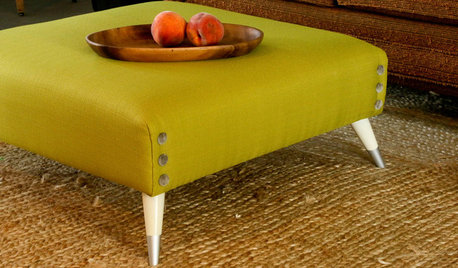
DIY PROJECTSTurn a Shipping Pallet Into a Stylish Ottoman
Get the step-by-step instructions for upholstering your own mod living room centerpiece
Full Story
KITCHEN DESIGNStandouts From the 2014 Kitchen & Bath Industry Show
Check out the latest and greatest in sinks, ovens, countertop materials and more
Full Story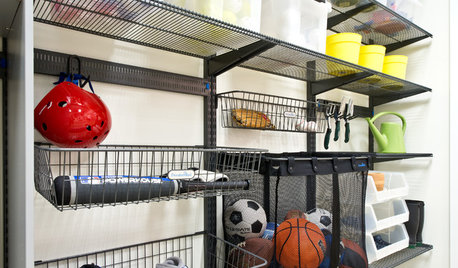
GREAT HOME PROJECTSHow to Make Your Garage a Storage Powerhouse
New project for a new year: Add shelving and containers to get your stuff off the garage floor — and still have room for the car
Full Story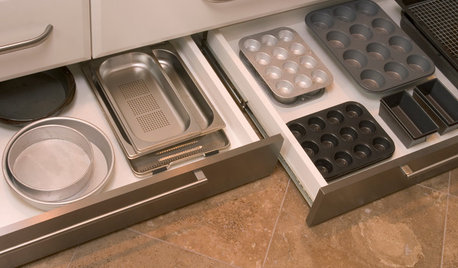
GREAT HOME PROJECTSHow to Add Toe Kick Drawers for More Storage
Great project: Install low-lying drawers in your kitchen or bath to hold step stools, pet bowls, linens and more
Full Story
DECORATING GUIDESHow to Get Your Accent Pillows Right
Weekend Project: Pull your living room together with the perfect combination of decorative pillows
Full Story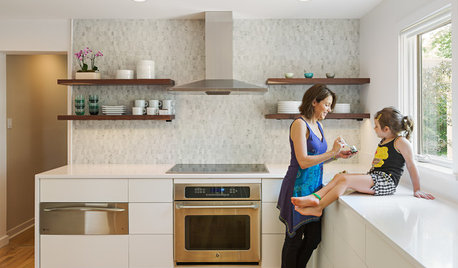
INSIDE HOUZZTell Us Your Houzz Success Story
Have you used the site to connect with professionals, browse photos and more to make your project run smoother? We want to hear your story
Full Story
nicole__
Jasdip
Related Discussions
My latest project ~ Mirror in Kitchen
Q
My latest quick project (pics)
Q
Some of my latest projects
Q
Some of my latest projects
Q
susanjf_gw
OklaMoni
alisandeOriginal Author
lydia1959