


Sooooo....now what?
lindac
12 years ago
Sort by:Oldest
Comments (14)
Related Stories
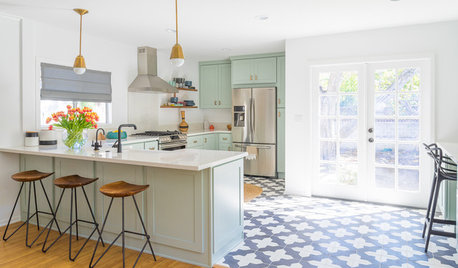
KITCHEN DESIGNTrending Now: 25 Kitchen Photos Houzzers Can’t Get Enough Of
Use the kitchens that have been added to the most ideabooks in the last few months to inspire your dream project
Full Story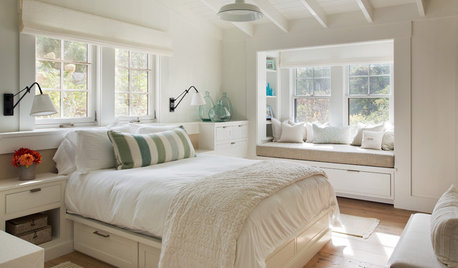
BEDROOMSTrending Now: 25 Bedrooms We’d Love to Fall Asleep In
Looking for a comfortable and calm space? Consider some of the most popular new bedroom photos on Houzz
Full Story
HOUSEKEEPINGThree More Magic Words to Help the Housekeeping Get Done
As a follow-up to "How about now?" these three words can help you check more chores off your list
Full Story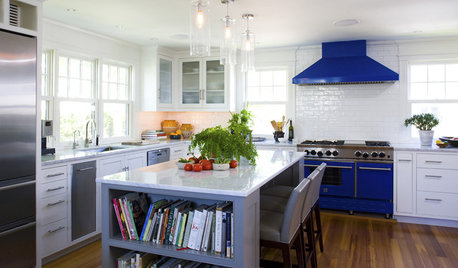
KITCHEN DESIGNSo Over Stainless in the Kitchen? 14 Reasons to Give In to Color
Colorful kitchen appliances are popular again, and now you've got more choices than ever. Which would you choose?
Full Story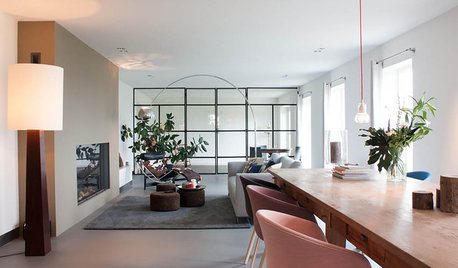
HOUZZ TOURSMy Houzz: Turning a Netherlands Barn Into a Country Home
Once a place for chilling milk, this Dutch home now lets the owners chill out in easygoing comfort
Full Story

MORE ROOMSInspiring Double-Height Living Spaces
Lofty Rooms Bring Light and Connection to a Home's Design
Full Story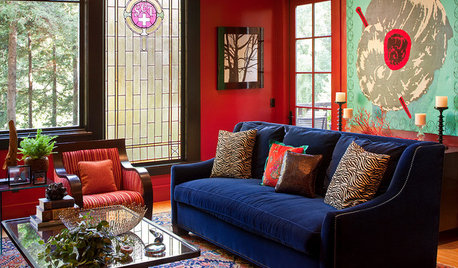
ROOM OF THE DAYRoom of the Day: Connecting With Style in a Former Social-Club Lodge
Bold red walls and elegant touches create a distinctive living room that packs a visual punch
Full Story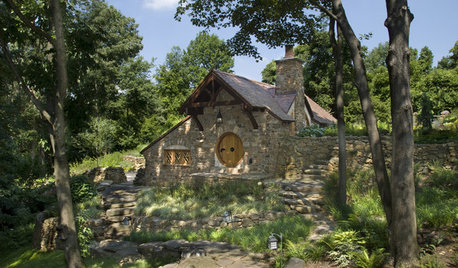
MAN SPACESHouzz Tour: 'Hobbit House' in Pennsylvania Countryside
This tiny Pennsylvania cottage and private museum takes its inspiration from J.R.R. Tolkien's fantasy world
Full Story
Sponsored
Professional Remodelers in Franklin County Specializing Kitchen & Bath


hawk307
User
Related Discussions
OT: 9/06/ what's everyone up to??? :'}
Q
venting questions
Q
Jade plant droopy . What should I do?
Q
The Company Store......grrrrr
Q
jude31
jude31
lindacOriginal Author
shambo
shambo
lindacOriginal Author
dcarch7 d c f l a s h 7 @ y a h o o . c o m
shambo
lindacOriginal Author
User
lindacOriginal Author
coconut_nj