

ISO: Motel cooking ideas!
12 years ago
Featured Answer
Sort by:Oldest
Comments (24)
 12 years ago
- 12 years ago
Related Discussions
Guess we will spend the night in a motel
Comments (9)I hope your motel is as nice as the one I stayed in back when DD was in college. It didn't have a jacuzzi but everything else was top of the line and sparkling clean. And the bathroom fixtures worked :) It does feel strange to pay for bottled water, but when the alternative is either go thirsty or risk illness, the price seems reasonable. I use purified water (on the road, pour the free stuff into a pitcher's insert) for both drinking and cooking even though the local water supply is rated as being among the safest in the nation. The water pipes into our neighborhood date from the 1940's and I don't trust them. Faucet/pitcher filters that remove 99% of the contaminents gives me safer water for only pennies a gallon....See MoreISO Sauce ideas...
Comments (10)I was thinking a vodka sauce, too. Here is one you might like. Vodka Cream Pasta Rachel Ray 1 tablespoon extra-virgin olive oil, once around the pan in a slow stream 1 tablespoon butter 2 cloves garlic, minced 2 shallots, minced 1 cup vodka 1 cup chicken stock 1 can crushed tomatoes (32 ounces) Coarse salt and pepper 16 ounces pasta, such as penne rigate 1/2 cup heavy cream 20 leaves fresh basil, shredded or torn Crusty bread, for passing Heat a large skillet over moderate heat. Add oil, butter, garlic, and shallots. Gently saute shallots for 3 to 5 minutes to develop their sweetness. Add vodka to the pan, 3 turns around the pan in a steady stream will equal about 1 cup. Reduce vodka by half, this will take 2 or 3 minutes. Add chicken stock, tomatoes. Bring sauce to a bubble and reduce heat to simmer. Season with salt and pepper. While sauce simmers, cook pasta in salted boiling water until cooked to al dente (with a bite to it). While pasta cooks, prepare your salad or other side dishes. Stir cream into sauce. When sauce returns to a bubble, remove it from heat. Drain pasta. Toss hot pasta with sauce and basil leaves. Pass pasta with crusty bread. Or, for something a little different: Bow Tie Pasta with Roasted Red Pepper and Cream Sauce Source: Cooking Light May 2006 1 pound uncooked farfalle (bow tie pasta) 2 teaspoons extra virgin olive oil 1/2 cup finely chopped onion *1 (12-ounce) bottle roasted red bell peppers, drained and coarsely chopped* 2 teaspoons balsamic vinegar 1 cup half-and-half 1 tablespoon tomato paste 1/8 teaspoon ground red pepper 1 cup (4 ounces) freshly grated Parmigiano-Reggiano cheese, divided Thinly sliced fresh basil (optional) Cook the pasta according to package directions, omitting salt and fat. Heat oil in a large skillet over medium heat. Add onion, and cook 8 minutes or until tender, stirring frequently. Add bell peppers; cook 2 minutes or until heated through. Increase heat to medium-high. Stir in vinegar; cook 1 minute or until liquid evaporates. Remove from heat; cool 5 minutes. Place bell pepper mixture in a blender; process until smooth. Return bell pepper mixture to pan; cook over low heat until warm. Combine half-and-half and tomato paste in a small bowl, stirring with a whisk. Stir tomato mixture into bell pepper mixture, stirring with a whisk until well combined. Stir in ground red pepper. Combine pasta and bell pepper mixture in a large bowl. Add 1/2 cup cheese, tossing to coat. Spoon 1 1/3 cups pasta into each of 6 bowls; top each with about 1 1/2 tablespoons cheese. Garnish with basil, if desired. Yield: 6 servings *My note: I roasted my own red peppers, used 3 of them in the recipe. Linda...See MoreCommitment Phobic Female ISO Advice...
Comments (34)Thanks -- I have never thought out or planned what went under a sink so much as in this remodel. Never had any choice other than making the best of what came with the house. It's easy to use and to keep when you plan a spot for what you need and have an extra couple of spots for overflow (that extra bottle of Dawn that seems will be there forever and some extra sponges under the disposal as well as some on the right). Having everything that needs to go into the cabinet and telling the plumber where he can put the pipes rather than letting them run all over the place makes a big difference. They'll eat up the whole thing if no one tells them otherwise because it's easier to work out front -- even with that rear drain. My sink drain is center rear. We found that nearly everything that large other than the Shaw's Original fireclay farmhouse sink had center or center rear drains. The side drains was one vote for the Shaw's, but we weren't convinced we wanted a farmhouse for the long haul. As it turned out, it works well, both in the sink and below. In the sink, I can put a half sheet pan laying flat front to back on either side and still have the center open for the drain. Having it to the rear does give me more height for cleaning supplies toward the front. My corner pantry didn't work in large part because of the shelving -- it wasn't right for the space or our needs. It wasted anything above 5 or 6 feet and we had 10 feet ceilings. The shelves were also on 2 sides only They were deep on one side, and that meant you had deep, dark corners that were near impossible to use, even with turntables, for half the space. The third wall was wasted (could have had shallow shelving -- great for cans -- if it had been better planned)and the fourth was the door and the depth of the narrower shelves. The only good thing was the spice rack DH built and installed on the back of that door, but I like my spice drawer better. I think that we could have possibly redone all the shelving and made the pantry work much better. We started toying with the notion of taking the pantry out altogether when I was questioning whether the ovens I wanted would fit in the cabinet we had right next to the pantry. Sliding the ovens over gave me a more workable space for baking, and creating a wall of tall storage evolved from that -- fridge is flanked by pantry rollouts and pantry tower as well as as 12" utility and 24" cabinets above all of that. My small appliances go in 13" deep cabinets on the back of the island and are very handy -- but I don't have any island seating. Either system can work, but you need to be able to make it work for all your needs. You should have some flexibility in your system too (I'd want adjustable shelving rather than fixed). I'd be careful about having deep shelves. What you have planned isn't wrong and many people would love to have something just like it. Mine didn't work -- in large part because the fixed shelves were thrown in (on 2 sides only) by the builder who didn't care how it functioned and so much was lost to deep corners. It was a big space so it should be good, right? Wrong. Plan it an make sure you get what you want and that anything you are uncertain about has flexibility so you have options. I do like having my corner more open and the space feeling larger. I also paid more for my cabinets to get it. Lots of things to think about....See MoreRemodeling a 90s kitchen - ISO help tearing plan apart/improving it
Comments (54)Well, instead of ordering cabinets with the last plan, we hired a designer and ended up *hating* the experience (very expensive and not at all helpful). We also discussed the pros and cons of each of the plans we had seriously considered so far and, unfortunately, came to the (somewhat reluctant on my part) agreement that the main sink in the island makes the most sense for our space. Every other plan had serious trade-offs to the kitchen flow when the sink faced a wall (window not an option). We also decided to switch from our 30" induction range to a 36" induction cooktop + steam oven + wall oven. Some of the pros... It looks good as a whole (well, the perimeter looks good -- we never liked the look of the perimeter in any of the wall-sink plans). Reasonable counter space on either side of the cooktop (38" both sides) Long, uninterrupted counter top next to fridge (64") Open counter top directly across from fridge (french door), next to sink. All drawer base cabinets, and all but one (end of island) are very wide. Kids can get things from fridge and use microwave drawer without coming too far into the kitchen, or access pantry. Large drawers directly across from dishwasher (and next to fridge) perfect for silverware/plate/bowls. More large drawers immediately next to them for food storage and knives. Double trash pullout under the sink (sink is 45" wide and 9" deep on that side so the double trash pullout CAN fit nicely and not impede use of sink/dishwasher). Secondary sink in the butler's pantry (where the coffee and espresso machines are) - we drink a LOT of coffee. Space immediately under cooktop for vertical pan storage, plus large drawers next to and under for MORE pan storage. A few cons... The island has a sink in it. There is some distance between the cooktop and the primary sink, which I had wanted to avoid (if it isn't the kids in the way, it is one of my cats). No place for my knives directly at the island (will have to be in drawer directly behind the sink, which is at least still close). I will call out that while the cooktop (formerly range) does *appear* to be in the "main throughfare", what we have observed is that people are typically walking in and then down towards the living room, not in and through the kitchen towards our bedroom/dining area. True for both kids and guests. And it is a very wide aisle if someone does walk behind the cooktop and someone is there. In our temporary kitchen setup we have the range along that wall and it has never been an issue (the kids come home and never walk through the kitchen). Given all of the trade-offs we're having to make, this one seems to be acceptable? Renderings only show the steam oven (wolf CSO 30" with the large interior), but we will probably include a second wall oven below it (because my husband thinks it looks weird without a full oven, mostly- I'm the baker and I don't feel the need for a full/standard oven, but maybe I'd regret that decision later on)....See More- 12 years ago
 12 years ago
- 12 years ago
 12 years ago
- 12 years ago
- 12 years ago
- 12 years ago
 12 years ago
- 12 years ago
- 12 years ago
- 12 years ago
- 12 years ago
- 12 years ago
- 12 years ago
- 12 years ago
- 12 years ago
- 9 years ago
- 9 years ago


Related Stories

KITCHEN DESIGNHouzz Call: Tell Us About Your First Kitchen
Great or godforsaken? Ragtag or refined? We want to hear about your younger self’s cooking space
Full Story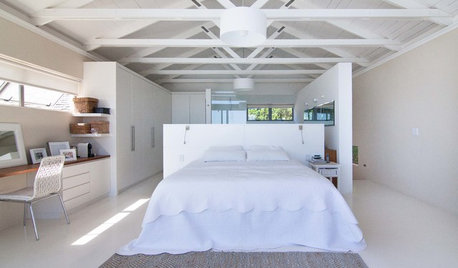
ARCHITECTUREDesign Workshop: The Open-Concept Bathroom
Consider these ideas for balancing privacy with openness in an en suite bathroom
Full Story
LIFEThe Moving-Day Survival Kit: Lifesaving Items and Niceties
Gather these must-haves in advance for a smooth move and more comfortable first days in your new home
Full Story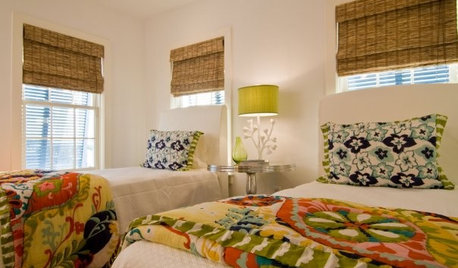
LIFE10 Quick Ways to Get Your House Ready for Company
Holiday checklist: See how to make your home 100-percent welcoming in an afternoon. Plus: How to be a good guest
Full Story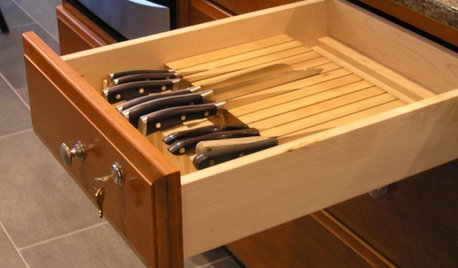
REMODELING GUIDESFrom the Pros: 8 Reasons Kitchen Renovations Go Over Budget
We asked kitchen designers to tell us the most common budget-busters they see
Full Story
NEUTRAL COLORSHow to Bring Beige Walls to Life
Go for sprightly instead of snoozy by pairing beige walls with higher-octane hues
Full Story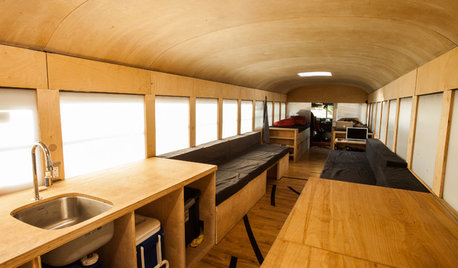
FUN HOUZZBuckle Up for a Modern Mobile Cabin in a Bus
See an innovative off-the-grid living space designed by an architecture student — with room for 6 and a sunbathing spot
Full Story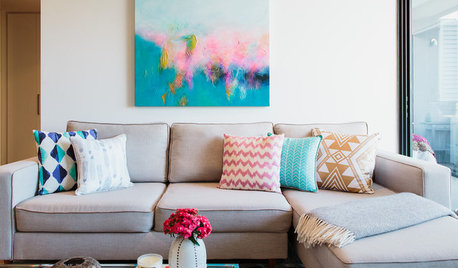
MOST POPULAR8 Life-Enhancing Home Resolutions for the New Year
You can take steps to make this the year your home truly becomes a place of comfort and joy
Full Story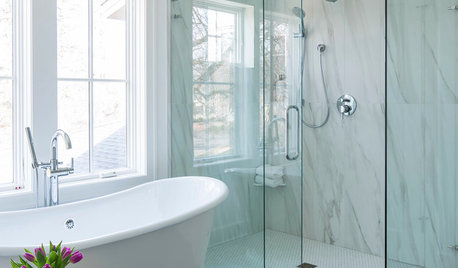
BATHROOM DESIGNTop 10 Trending Bathroom Photos on Houzz
See the looks for the bathroom that Houzz users are saving to their ideabooks now
Full Story
LIFEModern Manners for Conflict-Free Family Visits
Avoid thermostat wars, pet peeves and the great shower squeeze with these tips for having family as houseguests
Full Story

colleenoz