


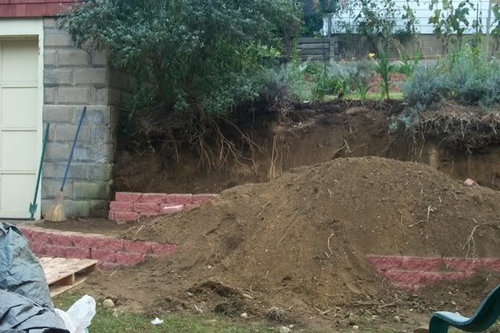
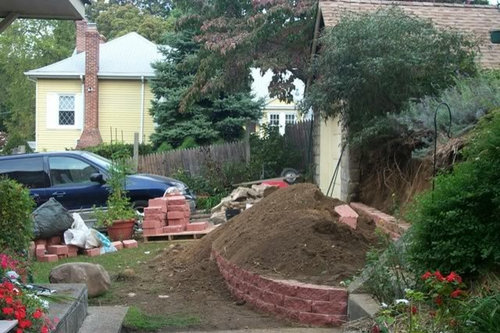
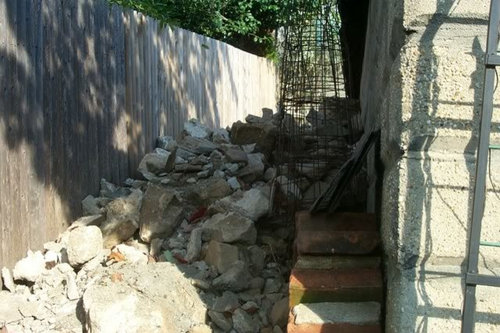
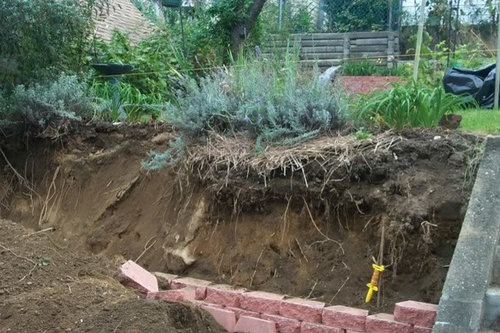
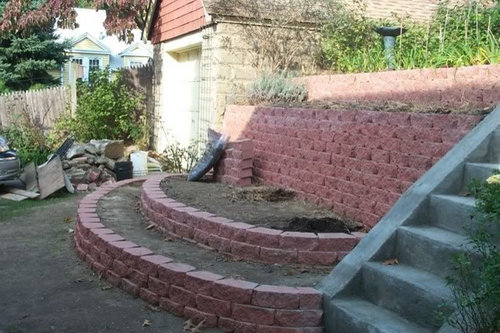
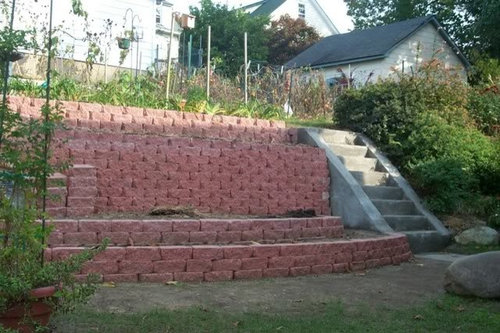
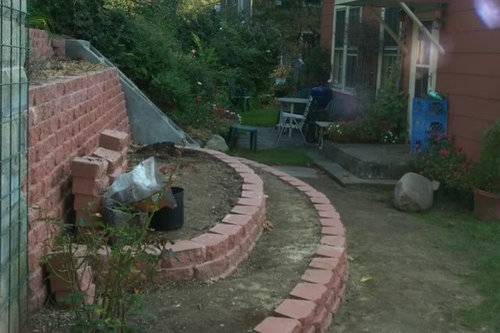
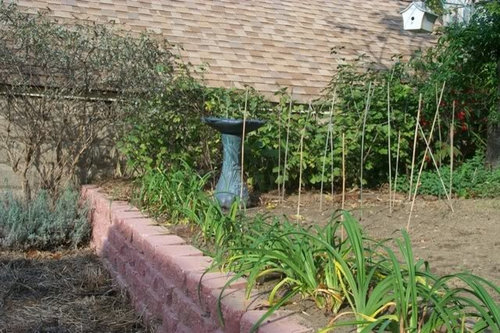
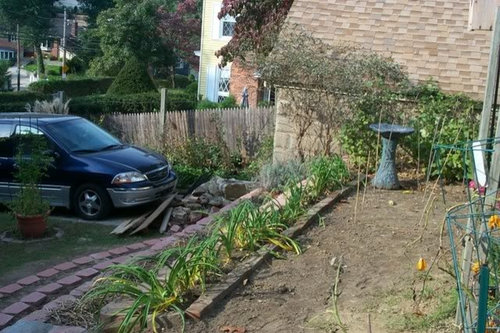
A Big Mess in the Garden Landscape Project (many pictures)
16 years ago
Sort by:Oldest
Comments (13)
Related Stories
HOUSEKEEPINGTackle Big Messes Better With a Sparkling-Clean Dishwasher
You might think it’s self-cleaning, but your dishwasher needs regular upkeep to keep it working hard for you
Full Story
MOST POPULARA Fine Mess: How to Have a Clean-Enough Home Over Summer Break
Don't have an 'I'd rather be cleaning' bumper sticker? To keep your home bearably tidy when the kids are around more, try these strategies
Full Story
PETSDealing With Pet Messes: An Animal Lover's Story
Cat and dog hair, tracked-in mud, scratched floors ... see how one pet guardian learned to cope and to focus on the love
Full Story
HOUSEKEEPINGHow to Relax and Put Housework in Its Place
If household disarray is making you stressed and unhappy, try approaching it with a different point of view
Full Story
MOST POPULAR5 Ways to Hide That Big Air Conditioner in Your Yard
Don’t sweat that boxy A/C unit. Here’s how to place it out of sight and out of mind
Full Story
HOUZZ TOURSMy Houzz: Many Styles Meld Handsomely in a Vermont Countryside Home
With a traditional exterior, a contemporary interior and lots of Asian furniture, this home goes for the element of surprise
Full Story
DREAM SPACESDesign Workshop: The Case for Big Overhead Doors
Garage-style doors are cost-effective solutions for opening rooms to dream views and fresh air — and they’re more stylish than ever
Full Story
LIFEFall Planning for a Successful Big Spring Party
Get started now on assessing, completing home projects and cleaning to keep party stress and effort to a minimum come spring
Full Story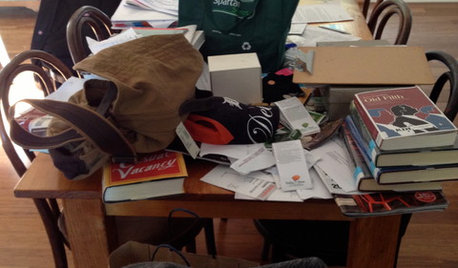
LIFEAnatomy of a Family-Size Mess
Study your home’s dumping grounds to figure out what organizational systems will work — then let yourself experiment
Full Story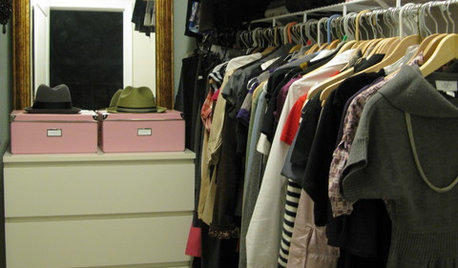
MOST POPULARHow to Finally Tackle Your Closet's Critical Mess
It can be tough to part with reminders of your past, but your closet needs space for who you are today
Full StorySponsored


phaltyme21
mizellie
Related Discussions
big mess up on paths - question on bed now well below grade
Q
What would you do to landscape this mess: privacy vs pretty?
Q
What a mess. Project pictures.
Q
Messed up my computer big-time
Q
okbt
highjack
loveofmylife680
newyorkritaOriginal Author
mikeandbarb
mizellie
newyorkritaOriginal Author
newyorkritaOriginal Author
jean_ar
newyorkritaOriginal Author
organic_kitten