


pics of my homemade canning labels
reba_grows
16 years ago
Sort by:Oldest
Comments (20)
Related Stories
Call for DIY Projects: Show Us What You've Got!
Share a Pic of Your Handiwork with the Houzz Community
Full Story
LIFESlow Living 101: Tips for Turning Off the Chaos
It may feel as though you're too busy to slow down and enjoy life. But even little changes can have a big effect
Full Story
ORGANIZINGOrganizing Secrets: It’s the Little Things
Get these 8 small areas under control for a major boost in overall tidiness at home
Full Story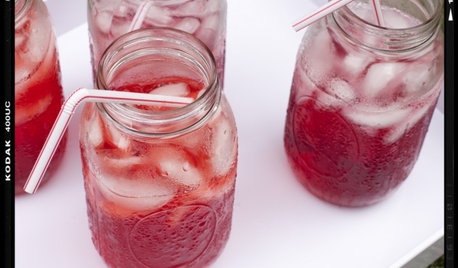
ACCESSORIESMultipurpose Wonders: Mason Jars
Sure, they're great for sauce. But mason jars have potential way beyond the pantry, as vases, candleholders, drinking glasses and more
Full Story
BUDGET DECORATINGPop Culture Watch: Get a Good Rap With Thrift Store Scores
Eight rooms that rock secondhand finds, in an ideabook inspired by rappers taking YouTube by storm
Full Story
ARCHITECTURERoots of Style: Where Did Your House Get Its Look?
Explore the role of architectural fashions in current designs through 5 home styles that bridge past and present
Full Story
KITCHEN STORAGEGet It Done: How to Clean Out the Pantry
Crumbs, dust bunnies and old cocoa, beware — your pantry time is up
Full Story
FEEL-GOOD HOMESimple Pleasures: Make Do and Mend
Experience the satisfaction of fixing, repurposing and creating things yourself around the home
Full Story
DECLUTTERINGFoolproof Ways to Declutter Your Kitchen
If you find yourself fumbling through cupboards to find what you’re looking for, it’s time to take action with these simple steps
Full Story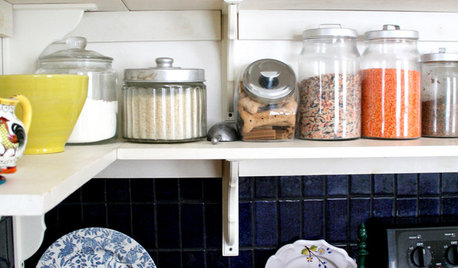
KITCHEN DESIGNDisplaying Kitchen Supplies — Hot or Not?
Do some kitchens just beg for a cozy row of canisters and gear for all to see? Have a look and let us know what you think
Full Story
Linda_Lou
shirleywny5
Related Discussions
My little homemade seed starter
Q
Labels??-We Got Labels--Long post with pics
Q
Homemade ROASTER w/pics
Q
Pics of 2 of my budget, home-made Christmas gifts
Q
mellyofthesouth
reba_growsOriginal Author
yummykaz
Tnflower_lover
readinglady
ksrogers
kayskats
readinglady
reba_growsOriginal Author
ksrogers
gardengrl
reba_growsOriginal Author
ksrogers
gardengalrn
zabby17
MLcom
greenhouser
reba_growsOriginal Author