


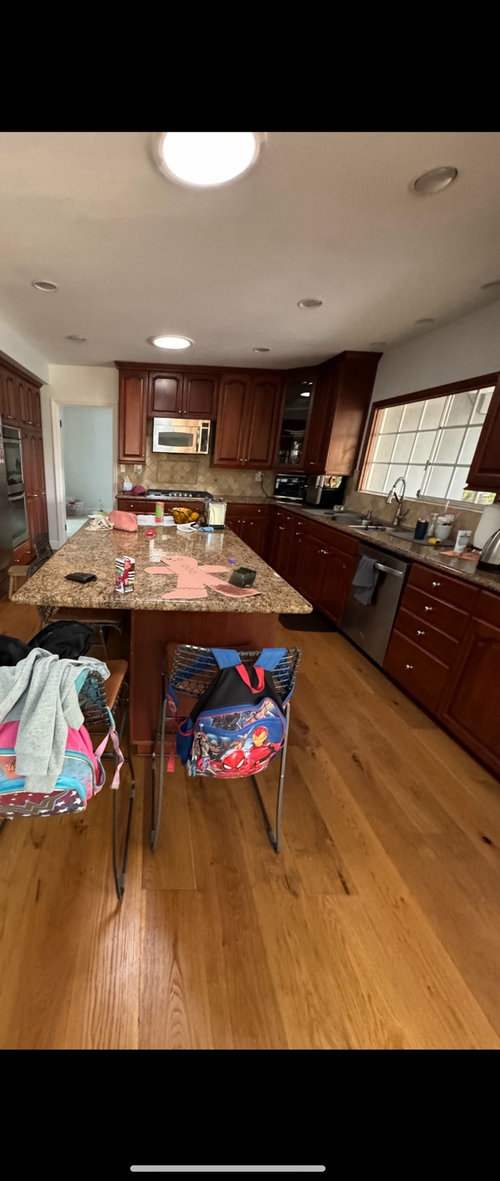
Kitchen Remodel Finally Finished
Bob z
14 days ago


Featured Answer
Sort by:Oldest
Comments (10)

malabacat
14 days ago
dani_m08
14 days agoRelated Discussions
After 8 years, the final touch on our kitchen/family room remodel
Comments (21)Thanks everyone for the compliments and good wishes! We can't believe how well it turned out either. We agonized a lot over which seating to order. Even though we played around with layouts on paper, I was worried that the theater seating group would be too big but I really wanted 3 seats there. The room feels much more spacious with the new seating then with the old couch - I think that's partly its a visual illusion because this one looks less bulky and partly the Space is less deep than on the old couch with its bulky cushions. mtnfever, the Couch Color pageant definitely helped us get clarity on the right color. For those who missed it, I highly recommend the approach of making large samples of a color to consider instead of trying to imagine with a tiny sample chip. I'll link the thread below for those who didn't see it. We knew we wanted to get rid of the hearth when we bought the house decades ago, but it took a long time to get around to it. On the other hand, I don't think we would have made as good decisions if we had replaced it back then. Bcafe, in the stores, they use the Stressless name and logo more than the Ekornes one so it would be easy to think that the company wasn't around. They still have the Ekornes non-reclining couches and chairs too. The website is www.ekornes.com/us. Enduring - yes it wasn't in scale and was way too dark. Even more, I hated it because it was fake stone. It always looked really fake to me though I've had others who were sure it was real stone. Gooster, yes all the front speakers are behind speaker cloth sections in the cabinets. The center is between the two drawers of the credenza; left and right on pull out shelves in the far left and right cabinets. The subwoofer is the black box on the floor and the rear speakers are white and mounted near the ceiling - you can see one in the first picture. Yes, we moved the fireplace to the right - doing so was only slightly more work than tearing out the hearth and installing a new one where the old one was. The hearth was fake stone on a metal mesh backing over a wood frame so that was much easier to remove than it looks like it would be. There wasn't a solid brick or stone chimney - just a flue pipe to remove and this is on an inside wall - the works were all in the empty space between the faux stone and an interior wall - so there was no external chimney to move to match except a little box on the roof. This is a one story which also makes moving things easier - the main work of moving it was patching the old hole in the roof and making a new one for the new flue to go through. We had moved it too far to be able to slant the flue to reach the old hole. When our GC took out the old hearth, there were some surprises. A joist had been cut for the old flue to go through the ceiling and it hadn't been sistered or anything - just two joist ends hanging in space in the ceiling. Our GC repaired that. There were electrical outlets on the bottom of the hearth and there were wire junctions just hanging in space inaccessible under the heart where the wiring was connected to wires from the wall. The fireplace was apparently a very early addition to the house poorly done. The TV is 65" - the size was chosen to be big enough that text viewed from the couch when using the screen for the media computer would be about equivalent to looking at text on a desktop computer screen. Also it works nicely for viewing while cooking and yet isn't overwhelming from the couch. The gap could accommodate a 73" screen, but I prefer having a little space around the screen. CEFreeman, the knobs took a lot of thought and work. He has made things like bowls and salt shakers before but never has made things that need to match as a large set. I came up with an initial design for the profile after seeing something similar in a magazine and then he made some initial variations so we could perfect the diameter, height and shape details. Then he made about twice as many as we would need since these are done freehand and the wood also varies. I sorted them into matched pairs and we used the best matches on the pairs of doors where the knobs are right next to each other in the wide cabinet and the credenza. We also put matched pairs on the left and right opening tall cabinets in case they are ever in a room where they are right next to each other. He also repairs furniture and is the only reason we still can use the rather fragile dining table chairs we have. But he does full time day care for our youngest grandchild so I only get so much project time from him. Bellsmom!! Yikes - so that's why we had to replace the hearth - to keep trolls from hiding there. I love your concept - so did my husband. (The eyes were elevations I made of our plans for the wall. When I asked about vertical blinds on the Home Decorating forum, there were a lot of people who were anti-vertical, but for the windows and style of this house, I think they are the best solution. Part of some peoples objections were based on cheap industrial metal verticals. These ones have fabric laminated to plastic for the vanes so they are quieter. We popped for the backstaker option so when partially open the stacked vanes are at the edge of the windows. We also like that the blinds can be tilted to block sun when needed while still letting us see the yard and monitor grandchildren on the patio. Marti8a, we chose to keep the same wood for the cabinets as in the kitchen - natural cherry - because we already have several woods in the area - maple floor, oak breakfast table and counter stools and some dark unidentified wood for some of the original built-ins and breakfast room doors. To differentiate them from the kitchen cabinets (because I didn't want the family room to look like the kitchen had extended into it), so we chose a different door style - a more sophisticated mitered corner raised panel instead of shaker, but still with simple lines and furniture style knobs instead of big kitchen ones. Here is a link that might be useful: Couch Color thread...See MoreThe oldest kitchen remodel on GW...finally finished cherry kitche
Comments (72)RM :( I'm so sorry to read your son is still challenged. And more so to see you're on the horrific "diagnostic" road trip literally. I wish there was something that could be done to blow that danged road up....I don't miss it and hate hearing anyone is traveling it. I can only hope you have a short trip! Virtual hugs in the biggest of ways hun! I have only this advice, learned in year three of that road....carry a big purse and a wine opener. You'll be a friend to many a parent if you lock the door to the parent room and crack open a bottle quietly :) Screw tops can be your friends as well. (And for those horrified that one would drink in a hospital...you haven't spent months in one I guarantee). A quiet glass of wine at 11 when the kids are finally asleep and it's marginally quiet (only the sickest kids are making noise that never goes away, soft cries of pain...that glass of wine alone in the dark while you thank god that's not your child every so often is a peace you don't understand). Enough of that....back to the chickens! hm here's a photo of just the backsplash uninstalled. We framed it in nordic black antique granite to make it fit the space it's in (Joe the tile guy rocked!) So the funny thing is....I've had to move (because of my son's health we had to leave alaska) so we have a new house and two kitchens to remodel/build LOL So I get to start planning all over again :) I can't wait to start from the beginning all over again....(which makes you wonder if I do crack does it not? I can't afford it, I have to finance another kitchen LOL). Star thanks for the nag. I missed the first one :) (You're good LOL) I'll work on the worksheet over the next couple of days. :)...See MoreKitchen Remodel Finally Complete....Before and After
Comments (55)Quick update... I ended up ordering a spoon and fork from Target.com. Here's a pic of it installed on the back wall. Also finished up installing my DIY under cabinet lighting... these lights are bright!!!! So glad I used a dimmer switch...this is the dimming level I tend to keep it at. Also forgot to mention that one of the pantries is a broom closet. After living in my new kitchen for almost of month now, I feel like I got everything right and did the best I could with the space I have. Trash cabinet, baking tray cabinet, broom closet, sink drop down tray, spice rack, plus all of the additional cabinet space makes me one happy camper. :) My only regret is not putting in pull outs for my pots/pans and lids. It's a bit of a pain having to bend down and look back into the cabinet to find what I'm looking for. Maybe at a later time... since it's still possible. Another thing I'm finding an issue with is our fridge. We bought a counter depth so we could have additional room, but it's been tough living with the limited space. Luckily, we still have our old fridge, so we're thinking of keeping it now to store larger items....See MoreFinally, a Finished Kitchen
Comments (34)Thank you all for the compliments and words of encouragement. Here are the details of this project: Cabinets: Luxor (custom cabinetmaker from Canada)in birch in a "cabernet" (although looks more like espresso finish, 48 inches (too long, I think) with mdf boxes and blum motion drawers (love, the self-closing feature!). We had many problems both with the cabinets (some boxes had bowed sides and had to be replaced) and the kitchen cabinet "designer," who measured wrong and ordered wrong cabinet sizes. Took over three months to get the right cabinets. The floor is travertine in ivory pearl in a Versailles pattern. Love it! It looks good, doesn't show dirt that much, is easy to keep clean once you seal it, and feels warm and silky in the winter and cool in the summer. We have installed it all throughout the first floor of our house and our lanai and are very glad that we did. The range is Cavaliere purchased from Overstock http://www.overstock.com/Home-Garden/Cavaliere-Euro-30-inch-Wall-Mount-Range-Hood/2589645/product.html? We went with a 36" width and feel it was smart to pair it with a 30 inch range. The only negative is that the hood lights are installed very close to the rear wall and do not provide enough lighting function. The kitchen designer recommended to offset the base cabinets by three inches thus deepening the countertop space. Although the extra counter space is nice, the offset placement of the range away from the back wall makes the hood ineffective when cooking on the front burners of the range as some steam and exhaust escapes above next to the hood and cannot be captured. This same offset of base cabinets also created a need for a smaller sized super susan cabinets. We had to downgrade from 36 to 33 inches. Having used and loved a 36 inch super susan in my previous kitchen, I find the shrunk version of the cabinet rather inefficient and difficult to move my pots and pan in and out of them. I also am not too happy with the corner wall cabinets. Although providing an easy reach, I find the door closing functions very incovenient as I have to remember which door has the handle attached to it and should be closed last. Another decision that I regret is the zero radius sink. Although it looks sleek and cool, it does not drain well enough all of the food particles and its corners get gunky and are difficult to keep clean. I like the danze parma faucet (preferred the Grohe in my previous kitchen) and it was reasonably priced. Being mindful of having gone over the budget, I bought a couple of gallons of similarly shaded Oops paint which I mixed together and painted on the walls, hence I am unable to give you specs on the paint except state that it is truly a custom shade. Thank you so much for your kind words and support!...See MoreBob z
14 days ago
Debbie Klausing
12 days agoBob z
12 days ago
Joseph Babcock
12 days agodani_m08
11 days agodani_m08
11 days agolast modified: 11 days agoBob z
11 days ago
Related Stories
INSIDE HOUZZWhat’s Popular for Kitchen Islands in Remodeled Kitchens
Contrasting colors, cabinets and countertops are among the special touches, the U.S. Houzz Kitchen Trends Study shows
Full Story
HOUZZ PRODUCT NEWSKitchen Cabinet Hardware Finishes That Remodelers Love Right Now
Remodelers and designers tell us that brushed metal, leather and knurled pulls are among the hottest hardware finishes
Full Story0
MOST POPULARRemodeling Your Kitchen in Stages: Detailing the Work and Costs
To successfully pull off a remodel and stay on budget, keep detailed documents of everything you want in your space
Full Story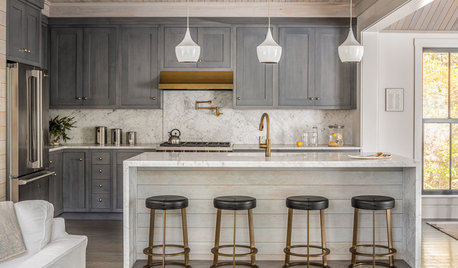
REMODELING GUIDESRemodeling Your Kitchen in Stages: The Schedule
Part 3: See when and how to plan your demo, cabinet work, floor installation and more
Full Story
KITCHEN DESIGNKitchen Remodel Costs: 3 Budgets, 3 Kitchens
What you can expect from a kitchen remodel with a budget from $20,000 to $100,000
Full Story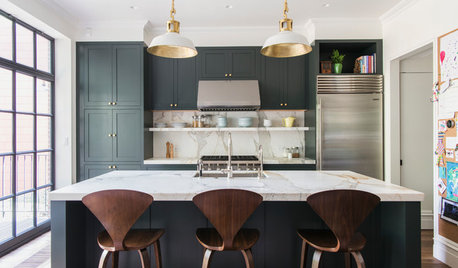
KITCHEN DESIGNRemodeling Your Kitchen in Stages: Planning and Design
When doing a remodel in phases, being overprepared is key
Full Story
REMODELING GUIDES5 Trade-Offs to Consider When Remodeling Your Kitchen
A kitchen designer asks big-picture questions to help you decide where to invest and where to compromise in your remodel
Full Story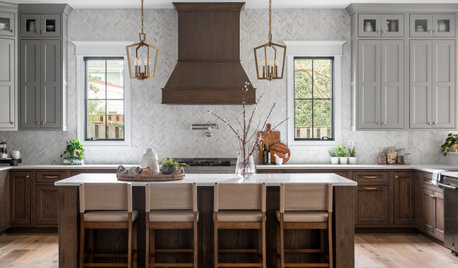
KITCHEN DESIGNPros Share the 8 Biggest Kitchen Remodeling Mistakes
Find out the most common errors people make in their renovations and see photos of kitchens that do it right
Full Story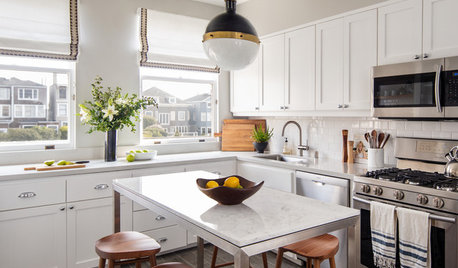
INSIDE HOUZZTop Kitchen and Cabinet Styles in Kitchen Remodels
Transitional is the No. 1 kitchen style and Shaker leads for cabinets, the 2019 U.S. Houzz Kitchen Trends Study finds
Full Story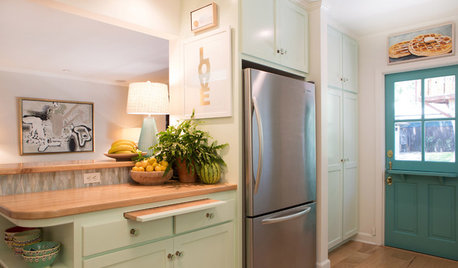
KITCHEN DESIGNCottage Kitchen’s Refresh Is a ‘Remodel Lite’
By keeping what worked just fine and spending where it counted, a couple saves enough money to remodel a bathroom
Full Story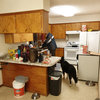


bpath