

Do you make your own cannoli shells?
5 years ago
last modified: 5 years ago

Featured Answer
Sort by:Oldest
Comments (18)
Related Discussions
Made Cannoli Shells need Filling Recipes
Comments (36)Nina, they used the broomstick sections exactly the way people use the metal forms--they shaped the dough around them and threw them in the oil. (It occurs to me that they obviously didn't need to oil the forms beforehand as I said above--probably I remember it that way because the wood had already absorbed oil from repeated use.) I'm guessing you could just go to the hardware store and get a few feet of wooden dowel the right diameter, cut it into cannoli-size lengths, and save a bunch of money over the steel ones--assuming that the wood isn't treated with anything nasty. As far as I know, nobody ever died from eating those cannoli. (And I just Googled it--apparently, using broomstick forms was the rule rather than the exception back in the days before Williams Sonoma!)...See MoreDo you make your own birthday cake?
Comments (27)Cookie8, I almost always end up rewriting recipes, so I can make them in the order I need to. (Starting with preheat the oven to...) The way some recipes are written, reading ahead is necessary, although not always an option. I find it makes the instructions much longer, which makes the recipe look more intimidating. The truth is, if I can follow it easily to the letter, I find my results are more successful. Sometimes, I'll rewrite a recipe several times before it's where I need it to be. You didn't really ask, but I always get out every ingredient, bowl, spatula measuring cup/spoons and mixer that I'm going to need before I even start. I measure it all, and set everything on a tray, so all I have to do is mix everything together. (If a recipe has multiple parts, I set up different trays.) That way, when you read through the recipe, it's all set up and easy to ''check off'' while you're baking. I hope you try again. Determination is a fine quality to possess! I have an easy one bowl chocolate cake recipe, if you need something to go to, that's tasty, easy and worthy of a birthday cake. I usually make it with a Cinnamon Buttercream Icing, and get requests for it often. Just let me know if you'd like the recipe. Deanna, I always use the recipe on the back of a bar of Bakers Sweet German Chocolate. It's no secret, but rather more time consuming to make as a cake, than anything else. It's our favorite as the buttermilk always makes it so moist, and it's a cake that only gets better with time. We always make it the day before, so the flavors have time to meld. It's also fun to anticipate eating it, when it looks so good sitting under a glass cake cover....See MoreCannoli shells--make ahead & put in a Lock & Lock?
Comments (3)All through high school, I worked at an itallian pastry shop. I hated the days when we had to make the cannoli shells (hundreds of them) because they were so hot out of the oil and we had to take the rods out. But once they cooled, they were stored for weeks in huge tupperware containers. We very rarely filled them ahead of time (except during very busy periods). Bring the filling with you. (Oh, and anyone in Fairfield County, go to DiMare's Pastry Shop in either Riverside or Stamford for the BEST cannolis. Say hi to Bi and Ugo for me) jo...See MoreDo you make your own jerky?
Comments (10)Yep....I make my own beef jerky. I own 2 dehydrators, both with fans.....purchased at Thrift stores. $7 ea. The one has 8 racks, that stack on top of each other, the other has 5. Yep, slice the fat free meat, marinate, put on racks. Yes....I started making it in the oven before I bought the dehydrators. Just use foil, low heat....takes 8 hours and I noticed NO difference in the flavor. BTW takes 8 hours in my dehydrators when they are full. I just use salt, soy sauce & worcestershire sauce. Liquid smoke is optional. JMO Of the two dehydrators I own, The American Harvester is the fastest.....nicest! I googled consumer reports before buying it...it had GREAT reviews!...See More- 5 years agolast modified: 5 years ago
- 5 years ago
 5 years ago
- 5 years ago
 5 years agolast modified: 5 years ago
- 5 years ago
- 5 years agolast modified: 5 years ago
- 5 years agolast modified: 5 years ago


Related Stories
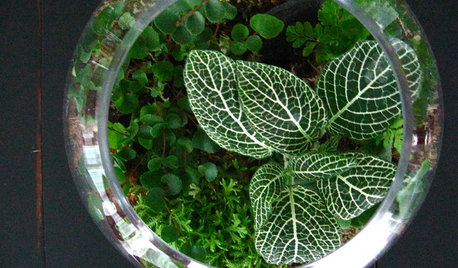
HOUSEPLANTSGardens Under Glass: How to Make Your Own Terrarium
Be the master of a mini ecosystem indoors — the low-maintenance, highly rewarding kind that fits any room
Full Story
HOLIDAYSMake Your Own Mini Advent Village
Make the run-up to Christmas extra special with a treat a day in each tiny paper Advent house
Full Story
GARDENING GUIDES10 Steps to Making a Garden Your Own
Find out how to give your landscape your personal stamp while respecting what is there and not exceeding your budget
Full Story
EDIBLE GARDENSHow to Grow Your Own Apricots
Velvety fruit, pretty blossoms and interesting bark make apricot trees a delight — and they’re great for smaller gardens
Full Story
DECORATING GUIDESInlay Makes Rooms a Cut Above
Furniture and accessories inlaid with shells, faux bone or pearl give rooms an elevated artistic sense and showstopping style
Full Story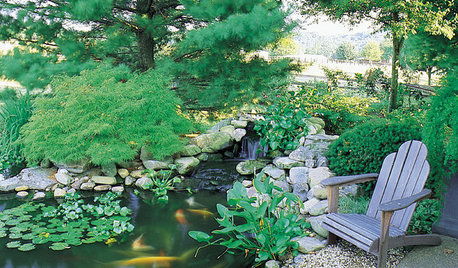
GARDENING AND LANDSCAPINGHow to Make a Pond
You can make an outdoor fish paradise of your own, for less than you might think. But you'll need this expert design wisdom
Full Story
UNIVERSAL DESIGNHouzz Tour: Accessible Design Makes Wheelchair Living Easier
A disability consultant teams up with his brothers to build his own 5-star home
Full Story
ARCHITECTUREDesign Workshop: How the Japanese Porch Makes a Home Feel Larger
The Japanese ‘engawa,’ a roofed transitional zone and social space, blurs the lines between indoors and out
Full Story
LIFEHouzz Call: What Has Mom Taught You About Making a Home?
Whether your mother taught you to cook and clean or how to order takeout and let messes be, we'd like to hear about it
Full Story
KITCHEN DESIGNCountertop and Backsplash: Making the Perfect Match
Zero in on a kitchen combo you'll love with these strategies and great countertop-backsplash mixes for inspiration
Full Story
annie1992Original Author