

Drying fruit - uses?
6 years ago
Featured Answer
Sort by:Oldest
Comments (19)
Related Discussions
Drying Gravensteins and Other Fruit
Comments (6)Hmmm, yum ... dried caramelized onions. That sounds very interesting. Maybe walla walla onions. Yeah. Could be put in a snack mix with some smoked almonds and dried zucchini. I never dry onions because dried onions are so cheap to buy. Actually, I rarely grow onions since I was able to buy them for 33 cents a pound. Up until this year, that is. The new high price for onions has me planning to grow some next year. I see a lot of dried fruit in commercial cereal and trail mix sorts of things. Which is what I use it for, plus just eating out of hand and a little bit of candy making and baking. Costco sells a lot of dried fruit, so somebody is eating it....See MoreHow do you dry fruit (and cherries in particular)
Comments (8)It isn't particularly difficult. Unless you're in an extremely warm and arid climate with a lot of sunny days, you probably should invest in a dehydrator of some type. Many people have reasonably good results with the mass market types sold for around $50, at least as a "starter" unit. Better quality units are probably $200 and up, depending upon size, materials and features. You can also use an oven. It takes longer, and depending upon the type and features of the oven, the lowest setting may still somewhat cook fruit. It will still work ok, I've done this myself many times, but it somewhat alters the flavor. Sugaring is technically optional, but on extremely sour fruits like tart cherries and cranberries, the end product will be too sour for most people to eat out of hand unless you do so. Sugaring also helps to keep fruits from getting very hard, yielding a little bit softer product. I also use powdered Vitamin C on my fruit (Fruit fresh is just Vitamin C and sugars plus anti-caking agents, I believe). It helps to prevent excess browning....See MoreDrying Fruit
Comments (4)Michie, I am in search of drying fruits for decorative purposes, too. Right now, I am experimenting using a process I found in a book from Michaels; that is, slicing oranges, limes and lemons thinly or making "lanterns" out of them (slits cut into the sides equally all the way around, and drying them in the oven at a low temp for about 5 hours, then air drying for several days after that in a humidity-free area. The problem? Mold. What to do? There must be something out there that people apply to discourage this. I hope you get some more replies. Dried fruits purchased from vendors are very expensive, and I make wreaths to purchase. mary...See MorePeach Tree Drying Out; Leaves and Fruit Turning Yellow
Comments (5)Hi Bill, I am so sorry about your beautiful peach tree and I hope that you can find the cure soon. I don't know what is causing but is there the possibility that someone near by sprayed an herbicide or something and the wind spread to your tree? I heard people saying that sometimes. I know that in the u-pick farm he told me that some of his peach trees died but I think it was related to the cold, next time that I go there I will ask him more about it. If you are following the same schedule for feeding and watering, check maybe for bugs even if you have to use a magnifying glass, somebody in the forum said they use that for seeing the bugs like thrips. Let us know what you find out and good luck, I hope that your tree heals soon. Silvia...See More 6 years ago
- 6 years ago
- 6 years ago
- 6 years ago
 6 years agolast modified: 6 years agoediej1209 AL Zn 7 thanked carolb_w_fl_coastal_9/10
- 6 years ago
- 6 years ago
- 6 years ago


Related Stories
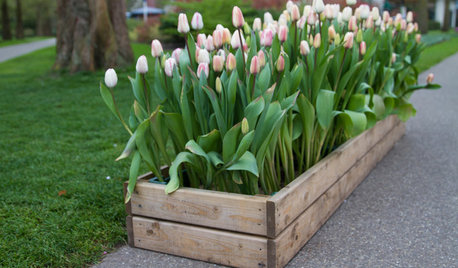
CONTAINER GARDENSWhat to Know About Using a Wooden Crate as a Planter Box
Find out how to convert wooden fruit crates into sweet planter boxes to grow veggies, herbs and flowers
Full Story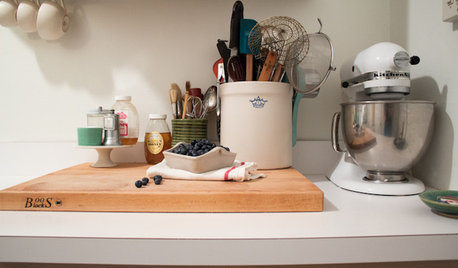
KITCHEN DESIGNKitchen of the Week: Tiny, Fruitful New York Kitchen
Desserts and preserves emerge from just a sliver of counterspace and a stove in this New York food blogger's creatively used kitchen
Full Story
ENTERTAININGEye-Catching Centerpieces Beyond Flowers and Fruit
Use your imagination to create a tableau that reflects your surroundings, creates dramatic tension or elicits surprise
Full Story
HOUSEKEEPINGSimple Pleasure: A Clean, Dry Bathmat
You use your bathmat every day. Why not give it a dedicated place to dry out and stay fresh?
Full Story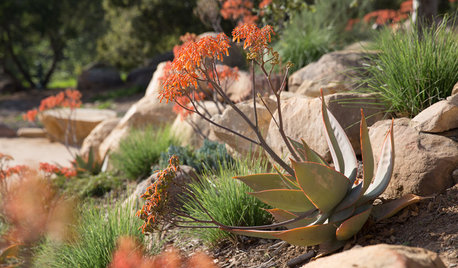
FALL GARDENING7 Inspiring Western Landscapes With Fall Color for Dry Climates
Designers use succulents, ornamental grasses and low-water shrubs and trees for rich fall tones in water-wise gardens
Full Story
LAUNDRY ROOMSNew This Week: 4 Useful Laundry Room Ideas
Get practical solutions for drying and sorting when washday comes
Full Story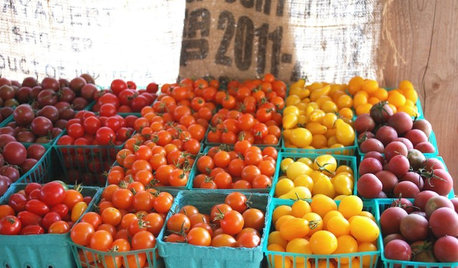
EDIBLE GARDENSThe Most Productive Fruits, Veggies and Herbs to Plant Right Now
These crops offer the best bang for the buck, earning their keep with plentiful harvests
Full Story
GARDENING GUIDESYes, You Can Grow an Edible Garden on a Hot, Dry Site
Difficult garden spots don’t need to deter you from planting trees, herbs and other delicious food plants
Full Story
LANDSCAPE DESIGNGarden Walls: Dry-Stacked Stone Walls Keep Their Place in the Garden
See an ancient building technique that’s held stone walls together without mortar for centuries
Full Story
LANDSCAPE DESIGNPile On Style With a Dry-Laid Stone Retaining Wall
Durable, natural and practical, this landscape feature is an art form unto itself
Full Story
carolb_w_fl_coastal_9/10