


Tub Height issue (must lift base of tub to accommodate drainage)
Nat
6 years ago
Featured Answer
Sort by:Oldest
Comments (8)

Nat
6 years ago
Nancy in Mich
6 years agoRelated Discussions
How to level a bathtub into a podium
Comments (12)Good morning guys, Eric is right, John, the tub is not yet installed. We were about to do it, yesterday, when this new snafu came to light. And Eric, thank you for your encouragement. Yes, this project has proven quite exciting so far... and needlessly costly. At this point, I don't know if I should cry or just sit down and write a book! The GC showed up at our house yesterday afternoon after I threatened to sue him. He still has not brought in all that I have already paid for, and when I told him about the 3" gap, his jaw just dropped. While I was busy with the plumbers and the electricians, he went and fitted two small pieces of plywood over the floor in the podium to try and raise the floor to meet the footing of the bath. He cut those pieces no bigger than the footing of the bath. Not only are they not high enough, but such short pieces will prevent the weight of the tub to distribute evenly over the whole floor. Me thinks, anyhow. Anywhooo... John, this bathtub does not come with little adjusting legs. It is pre-leveled on a board which is meant to lie flat on a levelled floor. I'm adding a picture for you to see better. What I am thinking of doing is making a few blotches, or mounds, of mortar and squish the bath in place. I'm thinking little mounds will be easier to squish into than a large solid surface, plus I don't want to add too much extra weight. We've had all our floor joists doubled but this is an old house and it needs to be treated gently... Eric, the reason I hesitate to fill the gap with lumber is that I won't be able to shim level the bath on all four side once it is dropped in place because the corner it sits in is on exterior walls. Perhaps a combination of the two methods would work well. One thing is for sure, my GC is now toast and this project has now officially been downgraded (some, including me right now, would say upgraded) to a DIY project. Oh well, it's only money, right.... Sniff, sniff.... ;-( Here is a link that might be useful: 3...See Moretile for tub surround
Comments (23)how long should I wait to use hydroban after sealing joints with mesh and thin set? I am a little worried that putting the hydroban on too quickly after thin setting the joints and niche that it may stop the thin set from curing. I thin setted one joint between the durock, the corners around the bottom and sides of a window, my niche and where the tops/sides of the durock meets the green board (above and in front of my shower). I thin setted in the afternoon and then went home to eat and shower. I then went back to my other house and started to apply the hydro ban above these areas except for the ones that had not dried totally (mainly the gaps between the durock and green board). Can I apply another coat to these area and then the field tomorrow? I read this on the Laticrete web site...does this apply to the thin set mortar being used to seal the corners/joints/niche etc. ? I am thinking this is talking about a floor application and hoping not thin set. 9. Allow wet mortars/plasters (deck mud consistency) to cure for 72 hours at 70°F (21°C) prior to installing LATICRETE Wateright Floor N Wall Waterproofing & Crack Isolation. BTW my niche came out great so far...It is huge because one of my walls along the shower is 6" deep. Thanks, Steve...See MoreClaw foot tub...best?
Comments (28)Jodi, I'm assuming you probably have a tub where the drillings are through the tub wall rather than the rim? There are a lot of different handshower faucets (often called "telephone" faucets because the handshower resembles an old-fashioned telephone handset) that are adjustable to fit many different drillings. These are called "swivel arm connectors". For filling-up speed check the description for "____ gal/min @ ____ PSI" (for example, 8 gal/min. @ 60PSI" - that means that if you have a water pressure of 60PSI, the faucet will (should) fill the tub at the rate of 8 gallons a minute. Vintagetub.com has a nice selection of telephone faucets with swivel-arm connectors at reasonable prices and their customer service cannot be beat; for example, here is a nice one from Strom Plumbing, which is a well-regarded manufacturer. There are deck-mounted versions as well. To comment on some of the older posts, just in case anyone goes looking for info... This lovely little overflow cover gives you an extra inch or so of water depth. You have to caulk around the rim when installing it because it leaks if you don't. Obviously it works best if you use a twist-and-lift drain or (as we did) the truly idiotproof and easily repairable rubber stopper, it doesn't work with the type that has the lever on the overflow. Regarding missing feet: Vintage Tub now makes replacement tub feet - ship them one of yours and they will cast a copy of it. deabath.com has a large stock of old feet and may be able to find a matching vintage foot; they also cast matching replacements and MAY be able to hook you up with a set of four matching feet if all your tub's feet have gone astray. Cleaning around the tub: Plumber goofed the rough-ins (forgot to account for wallboard and wainscot!) and the tub ended up being about 2" from the wall on two sides. I used a Swiffer mop frame with a microfiber cleaning cloth to get underneath and around ours, because it would lie down completely flat. I had a long-handled scrubby thing that would also go completely flat and fit well into the tight space behind the tub. It really ended up being pretty simple. Now, for hauling that durn tub... two guys, both skinny as rails, moved my iron 60" clawfoot tub up a flight of narrow stairs pretty easily using a wonderful gadget called a Shoulder Dolly. I first learned about these because all the appliance delivery people and many movers around here use them. It was cheap and one of the best investments we've made, I can't tell you how many times we've used it and lent it out to many other people....See MoreWater pouring roughly out of tub spout?
Comments (42)Looking at your pic of the bottom of your tiles--your contractor botched that part of the job! The tiles (and the backerboard) should come all the way down to the horizontal surface of the tub. Again, I'm not sure that would change THAT much about your installation--though it might change it just the 1/4" necessary, if the backerboard truly does not sit in FRONT of the vertical part of the flange. So you SHOULD have a problem with the tile work, even if the tiles are straight and the grout looks good. The tiles were placed in the wrong place. Your tiler should have been saying, "Hey, why isn't the backerboard coming all the way down past the flange to be pretty much flush with the horizontal top of the tub?" Also, just to point out how much they let you down: "too lazy to read a manual" *IS* "incompetent." And "wanted to go home" *is* "incompetent." . . . So I could have done a much better job than the contractors we hired. Not because I'm so competent or they're so incompetent. But because they are lazy and did not want to read the manual and do a proper job. And I could have done some things better than the plumber, who was even less inclined to do a good job, because he started late and wanted to get home. I'm glad your rubber band is providing immediate assistance, but you seriously need to make these contractors readdress that--it's not correct. It looks funny, and having the backerboard in the right place might be just enough width to bring that spout back out a little bit. In the meantime, if you want to get away from the blue (because part of the problem *is* the spout's design, and you'll have the splattering no matter what gets done to the tile job), you might consider finding a plastic tube (even a clear drinking straw) that you can cut to the right height, then slit and slip around the stem. It won't build up as much soap scum, will be easier to clean, and won't be as noticeable....See MoreNat
6 years agoUser
6 years agoUser
6 years agowritersblock (9b/10a)
6 years agolast modified: 6 years agowritersblock (9b/10a)
6 years ago

Related Stories
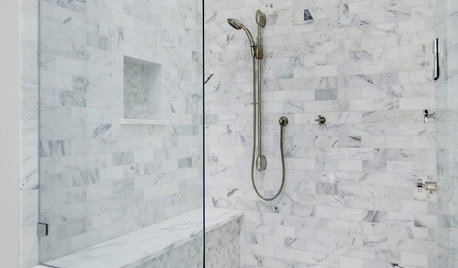
BATHROOM DESIGNConvert Your Tub Space Into a Shower — Waterproofing and Drainage
Step 4 in swapping your tub for a sleek new shower: Pick your waterproofing materials and drain, and don't forget to test
Full Story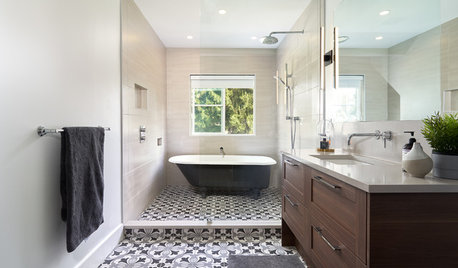
BATHROOM DESIGN8 Narrow Bathrooms That Rock Tubs in the Shower
Not a fan of shower-tub combos or of ditching the tub altogether? Check out these 8 spaces with tubs in the shower
Full Story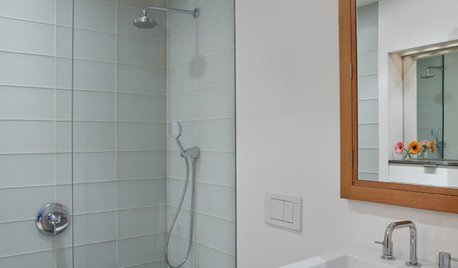
BATHROOM DESIGNConvert Your Tub Space to a Shower — the Planning Phase
Step 1 in swapping your tub for a sleek new shower: Get all the remodel details down on paper
Full Story
BATHTUBSBefore and After: 6 Dream Bathrooms That Free the Tub
Freestanding tubs replace bulky built-ins in these beautiful bathroom remodels
Full Story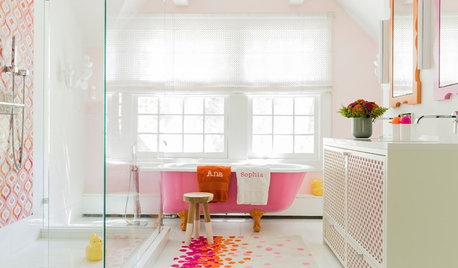
MOST POPULARShould You Keep Your Tub?
There are reasons to have a bathtub, and plenty of reasons not to. Here’s how to decide if you should keep yours or pull the plug
Full Story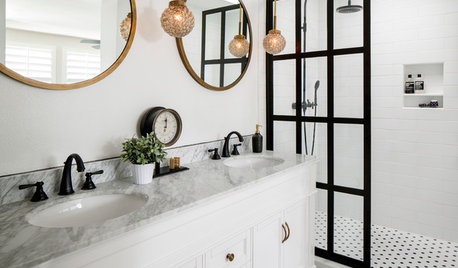
BEFORE AND AFTERSBefore and After: 6 Bathrooms That Said Goodbye to the Tub
Sleek showers replaced tub-shower combos in these bathroom remodels. Could this be an option for you?
Full Story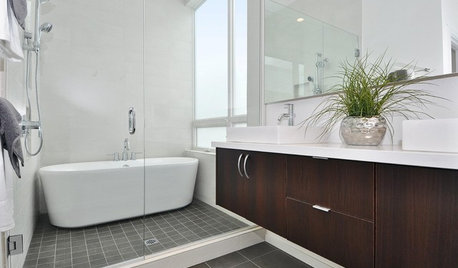
BATHROOM DESIGNWhy You Might Want to Put Your Tub in the Shower
Save space, cleanup time and maybe even a little money with a shower-bathtub combo. These examples show how to do it right
Full Story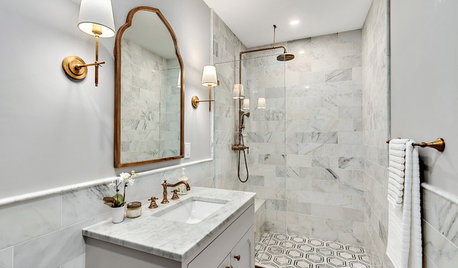
BATHROOM DESIGNBefore and After: 4 Bathrooms That Ditched the Tub
See how designers removed bathtubs in favor of sleek walk-in showers in these bathroom remodels
Full Story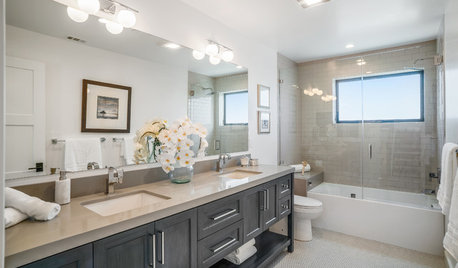
GREAT HOME PROJECTSSay Goodbye to the Shower Curtain With a Glass Tub Enclosure
A glass screen or door can make a bathroom look modern and airy, and can be easy to clean if you don’t have hard water
Full Story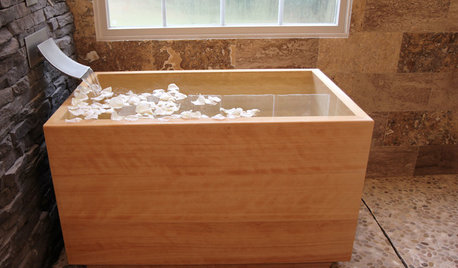
BATHTUBSRoom of the Day: Restorative Power of a Japanese Soaking Tub
A traditional tub made of hinoki wood sets a calming tone in this master bath renovation
Full Story


NatOriginal Author