

Our Weekend didn't start very well
10 years ago
Featured Answer
Sort by:Oldest
Comments (44)
 10 years ago
Related Discussions
Veggies That Produced Well....And Those Which Didn't
Comments (1)Dawn, sounds like you had a good year, all things considered! Our spring/summer garden was fairly pitiful. The only thing that produced was salad greens, walking onions, and garlic. We got only a gallon or ywo of summer squash before it went kaput. Tomatoes never did get it right after the rainy setbacks but we did get a decent flush this fall, enough for several days of good eating. Melons, not so much. Beans & cukes were a complete bust. The fall garden is seems to be doing better. Peas, cabbages, and cukes are showing promise, summer squash has just started putting lots of goodies, and salad greens are up a almost ready to start cutting. Walking onions and herbs are doing well now and I'll be setting out the garlic before much longer. The chiles finally started taking off in late summer so we've had a decent harvest of those and they're continuing. Spring = Fail. Fall = Much Better. Diane...See MoreWell that didn't work!
Comments (16)DH and I have been discussing and we're contemplating putting the microwave to the west side of the fridge. I really wanted a tall pantry with big drawers and shelves - just like my Mom had and I'm not sure if I want to give that up for a MW yet. I probably will I just have to get use to the idea. Here is about the layout of the rooms. The biggest constraint we had was we could not move the plumbing. We had to come in from the bathroom above the level of the foundation. The foundation between the two areas is rocks. And I don't mean a rock wall, I mean rocks, as in very large boulders. Shifting one would have caused shifting in all of them and you can't just cut a hole through a rock like you can cement. So the plumbing actually comes through the wall from the bathroom, not under the floor. The other issue is all walls in the kitchen were once exterior walls, and the sink/oven walls are bearing walls too. The wall behind the fridge became the new bearing wall for the upper level floor for that section as the upper roof is actually supported by the old rafters and not the end wall. well, let's just say this house presented a lot of problems one does not normally encounter in a newer home. Removing the patio door was a spur of the moment decision. We had problems getting the door installed. The whole middle of the house leans to the north, about an 1" from top to bottom. It was that way all along and the other sections were built on to it that way so there was no way to pull the house back to level without pulling it apart. This was one of the first things we did with the house and silly us didn't think to make sure the wall was plumb before we started. We placed the door and in trying to get it plumb realized what the problem was. We either had to have the bottom sticking into the house about an inch or the top sticking out from the outside wall about an inch, or put it in matching the wall and hope for the best. We matched the wall and though we had some problems early on with water, DH did get it all sealed up and it had been fine for three years. It turned out to be one of those things that just didn't work out like one hoped. For one it eat up a big chunk of the end of the kitchen because you needed walking space. It also seemed silly from the outside because the patio door was right next to the front door. We also discovered after fixing the landscaping and leaking incoming water pipes that the front patio is sloped towards the house and in the spring and during rains it channels water under the house and it ends up in the cellar in the opposite north corner. The only way to fix this problem would be to bust out the existing cement and re-slope the ground. This fall we finally settled on putting tile in the kitchen and when we pulled up the OSB, DH saw evidence of the prior water damage, and he looked at me and said "we should just take out this door and that way we would never have water problems here again" and I looked at him and said "don't say that unless you are dead serious" and then we realized neither one of us were real happy with the door so out it came (it is in the shop right now). This is November 7th 2004 and November 7th, 2009 Now that we've had it gone for a while we both like the kitchen so much better. The windows let in more light than the door and now I can have a bigger island. The heater is now under the window and that freed up along side the window for a nice hutch or tall storage of some sort. So now the two choices for the MW are left of the windows on the south wall or left of the fridge on the north wall. One thing I have discovered through all this is that I really do not like upper cabinets. I think if I could get away with it I'd have none. However DH wants uppers all the way to the ceiling. I think he would love a "wall to wall" built in cabinet look and I would love a totally unfitted kitchen. He wants lots and lots of storage, I keep thinking I could throw out half of what is stored and never miss it. Since he is making the cabinets I have to let him have some say in the design. Cathy...See Moretimmy didn't fall into the well... but....
Comments (9)Kim, your story made me remember when I shattered my ankle. I was cleaning the stalls int he barn, both dogs were off leash in those days, but with me ... I stepped up to the manure pile to empty the wheelbarrow, when I came down, my ankle shattered ... no one ever determined why. I obviously went down with a cry ... both dogs came running over to me and were frantic about what happened to me. I called to the kids across the street to get their Mom and for her to call 911 ... they had just thought I was playing with the dogs on the ground. LOL ... I can laugh now. I spent a couple of days in the hospital, it took a while to find a surgeon and then I had to get my strength back enough to walk with cructhes, which was new to me. I ended up going to my sisters house for a couple of days before heading home, my Mom had gone to my house to bring my dogs to me, and only my female (Brandi) would come. Dakota was still feaked out and wouldn't get into the car with my Mom. When Brandi came in the door at my sisters house, she started barking madly and I could hear her nails scrabbling on the floor as she tried to find me. She basically launched herself into my lap when she saw me ... and then wouldn't leave unless I went too. So, if you were really hurt, and hopefully never are ... I bet they will surprise you!...See MoreBeef Tenderloin - Well that didn't go well.
Comments (27)Stunning table!! I thought of you when I came across this Cooks Illustrated recipe in my email today. Roast Beef Tenderloin Serves 4 to 6. Published March 1, 2009. From Cook's Illustrated. If using table salt, reduce the amount to 1 teaspoon. Ask your butcher to prepare a trimmed, center-cut Châteaubriand from the whole tenderloin, as this cut is not usually available without special ordering. If you are cooking for a crowd, this recipe can be doubled to make two roasts. Sear the roasts one after the other, wiping out the pan and adding new oil after searing the first roast. Both pieces of meat can be roasted on the same rack. Ingredients 1 beef tenderloin center-cut Châteaubriand (about 2 pounds), trimmed of fat and silver skin (see note) 2 teaspoons kosher salt (see note) 1 teaspoon coarsely ground black pepper 2 tablespoons unsalted butter , softened 1 tablespoon vegetable oil 1 recipe flavored butter (see related recipes) Instructions 1. Using 12-inch lengths of twine, tie roast crosswise at 11/2-inch intervals. Sprinkle roast evenly with salt, cover loosely with plastic wrap, and let stand at room temperature 1 hour. Meanwhile, adjust oven rack to middle position and heat oven to 300 degrees. 2. Pat roast dry with paper towels. Sprinkle roast evenly with pepper and spread unsalted butter evenly over surface. Transfer roast to wire rack set in rimmed baking sheet. Roast until instant-read thermometer inserted into center of roast registers 125 degrees for medium-rare, 40 to 55 minutes, or 135 degrees for medium, 55 to 70 minutes, flipping roast halfway through cooking. 3. Heat oil in 12-inch heavy-bottomed skillet over medium-high heat until just smoking. Place roast in skillet and sear until well browned on four sides, 1 to 2 minutes per side (total of 4 to 8 minutes). Transfer roast to carving board and spread 2 tablespoons flavored butter evenly over top of roast; let rest 15 minutes. Remove twine and cut meat crosswise into ½-inch-thick slices. Serve, passing remaining flavored butter separately....See More 10 years ago
- 10 years ago
- 10 years ago
 10 years ago
 10 years ago
- 10 years ago
 10 years ago
- 10 years ago
 10 years ago
- 10 years ago
 10 years ago
- 10 years ago
 10 years ago
 10 years ago
- 10 years ago
- 10 years ago
- 10 years ago
 10 years ago
- 10 years agolast modified: 10 years ago
- 10 years ago
- 10 years ago
 10 years agolast modified: 10 years ago
- 10 years ago
- 10 years ago
 10 years ago
 10 years ago
- 10 years ago
 10 years ago
- 10 years ago
- 10 years ago
- 10 years agolast modified: 10 years ago
- 10 years ago
- 10 years ago
 10 years ago
 10 years ago
- 10 years ago
- 10 years ago
 10 years ago
 10 years ago
 10 years ago
- 10 years ago
- 10 years ago
Related Stories
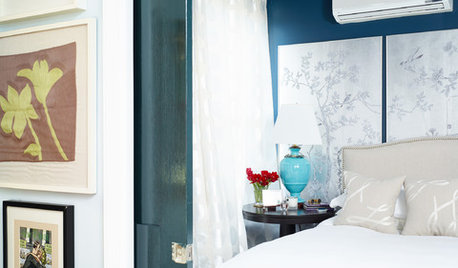
BEDROOMS11 Things You Didn’t Think You Could Fit Into a Small Bedroom
Clever designers have found ways to fit storage, murals and even chandeliers into these tight sleeping spaces
Full Story
WORLD OF DESIGN8 Things You Didn’t Know About Italian Marble
How did the ancients extract marble? What makes it white or colored? We unearth fascinating facts about this luxurious stone
Full Story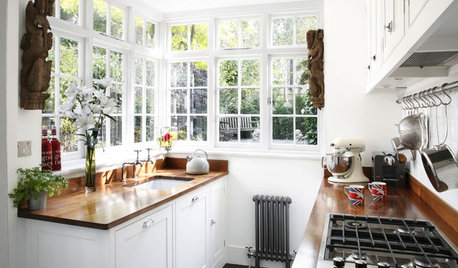
SMALL KITCHENS10 Things You Didn't Think Would Fit in a Small Kitchen
Don't assume you have to do without those windows, that island, a home office space, your prized collections or an eat-in nook
Full Story
BUDGET DECORATING9 Ways to Make Dreamworthy Rooms — in a Weekend
Don't just sigh and shut the door. With a small change or two, you can create designer-style rooms that you'll love spending time in
Full Story
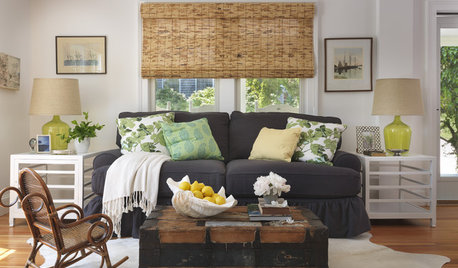
DECORATING GUIDESHow to Decorate When You're Starting Out or Starting Over
No need to feel overwhelmed. Our step-by-step decorating guide can help you put together a home look you'll love
Full Story
DECORATING PROJECTSWeekend Project: Easy, Funny Halloween Tombstones
Create your own clever DIY gravestones to add to your Halloween decorations
Full Story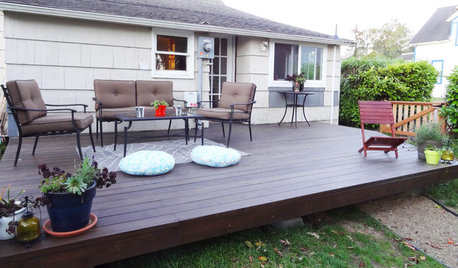
GARDENING AND LANDSCAPINGBuild a Beautiful Platform Deck in a Weekend
Create a polished outdoor space for entertaining by building a basic DIY platform deck in your own backyard
Full Story
MOST POPULAR10 Steps to a Happier Weekend
Savor your precious days off while still checking off to-do’s by following this simple plan
Full Story
GARDENING AND LANDSCAPINGCitrus 101: Start Your Own Backyard Orchard
This Earth Day Weekend, Add Some Green, Style and Deliciousness to Your Landscape
Full Story
Dakota