

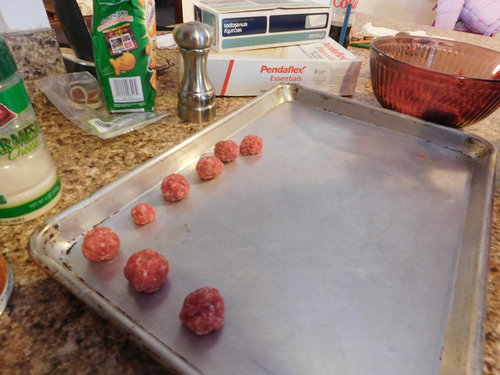
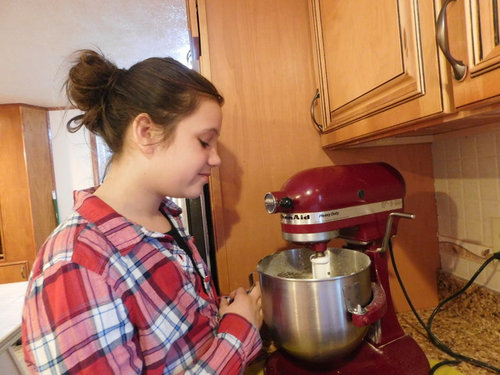
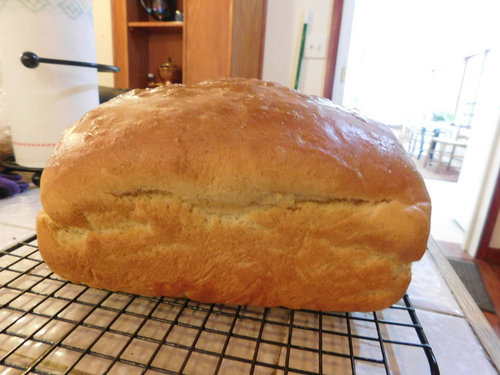
Madi's Meatballs
10 years ago





Featured Answer
Sort by:Oldest
Comments (14)
 10 years ago
 10 years ago
Related Discussions
Need help with front yard
Comments (19)The good thing about your last photoshop post is that you are trying out forms and sizes and location. That is a good start. Even though you have used examples of actual plants, it gives you the chance to see what the "form" and shape do there. That lets you see what form looks good , and then you can check in books or other forums (although you've been given some good suggestions for actual shrubs here, too) for the actual shrubs. The ones you've got there are too architectural for you home, as noted by vicki. In general you are trying to work too tightly up against the house and in those corners. As several people have noted you need not just make the beds bigger, but move them out more from the house. That is necessary not only for the size of shrub that you need, which need to be more closely proportioned to the decking and stair height, but also because you need a couple of feet of breathing room behind the mature extent of the shrubs, to protect your home's exterior, from both the mounding of any soil and some breathing room behind the branches of the shrubs. So the plantings would be generally in those areas but more loosely around the house corner and extending more to the base of the stairs and maybe a bit along the sidewalk, more billowy/arching. If you are going to sell in a year then the most important thing is that nothing appears to have impaired the home structure or grown weedy/messy or look hard to change, and it may not matter at all what the landscape design looks like, other than that some plantings will have more innate appeal than others....See MoreWhat's For Dinner #334
Comments (103)Thanks, Di! They are actually pretty quick to do after you do a few, I call them the "5 second frosting job". (grin) Even if they aren't perfect, they're fast! Party-music, I like kale with beans too. Well, I actually like beans and I like kale, so it's kind of a natural combo for me and kale is super easy to grow, so I always have some. Those little "sprinkles" on top of the cupcakes are something called "pearls", she had a black and white wedding, and regular sprinkle were just too small, so I bought the bigger pearls at one of the hobby stores that have a cake decorating section, probably Michael's or Hobby Lobby. I think they were a Wilton product. There's another tip you can use too, but I don't know what it is, because I don't remember anything any more. (sigh) Sol, my friend, I'm so glad to see you check in here again. Yes, Madison is just as "hammy" as Makayla was, a drama queen in the making. Or is that Drama Princess? Annie...See MoreWhat's For Dinner - #340 - 2016
Comments (103)Party_music, here is the recipe. It is from the Robin Hood Flour website. Apple Cranberry Muffins Like most recipes, even using the first time I made minor adjustments. Here is the link to the original recipe:http://www.robinhood.ca/.../Apple-Cranberry-Crumble-Muffins and the recipe with my minor adjustments. Basically using butter instead of oil. Adding a little salt and vanilla and subbing some sour cream for some of the yogurt. Source: Robin Hood Flour With some minor adjustments. Topping ¼ cup brown sugar, packed ¼ cup almonds, chopped 3 tbsp Robin Hood® Oats ½ tsp cinnamon pinch salt 1 tbsp Butter Muffins 2¼ cups Robin Hood Original All Purpose Flour 1 cup packed brown sugar 1 tsp baking soda 1/4 teaspoon salt 1 egg 1 cup plain yogurt 1/2 cup sour cream 1/3 cup melted butter 2 teaspoons vanilla 2 cups peeled and diced apples ¾ cup cranberries, fresh or frozen Preheat oven to 375°F (190°C). Grease or line 15 muffin cups with paper liners. Topping: Combine all ingredients. Mix well in a small bowl. Set aside. Muffins: Combine flour, brown sugar and baking soda, salt in large bowl. Whisk egg, yogurt, sour cream , vanilla and melted butter in medium bowl. Add to flour mixture, stirring just until moistened. Stir in apples and cranberries. Fill prepared muffin cups with batter. Sprinkle with topping. Bake in preheated oven for 20 to 25 minutes or until a toothpick inserted in centre of muffin comes out clean....See MoreWhat's for Dinner #348
Comments (104)No 100 for this WFD is my post about matcha. ( green tea powder) Do I like it ? Meh it's alright but not terribly impressed. I tried it as a tea made with hot milk. Then because I could detect a faint seaweed smell, I next made pancakes with smoked salmon which were nice but so were DH's non matcha ones according to him. He didn't want matcha after smelling it. There is still some left so I will gradually use it but I wouldn't go out of my way ( ( which I already did) to purchase it again. Jasdip, the strawberries are tiny in real life so it didn't occur to me that they looked like lychee but I can see where you are coming from in the photo....See More- 10 years ago
- 10 years ago
 10 years ago
 10 years ago
 10 years ago
- 10 years ago
- 10 years ago
- 10 years ago
 10 years ago
- 10 years ago
 10 years ago

Related Stories
KITCHEN APPLIANCESConsidering a New Kitchen Gadget? Read This First
Save money, time and space by learning to separate the helpers from the hassles
Full StorySponsored

Central Ohio's Trusted Home Remodeler Specializing in Kitchens & Baths



dcarch7 d c f l a s h 7 @ y a h o o . c o m