


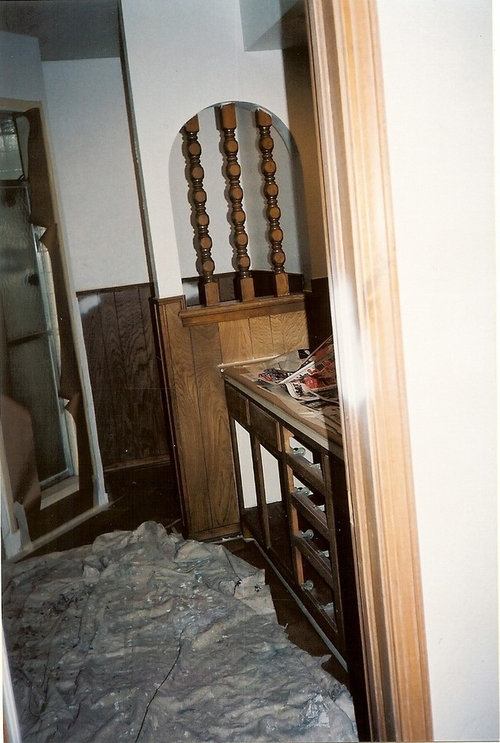
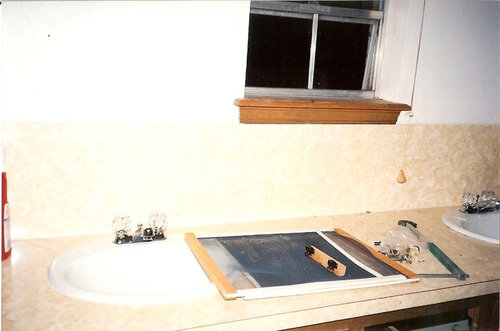
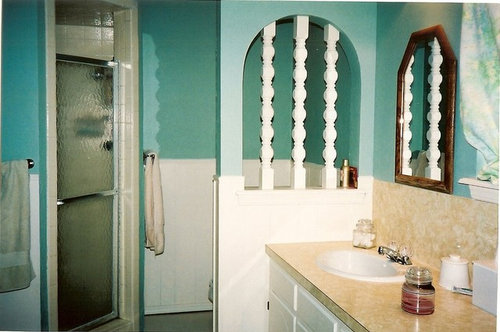
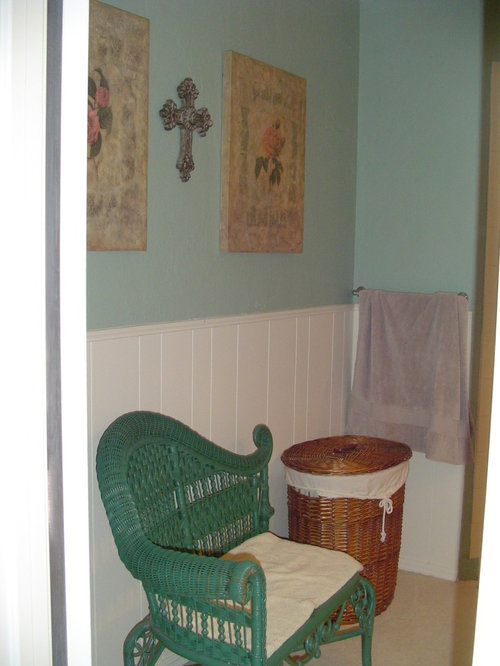
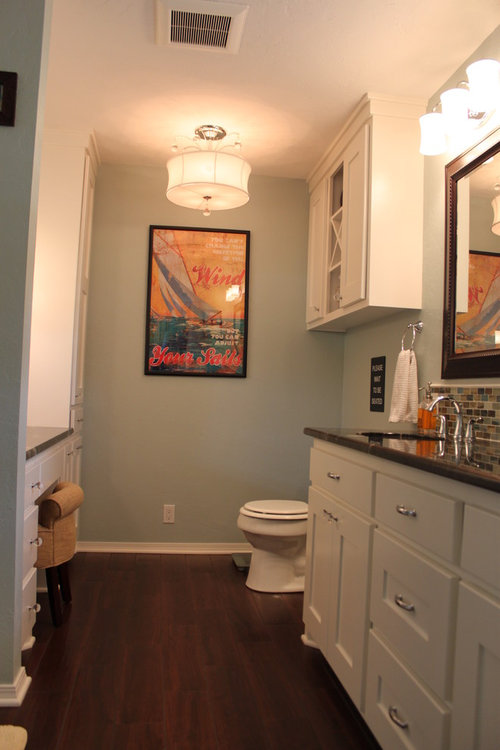
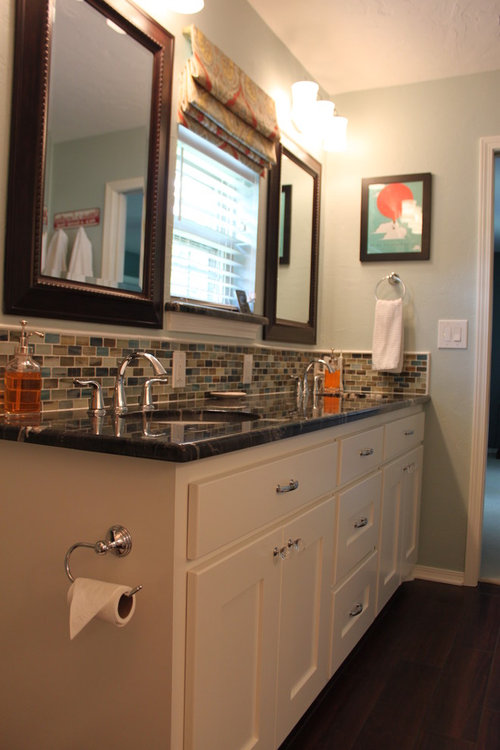
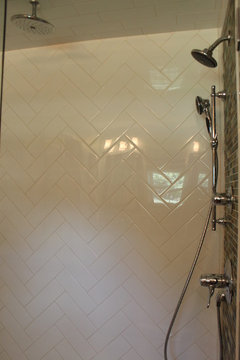
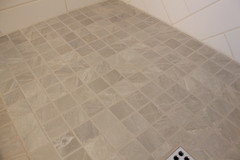
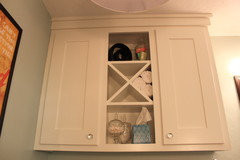
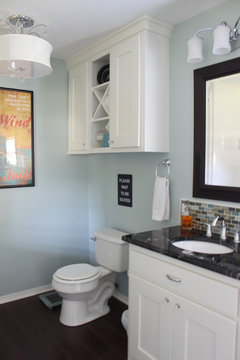
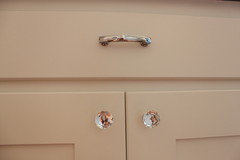
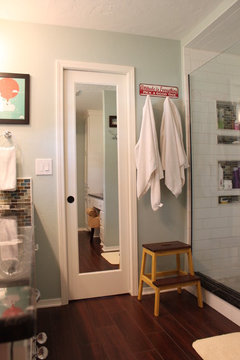
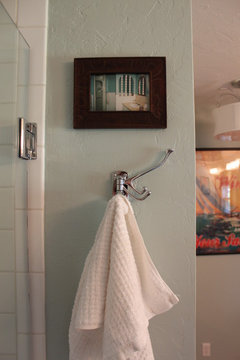
itltrot's Master Bath Reveal
itltrot
8 years ago


Featured Answer
Sort by:Oldest
Comments (28)

itltrot
8 years agoitltrot
8 years agolast modified: 8 years agoRelated Discussions
Master Bath Renovation Reveal
Comments (14)I noticed the same beveled tile edges on your tub deck. Very nice tile work. Very nice cabinet work. And your material choices are very soothing and flowing to my eye. Your vanity really caught my eye. It is nicely designed. And I like your tub. You get both rectangle and oval shapes. Paint color is deceptive. I have lived with my master bedroom paint for 3 years waiting to make up my mind and repaint with this bathroom remodel. Amount of sunlight, time of day, time of year, type of bulbs, placement of lights, etc can really change the paint color too. I have a wood floor in my master bedroom that throws a lot of yellow up on the walls which I did not take into account. Plus I went with the fad of the year and painted the ceiling the same as the walls and ended up hating it as I laid in bed every night! And I learned that the main color in the base or added colorant always overrides the surface colors in the mix. Good luck with your paint. I have a friend that repainted her mistake red bathroom with one coat of BM Aura green. This post was edited by Anna_in_TX on Sun, Jan 5, 14 at 16:49...See MoreMaster Bath Reveal - Small space, big style
Comments (61)Otterkill - the glass shower enclosure was custom and done by a local glass shop. I prefer not to share costs publicly online. Not to mention costs can vary a great deal depending on the materials you use, prices and deals on materials, and regional labor costs. For those on a budget you can replicate this look for less if you use a different marble or other materials. There are some great porcelain tiles and quartz countertops that can create a similar look for much less. Calacatta gold generally runs $20+ a square foot for tile and over $200 a square foot for countertop slab. I suggest shopping around to get a sense of what you like and the costs and then drafting a budget. Then from there you can see where you have give and take in your budget to save on some items and splurge on other items. And as always check out Craigslist or Ebay for deals. Who knows, you may find a wonderful deal on closeout tile or remnant slab....See MorePRESENTING: Master Bath Remodel Reveal!
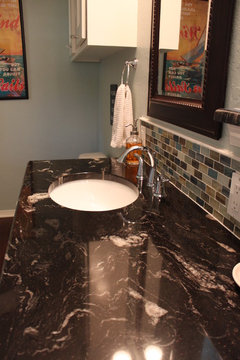
Comments (18)adh673 -- Thank you! The tile came from The Tile Shop. The main wall tile in the shower is Navona Travertine KB3301 (despite the name, it's actually a porcelain tile). We also used it on the floor of the bathroom and around the tub. It's a "rectified" tile so the tiler was able to give me the super thin grout lines I wanted. The shower floor is Jinshan Bone P/F 5 cm. The back of the niches is Jinshan Bone P/F 2 cm. The diamond pieces in the mural is Sandlewood Monterrey -- they're a "puffed" travertine tile with beveled edges. The border pieces framing the mural and the shower niches is Jinshan Bone/Sand Hon. The bullnose border pieces finishing the entire shower area is Jinshan Bone Pol. Our tiler used Technicolor grout by Tec for the entire shower area as it is stain, mold, and mildew resistant and never needs sealed. We used granite from our counters for the top of the shower curb and the shelves in the niches (those were cut to half thickness). Hope this is helpful!...See MoreCoastal Master Bath Reveal
Comments (9)Loves2read (me too!) - the lights are not centered over the mirrors. It was where they were in the original layout, but we didn't take into account the fact that the new sinks (and therefore the framed mirrors) were shifted a few inches towards the walls, making the electrical boxes off center. In the end it wasn't worth it to me (time or $) to redo it after we realized the problem....See Moreitltrot
8 years agolast modified: 8 years agoitltrot
8 years agoitltrot
8 years ago
cpartist
8 years agoitltrot
8 years agoitltrot
8 years agoitltrot
8 years agoitltrot
8 years ago
enduring
8 years agoflyingkite2015
8 years agolast modified: 8 years agoitltrot
8 years ago


Related Stories

MATERIALSRaw Materials Revealed: Drywall Basics
Learn about the different sizes and types of this construction material for walls, plus which kinds work best for which rooms
Full StoryREMODELING GUIDESBathroom Remodel Insight: A Houzz Survey Reveals Homeowners’ Plans
Tub or shower? What finish for your fixtures? Find out what bathroom features are popular — and the differences by age group
Full Story
BATHROOM DESIGNPrivate Access: 12 Bathroom Windows That Reveal Only the Views
Be hidden but not hemmed-in with a strategically placed bathroom window that brings an outdoor view but not prying eyes
Full Story
INSIDE HOUZZA New Houzz Survey Reveals What You Really Want in Your Kitchen
Discover what Houzzers are planning for their new kitchens and which features are falling off the design radar
Full Story
TRADITIONAL HOMESHouzz Tour: New Shingle-Style Home Doesn’t Reveal Its Age
Meticulous attention to period details makes this grand shorefront home look like it’s been perched here for a century
Full Story
MY HOUZZMy Houzz: Surprise Revealed in a 1900s Duplex in Columbus
First-time homeowners tackle a major DIY hands-on remodel and uncover a key feature that changes their design plan
Full Story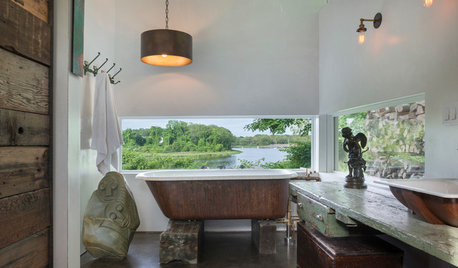
BATHROOM DESIGNRoom of the Day: A Salvaged Bathroom Full of Fresh Ideas
Entwined pipes as faucets, old doorknobs as towel hooks and swaths of concrete bring function and attitude to a master bath
Full Story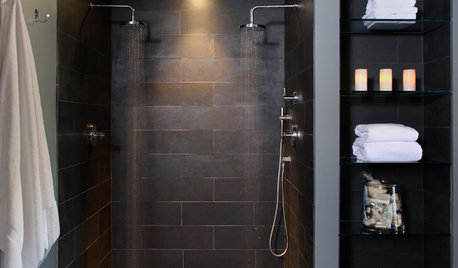
BATHROOM DESIGN10 Elements of a Dream Master Bath
A heavenly bathroom could be just a few features away. Would any of these be must-haves for your renovation?
Full Story
BATHROOM DESIGNBathroom Workbook: 7 Natural Stones With Enduring Beauty
Not everyone wants a marble bath. Bring organic warmth to counters, walls or floors with these hard-wearing alternatives
Full Story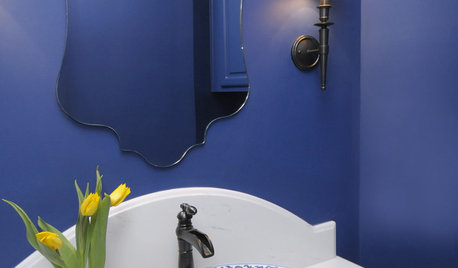
BATHROOM DESIGN8 Bold Paint Colors for Your Powder Room
Turn your powder room into a exclamation point with a bold shot of red, raspberry, hyacinth, rich brown or stormy blue
Full StorySponsored
Custom Craftsmanship & Construction Solutions in Franklin County


Oaktown