


Pits in Polyurethane after first coat!!
mayhem69
9 years ago
Featured Answer
Sort by:Oldest
Comments (20)

mayhem69
9 years agoRelated Discussions
HELP. Bubbles in Polyurethane finish
Comments (20)It's not uncommon to get bubbles in your first coat. You can sometimes thin the first coat a bit. But often it's simply easier to expect there will be bubbles, and accept them. When you scuff or screen after the first coat has cured, the second will go on better than the first as the first coat will have sealed the bare wood and smoothed the surface a bit. Less texture, fewer open wood pores, means less entrained air. Operator error. It's been mentioned already, but overworking the poly can lead to you entraining air as you roll back and forth. I'd ditch the roller. Use a brush to cut in and a pad for the open floor. You'll stand a better chance with a wool applicator pad (wool for oil, synthetic wool for water-based). Brushes, use a china bristle for oil, synthetic brush for water). Get it on the floor, use the pad to gently spread it, then move on. Again, don't overwork it. Oil has a longer working time. But again, get it down and leave it to settle. You can always use a 4" brush and do the entire floor by hand. Again, don't overwork the poly in the can, or on the floor. By "in the can" I mean dip the brush and to remove excess, touch the brush to the side of the can instead of wiping it on the lip of the can. Wiping can entrain air. Sand lightly between coats, vacuum and tack to get the dust up. Your last coat if satin will look "satin". PS: I'm not primarily a floor guy. I've done them, but it's not my specialty. If they haven't already, I'm sure more experienced folk will post....See MoreSanding the sheen off polyurethane?
Comments (10)Thanks everyone for the feedback, this is great. Some further follow up questions if you all have the patience. (sorry for such beginner questions, haven't tried this stuff before). Richard - I appreciate what you are saying with regard to the grit, but I was thinking that if I went straight from dried poly to sanding with 1200, there would be no grit to obliterate, no? Its only when I start with the courser grits on dried poly that I have to obliterate them with finer grits. "You absolutely have to wait for a full cure, or odd things will happen in the prematurely rubbed out finish when it does cure, which it will." What odds things will happen? I ask because my sample piece is far from perfect but I still preferred the rub out looked after just 8 hours to the non-rubbed out look. Just curious what the effect will be. Does a high build poly make it easier to rub out without going through the top layer? I imagine it takes longer to cure. Deft Clear Wood Finish looks interesting. I hadn't heard of it. I was attracted to polyurethane because I had used it before, it looked like the product to use, and it was clear. It looks like Deft Clear Wood would be clear as well. Does it protect and last as long as polyurethane? If polyurethane is harder to rub out because it is scratch resistance, doesn't that mean that Deft would be less scratch resistant at the end of the day? Also, can someone clarify "some practice and a very good brush to get a good finish." I have gotten the feel for polyurethane and keeping the brush full, slow steady passes etc. Why is the Deft harder to put on?...See MoreTerrible Fumes from Oil-based polyurethane 4 weeks after finished
Comments (28)The "washboard" floor is a bigger issue than the smell. The cupping in that area is substantial. Wood will show you the DIRECTION that the moisture is coming from. Cupping like yours (the centre of the plank is LOWER than the edges...or the edges are sitting higher than the centres) is and excellent indicator as to where the moisture is coming from. If you imagine the centre of the plank as an arrow head, you can see that the arrow head is pointing "down". That means there is a LARGE SOURCE of moisture sitting BELOW the floor. How that happened or why is another story. But the fact that you have moisture issues BELOW that section of flooring is "clear as day". I'm sorry but you have multiple issues going on here. I would agree that 4 coats is causing a curing delay = LONG TIME getting rid of the smell. And the oozing from between the planks is an indication there is FAR TOO MUCH product on this floor (again, causing curing delays = lingering odours). But the BIG issue is the lack of humidity control in your home. The cupping in your floors indicates there is too much moisture BELOW that area of floor (do you have a basement or crawl space???) that MUST be looked at. Dehumidifiers need to be employed to get the moisture levels DOWN. And the dehumidifiers need to be used in the space BELOW the floor (pay close attention to the area below the cupping planks). The bonus being the finish will dry FASTER and will help reduce the smell FASTER. You can use/rent temporary dehumidifiers running 24/7 (remember to empty the water tanks twice per day or you run the risk of a mini-flood = not helpful) for a quick fix. This will allow you time to find/pay for a permanent solution to the problem. Please, please please investigate the MOISTURE problem BEFORE you try to fix the finish on this floor. If you sand down now, you run the risk of doing ++ damage to the cupped planks....See MoreHow I have eliminated Oil-based Polyurethane smell...
Comments (2)Great tips and advice. I would like to add, house plants will help filter out polluted air, along with maintaining humidity and adding color to a space as well....See MoreUser
9 years agomayhem69
9 years agoUser
9 years agoklem1
9 years agomayhem69
9 years agomayhem69
9 years agojeff-1010
9 years agomayhem69
9 years agojeff-1010
9 years agoUser
9 years agomayhem69
9 years agoUser
9 years agomayhem69
9 years agoklem1
9 years agomayhem69
9 years agojeff-1010
9 years agoUser
9 years agoklem1
9 years ago
Related Stories

DISASTER PREP & RECOVERYHouzz Tour: Family Rebuilds Home and Community After Hurricane Sandy
This restored coastal New Jersey house — now raised 9 feet off the ground — offers inspiration for neighbors considering a return
Full Story
ARCHITECTUREGet a Perfectly Built Home the First Time Around
Yes, you can have a new build you’ll love right off the bat. Consider learning about yourself a bonus
Full Story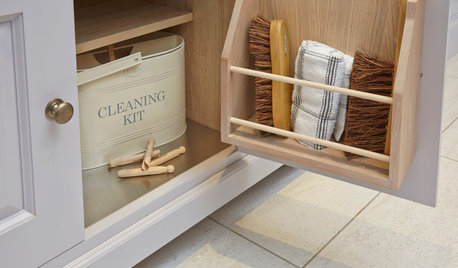
HOUSEKEEPINGA Cleaning Routine for Your First Home
With basic supplies and room-by-room checklists, you can get into the housekeeping habit
Full Story
GARDENING AND LANDSCAPINGPave the Way to Landscape Style With Flagstone
Define a patio, build a path, make a fire pit ... learn about flagstone's many uses, plus costs and considerations, here
Full Story
BEFORE AND AFTERSA ‘Brady Bunch’ Kitchen Overhaul for Less Than $25,000
Homeowners say goodbye to avocado-colored appliances and orange-brown cabinets and hello to a bright new way of cooking
Full Story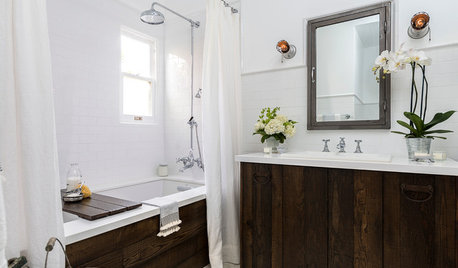
BEFORE AND AFTERSOld Hollywood Style for a Newly Redone Los Angeles Bath
An ‘NCIS’ actor gives her 1920s classic bungalow’s bathroom a glam retro makeover
Full Story
HOUZZ TOURSHouzz Tour: From Shocker to Stunner in Houston
Once moldy and decrepit, this 1920s bungalow is now a neighborhood gem
Full Story
HOMES AROUND THE WORLDMy Houzz: Montreal Update Ready Just in Time for a New Arrival
A remodeled bathroom, new lighting, better storage and a modern color palette refresh a 3-story home for this expecting couple
Full Story
REMODELING GUIDES6 Must-Know Lessons From a Serial Renovator
Get your remodel right the first time, with this insight from an architect who's been there too many times to count
Full Story
REMODELING GUIDESContractor Tips: Smooth Moves for Hardwood Floors
Dreaming of gorgeous, natural wood floors? Consider these professional pointers before you lay the first plank
Full Story

User