


Kitchen sink 'aroma'
anne_ct
12 years ago
Sort by:Oldest
Comments (26)
Related Stories
KITCHEN DESIGN8 Good Places for a Second Kitchen Sink
Divide and conquer cooking prep and cleanup by installing a second sink in just the right kitchen spot
Full Story
KITCHEN DESIGNYour Kitchen: Farmhouse Sinks
These extra-deep and minimal sinks can go from country to jet set
Full Story
KITCHEN DESIGN8 Stylish Sink Types for Kitchens of All Kinds
Choose the wrong sink and your kitchen renovation efforts may go down the drain — these sinks will let you clean up in the style department
Full Story
KITCHEN DESIGN8 Kitchen Sink Materials to Consider
Learn the pros and cons of these common choices for kitchen sinks
Full Story
KITCHEN DESIGNHow to Choose a Kitchen Sink Size
Bigger isn’t necessarily better. Here’s how to pick the right size sink for your kitchen, needs and budget
Full Story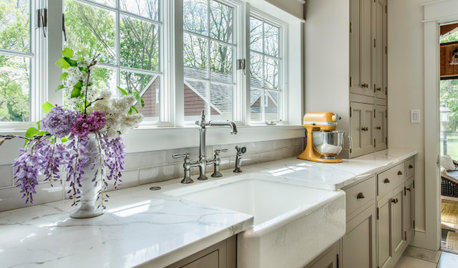
KITCHEN DESIGNHow to Choose the Best Sink Type for Your Kitchen
Drop-in, undermount, integral or apron-front — a design pro lays out your sink options
Full Story
KITCHEN DESIGN8 Ways to Configure Your Kitchen Sink
One sink or two? Single bowl or double? Determine which setup works best for you
Full Story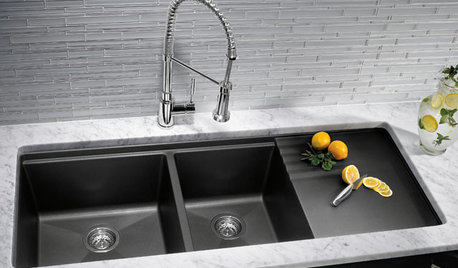
KITCHEN DESIGNKitchen Sinks: Granite Composite Offers Superior Durability
It beats out quartz composite for strength and scratch resistance. Could this kitchen sink material be right for you?
Full Story
KITCHEN DESIGNWhere Should You Put the Kitchen Sink?
Facing a window or your guests? In a corner or near the dishwasher? Here’s how to find the right location for your sink
Full Story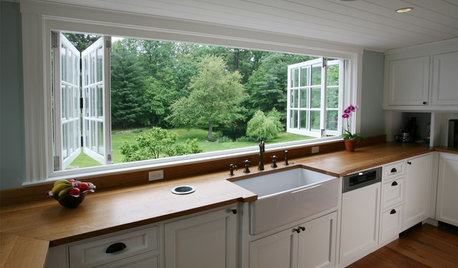
KITCHEN DESIGNRenovation Detail: The Kitchen Sink Window
Doing dishes is anything but a chore when a window lets you drift off into the view beyond the kitchen sink
Full Story

mboston_gw
vala55
Related Discussions
Kitchen layout - single sink vs. main sink + prep sink
Q
Kitchen Sinks and Sinks and Sinks ...
Q
The Galley vs Havens kitchen sink ... or any Other workstation sinks?
Q
Kitchen sink - sink in sink
Q
glenda_al
anne_ctOriginal Author
jannie
chessey24
alisande
patti43
anne_ctOriginal Author
glenda_al
FlamingO in AR
jemdandy
sheilajoyce_gw
lazypup
anne_ctOriginal Author
kathyg_in_mi
lazypup
sjerin
lazypup
anne_ctOriginal Author
lazypup
susanjf_gw
anne_ctOriginal Author
lefleur1
sjerin
lazypup