


Help: Safe Removal - Salvage of Granite Countertops
chromaspace
9 years ago
Featured Answer
Sort by:Oldest
Comments (7)

User
9 years agoRelated Discussions
Is there a safe way to remove scratches from stainless?
Comments (18)Personally, I'd say live with them. There's a possibility you'll make them worse rather than better. Also, you'll most likely end up putting more scratches on with use and it'll develop a patina. There was a woman on the appliance forum a while back who cleaned her new SS fridge 3 times a day and was upset that it kept getting worse rather than better. Think of it like the first dent in a new car....See MoreSalvaged marble for ~$12 sq ft - should I buy for my countertops?
Comments (31)Koshea, I believe your marble is called venetian gold. I have it in one of my bathrooms. If it's the same stone, the gold and charcoal veins are just lovely. The reputed downside is that the random rust colored veins are well, rust. I've had mine in the bathroom,(shower, walls and floors) for over 6 years and have never seen an increase in the rust. But it was told to me that there was a small chance the grey veins would become more rust colored with time. Not hugely so, but the person felt I should be warned as in her opinion the coloring kept venetian gold from being as popular as other white marbles. Frankly? I love it. Every bit of it. And the combination of gold, grey and random small bits of rust against the white has made the room my favorite. It's also stood up to my two sons and many guests. Here's a few pics:...See Moredull spots on granite after using nail polish remover-HELP!
Comments (1)You probably just pulled off some of the sealer in that area. Re-seal the affected areas and buff it like waxing a car and you should get the polish back....See MoreHelp! Stain removal on white granite getting worse with each attempt
Comments (16)Thanks so much everyone ! I‘ve been reading more about marble all day and it did lighten up by the afternoon. I tried to just use my gentle natural dish soap to wipe/wash away any remnants of anything left on it and as soon as the water went back on these spots it looks dark again! Now that it’s dried out it looks like this ..... its much better but still a bit stained. Should I try to get the stain out again ? Worried I might make it worse - can that happen? Anyone had luck with baking soda for longer? I did read it should be for 24 hours but I left the paste on overnight and flipped out when I checked on it this morning and it was so dark plus I read baking soda can be abrasive. Or should I just seal it and use my metal decorative tray going forward and accept this level of staining....See Moresevrm
9 years ago PRO
PROJoseph Corlett, LLC
9 years agojennifer132
9 years agopeony4
9 years agochromaspace
9 years ago
Related Stories
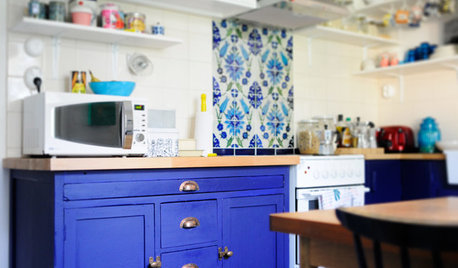
ECLECTIC STYLEGet Creative Salvage Ideas from Houzzers' Reuse Projects
Save money and show off your resourcefulness by borrowing from these creative home projects using salvaged materials
Full Story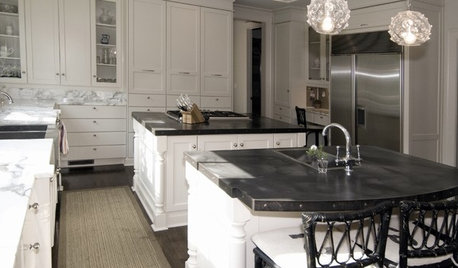
KITCHEN COUNTERTOPSKitchen Countertop Materials: 5 More Great Alternatives to Granite
Get a delightfully different look for your kitchen counters with lesser-known materials for a wide range of budgets
Full Story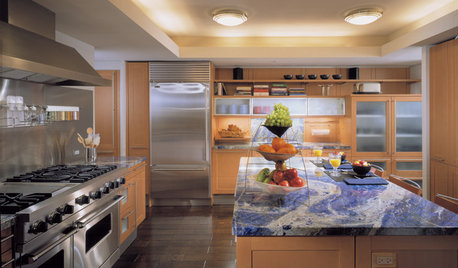
KITCHEN DESIGNAlternatives to Granite Countertops, Part II
Still looking for a new kind of countertop? Try sodalite, zinc, limestone, onyx and more
Full Story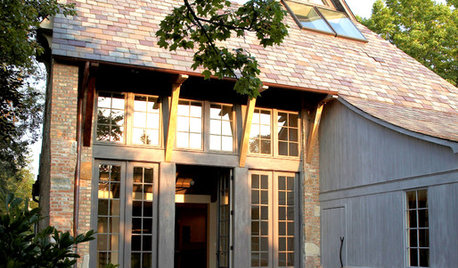
GREEN BUILDINGSalvaged Materials Triumph as All-Stars of Sustainability
When you save manufacturing energy and have a beautifully crafted home to boot, it's a win-win situation
Full Story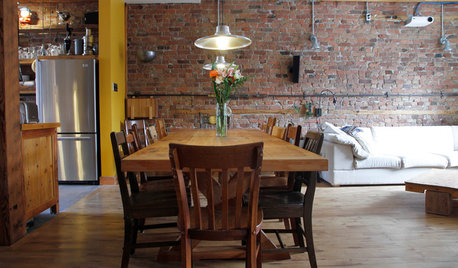
ECLECTIC HOMESMy Houzz: Ecofriendly and Salvaged Style in a Montreal Triplex
Repurposed materials, graywater reuse, and no-VOC paints make for a resourcefully earth-friendly home in Quebec
Full Story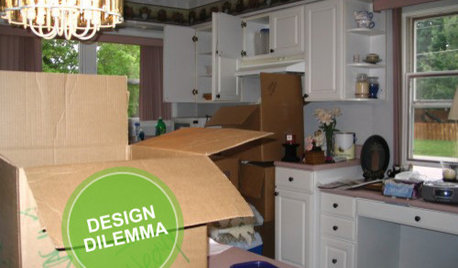
KITCHEN DESIGNDesign Dilemma: My Kitchen Needs Help!
See how you can update a kitchen with new countertops, light fixtures, paint and hardware
Full Story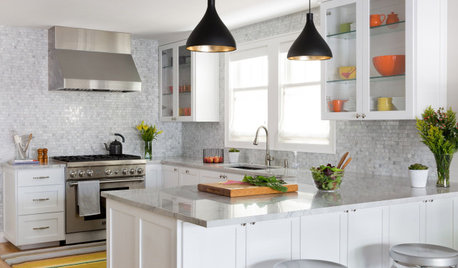
KITCHEN DESIGNKey Measurements to Help You Design Your Kitchen
Get the ideal kitchen setup by understanding spatial relationships, building dimensions and work zones
Full Story
SELLING YOUR HOUSEHelp for Selling Your Home Faster — and Maybe for More
Prep your home properly before you put it on the market. Learn what tasks are worth the money and the best pros for the jobs
Full Story
BATHROOM WORKBOOKStandard Fixture Dimensions and Measurements for a Primary Bath
Create a luxe bathroom that functions well with these key measurements and layout tips
Full Story
BATHROOM MAKEOVERSRoom of the Day: See the Bathroom That Helped a House Sell in a Day
Sophisticated but sensitive bathroom upgrades help a century-old house move fast on the market
Full Story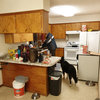


schicksal