


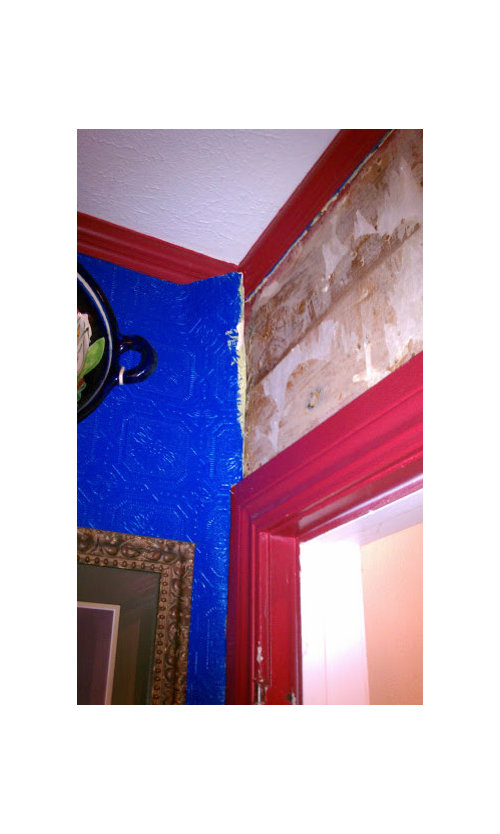
How would you fix THIS mess?
User
12 years ago


Sort by:Oldest
Comments (63)
Related Stories

HOUSEKEEPINGTackle Big Messes Better With a Sparkling-Clean Dishwasher
You might think it’s self-cleaning, but your dishwasher needs regular upkeep to keep it working hard for you
Full Story
MOST POPULARA Fine Mess: How to Have a Clean-Enough Home Over Summer Break
Don't have an 'I'd rather be cleaning' bumper sticker? To keep your home bearably tidy when the kids are around more, try these strategies
Full Story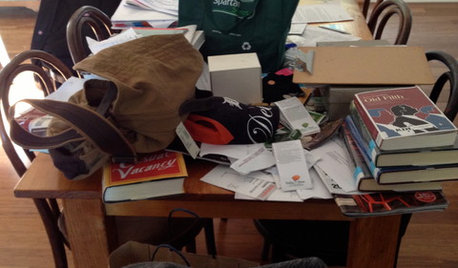
LIFEAnatomy of a Family-Size Mess
Study your home’s dumping grounds to figure out what organizational systems will work — then let yourself experiment
Full Story
PETSDealing With Pet Messes: An Animal Lover's Story
Cat and dog hair, tracked-in mud, scratched floors ... see how one pet guardian learned to cope and to focus on the love
Full Story
HOUSEKEEPINGHow to Relax and Put Housework in Its Place
If household disarray is making you stressed and unhappy, try approaching it with a different point of view
Full Story
PRODUCT PICKSGuest Picks: Kentucky Derby Party Fixings and Decor
Get a Derby Day party off to a great start with accessories, serveware and furnishings that champion the cause of chic
Full Story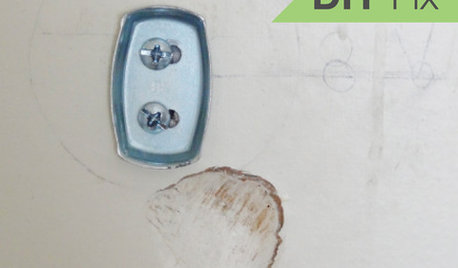
HOUSEKEEPINGQuick Fix: How to Patch a Drywall Hole
Dents and dings disappear, leaving your walls looking brand new, with this fix that even a novice can do
Full Story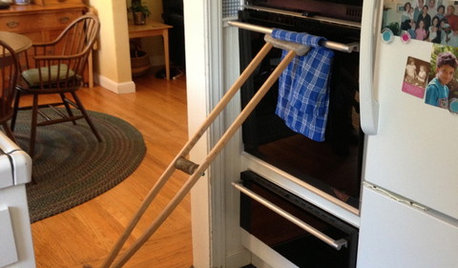
LIFEYou Showed Us: 20 Nutty Home Fixes
We made the call for your Band-Aid solutions around the house, and you delivered. Here's how you are making what's broken work again
Full Story
SELLING YOUR HOUSE5 Savvy Fixes to Help Your Home Sell
Get the maximum return on your spruce-up dollars by putting your money in the areas buyers care most about
Full Story
REMODELING GUIDES10 Home Fixes That Require a Pro
With some home improvements, your best tool might be the phone. Here are some areas in which it pays to make the call
Full Story


Fori
palimpsest
Related Discussions
contractor messed up, can you think of a downspout fix?
Q
Any ideas how to fix our messed up roof??!
Q
How to fix this sandy mess!?
Q
How would you fix the curb appeal of this old l-shaped ranch house?
Q
annzgw
User
amysrq
Oakley
always1stepbehind
UserOriginal Author
mary_lu_gw
liriodendron
peegee
User
homeagain
mjsee
cooperbailey
UserOriginal Author
hoosiergirl
mjsee
UserOriginal Author
User
mclarke
mjsee
tinker_2006
UserOriginal Author
mjsee
mclarke
UserOriginal Author
eandhl
mary_lu_gw
UserOriginal Author
UserOriginal Author
jessicaml
jessicaml
mjsee
mjsee
UserOriginal Author
mary_lu_gw
UserOriginal Author
lyfia
allison0704
mjsee
jessicaml
young-gardener
lkplatow
UserOriginal Author
mary_lu_gw
UserOriginal Author
mary_lu_gw
pupwhipped
jessicaml