


How to install a fountain....desperately
Marie Tulin
14 years ago
Featured Answer
Sort by:Oldest
Comments (15)

osiris1975
14 years agolast modified: 9 years agoRelated Discussions
Clear instructions for a recirculating fountain/birdbath
Comments (0)http://forums.gardenweb.com/forums/load/neweng/msg071311308107.html?13 Sorry posting a live link always flumoxes me. Maybe someone else can do it. or go to the New England forum and look for this OP How to install a fountain....desperately and see "Carl's" instructions...See MoreDisappearing Vase Fountain HELP
Comments (6)The following may be overkill, but it helped me with our fountain several years ago. I dug it up from the New England forum. If you search that forum under "installing fountains" there are four posts and these were in answer to my desperate questions. Marie clip this post email this post what is this? see most clipped and recent clippings Posted by carl18 z6 NJ (My Page) on Tue, Jul 7, 09 at 19:53 O.K. Take a deep breath. . .kick the vole out of the way, and let's start over again from the beginning. Years ago, when I tried my first fountain/watefall, I was just as flummoxed as you are now, but eventually I got the hang of it. . .it's really no more complicated than installing a supercharged flush toilet or replacing the mainfold in a '54 T-Bird. . .but I jest, of course. . . Real solutions: we need to know the exact dimensions of your fountain. . . specifically, how deep is the "bowl" on top of the pedastal?. . .and how high is the fountain from the bottom of the pedastal to the top of the fountain? My guess is that the bowl itself isn't deep enough to hold the pump (which MUST be submerged, as everyone has pointed out), and the plastic (or rubber) tube which supplies water to the fountain from the pump must run down the center of the pedastal. Are we guessing right so far? If this IS the case, your only solution is a reservoir SEPARATE from the founain (which is why I prefer larger fountains where the catch-basin is an integral part of the fountain). . .personally, I would find the idea of an adjacent bucket (or reservoir) unappealing; you were actually on to the most logical and efficient solution with your five-gallon-pail. . .you just need to expand and refine that idea. Here's a cheap-and-dirty idea I've used over a dozen times in the past years for simple waterfalls, overflowing birdbathes, or fountains just like yours. You need to create a small pool to act as your water reservoir: my favorite comes from an animal supply source (such as AgWay) and it's a small watering trough for horses or other animal, very tough, 24" round, black vinyl bowl, about 8" deep - an alternate, would be a black vinyl mortar tray (from HD or Lowe's), the kind you mix concrete in, which are about 6" deep and usually rectangular in shape (roughly 24"x30"). Sink this vinyl reservoir into the ground, so it sits FLUSH with the ground level - it helps to dig your hole, tamp the bottom really hard, and fill with water (and let it drain away). . .this helps to keep the much heavier reservoir (filled with water) and the massive concrete fountain from sinking further down once it's installed. O.K. This next step is important. We don't want the reservoir to remain FLUSH with ground level, because dirt and rain run-off would tend to spill into it. So: we pour about an inch of clean sand into our hole-in-the-ground and set the vinyl reservoir on TOP of that. . .now, your black vinyl pool is sitting a perfect 1" (approximately) ABOVE ground level, which is exactly where we want it ! Take a sturdy piece of scrap wood that is STRAIGHT (a 3-foot section of 2x4 is ideal), lay it across the edges of your reservoir in at least three different directions, and with a carpenter's level on top check to see if your pool is completely level. Here's why we used the sand: if it's not quite level, you can tap on the bottom of the reservoir to gently lower one edge - the sand will give just enough to allow this - using your balled fist or a flat brick. Gentlly, now - you don't want to over- compensate ! Once everything is level, backfill with dirt around the vinyl basin (since you obviously had to dig the original hole a bit wider than necessary) and tamp that backfill firmly, being careful NOT to disturb the reservoir - water this backfill well (and gently) until really saturated, and let it all soak in well (maybe an hour or so) before proceeding. Now, we need to support the fountain. Using concrete bricks or patio blocks (HD or Lowes - the perfectly flat, machine-made ones that will stack securely) you create a "piling" in the center of your reservoir on which to stand your pedastal/fountain. Depending on the depth of your reservoir, and/or the thickness of your bricks, you might need only one layer (which would mean the pedastal base would be underwater - that's my preference), or perhaps two. Remember, if you use THREE piles of bricks instead of just the minimally necessary TWO, you'll make the pedastal/fountain steadier, thanks to the tripod effect). Your small little pump can rest on its side anywhere you like around the perimeter of the reservoir, with the power cord snaking up and over the edge and running off to the power source. By placing a small piece of slate (or a flat dark stone) on TOP of your pump, it won't be visible once it's underwater. Stand your pedastal/pump in place, hook up the pump tubes, fill carefully with water, and you should be good to go. Try flipping the switch and see how it works. . .your only job now is to keep the water level in the reservoir, if not full, AT LEAST covering the pump. Finish off the edge of your reservoir/pool with irregular slates around the OUTSIDE edge, resting solely on the ground, but abutting the vinyl pool - since these slates are roughly 1" thick, they are about level with the edge, and a SECOND layer of slates can perfectly jut out over the edge of the pool and disguise it's presence. You could easily substitute stone, bricks, or whatever suits your fancy. . . As for cleaning, I rarely ever need to clean my reservoir/pools (save for the occasional stray leaf or twig) If suicidal voles tend to start hurling themselves into your pool, why, just do what I'm sure Marty will be doing with all the voles in HER new pools - she'll be dipping them in kerosene and having little festive floating votives in her fountains ! Yes, at the end of the season, I siphon all the water out of the pool, remove (and clean off) the pump for indoor winter storage, and then stretch a small, dark brown or black tarp OVER the fountain and all the way to the outside edge of those slates surrounding the pool - in fact, remove that second layer, stretch your tarp and re-apply that second layer of slate to hold the tarp in place. The idea is to keep as much water/snow/wind-blown-debris out of the pool as possible; it not only makes Spring hook-up easier, but there's no freezing/thawing to stress the concrete or vinyl. Hate the tarp? One friend buries hers under a mound of pine boughs; someone else I know built an elaborate minature shed/house which drops in place OVER the whole pool/fountain, complete with little translucent windows that light up ! I told her all she needed was smoke coming out of the chimney - I'll bet she adds it this next winter. . . How long do these vinyl pools last? Well, I can only tell you that one I installed nearly 15 years ago is still going strong. How dense was I about pools/fountains when I started? My major concern was how I was going to extend the water lines from the house, underground some fifty feet to the pool's location - it was quite some time before I realized that pools and fountains require a POWER source, not a water source. . .duh ! Thank heaven I figured that out BEFORE I called a plumber. . . Carl P.S. Any questions? Let 'em rip. . . RE: How to install a fountain....desperately clip this post email this post what is this? see most clipped and recent clippings Posted by ctlady z5 CT (My Page) on Tue, Jul 7, 09 at 21:09 RE: How to install a fountain....desperately clip this post email this post what is this? see most clipped and recent clippings Posted by idabean 5A (My Page) on Marie Posted by idabean 5A (My Page) on Tue, Jul 7, 09 at 21:40 RE: How to install a fountain....desperately clip this post email this post what is this? see most clipped and recent clippings Posted by cloud_9 z6 CT (My Page) on Wed, Jul 8, 09 at 21:21 clip this post email this post what is this? see most clipped and recent clippings Posted by nhbabs (My Page) on Thu, Jul 9, 09 at 18:43 Idabean - My DH is the one in the family with hands-on practicality, and I have slowly absorbed a tiny amount of his wisdom and experience . . . Get a wet-dry shop vacuum to clean out the bottom of the reservoir, and the extension cords needed to reach as far as the pond if necessary. I have seen pictures of fountains with reservoirs filled with water smoothed pebbles or with a heavy duty screen covered by water smoothed pebbles. I guess you'd need a larger reservoir if you have pebbles filling it, but it's a nice effect. Here's a blog entry on fountains, and the 11th photo has what I'm trying to describe. Michelle may have directions somewhere else in the blog, but I didn't go hunting for that. Here is a link that might be useful: garden fountains - Michelle Derviss' blog...See MoreHow to find a quality, competent sink installer, dishwasher installer?
Comments (12)Ingrid: There is no " leaking and moldiness due to sloppy dishwasher installation." The only part of your dishwasher to enter the sink base cabinet is the drain hose on a high loop over the cabinet wall. That hose is clamped to a nipple on your sink drain or disposal. As long as that clamp is tight, there are no dishwasher leaks. An undermounted sink is a different matter. Due to installation with clips or blocking, leaking sinks are common. If there is recurring black/brown gunk at your sink flange, your sink is leaking. It can literally cause your natural stone countertops to self-destruct if they are improperly rodded, in addition to rotting cabinets and bug infestation. Have your GC insist that your sink be strapped, not clipped or blocked, in place please. Strapped sinks don't leak....See MoreHow to correct hood install too low
Comments (19)The problem is that the hood you want, is much too massive, and tall, for the ceiling that you actually have. You have to have a minimum of 30"-36" of distance between anything wood and your cooking surface. That includes the corbels, and anything else wood. By the time you achieve that, the hood is going to be squat and disproportionate to the kitchen. Better to switch to stainless for all....See More
corunum z6 CT
14 years agolast modified: 9 years agoctlady_gw
14 years agolast modified: 9 years agoMarie Tulin
14 years agolast modified: 9 years agoosiris1975
14 years agolast modified: 9 years agoMarie Tulin
14 years agolast modified: 9 years agodiggerdee zone 6 CT
14 years agolast modified: 9 years agocorunum z6 CT
14 years agolast modified: 9 years agohunt4carl
14 years agolast modified: 9 years agoctlady_gw
14 years agolast modified: 9 years agoMarie Tulin
14 years agolast modified: 9 years agoMarie Tulin
14 years agolast modified: 9 years agocloud_9
14 years agolast modified: 9 years ago
NHBabs z4b-5a NH
14 years agolast modified: 9 years ago
Related Stories

FENCES AND GATESHow to Install a Wood Fence
Gain privacy and separate areas with one of the most economical fencing choices: stained, painted or untreated wood
Full Story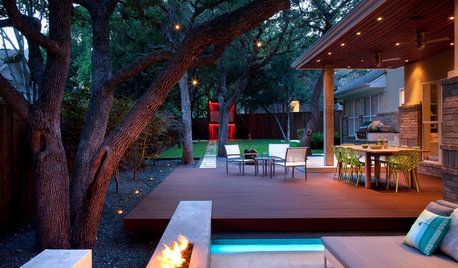
GREAT HOME PROJECTSLight Your Landscape for Drama and Function
New project for a new year: Install outdoor lighting to highlight special features and keep nighttime walks safe
Full Story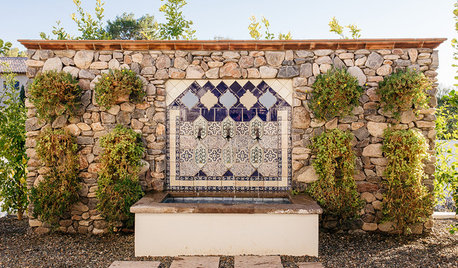
LANDSCAPE DESIGNHave Your Garden Fountain and Be Water Wise Too
Learn which water features are more suited to conservation, and get strategies for placement and use
Full Story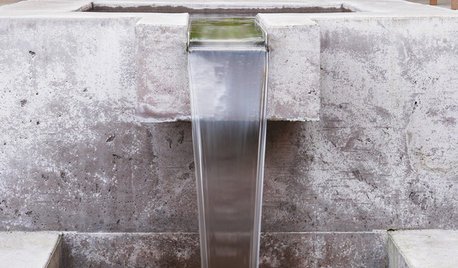
GARDENING AND LANDSCAPINGLandscape Trends: Spout and Trough Fountains
The Rural Landscape Provides a Modern Form for the Garden
Full Story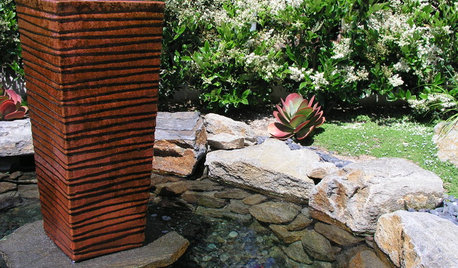
GARDENING AND LANDSCAPING35 Fabulous Fountains
Cool Off and Be Soothed With a Little Water Music In Your Garden
Full Story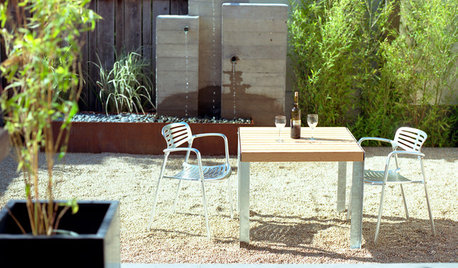
GARDENING AND LANDSCAPINGOutdoor Fountains Bring the River to You
Chill out with a custom or kit water feature for your patio or yard — there's even one for a furry friend
Full Story
EVENTSSee ‘Chihuly in the Garden’ at the Atlanta Botanical Garden
The glass artist’s work is well-sited to complement and contrast with beautiful plantings. His new installation opens Saturday
Full Story
GREAT HOME PROJECTSMake a Push for a New Doorbell
Is it time to replace a doorbell or even add a door intercom or video system? Installation may be easier than you think
Full Story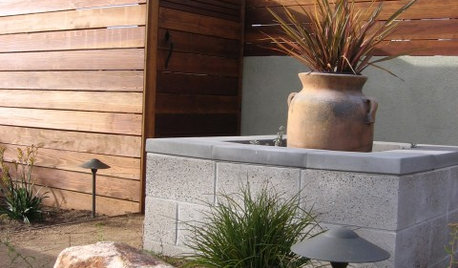
FENCES AND GATESModern Fencing for a More Secure Home
Deter would-be burglars without robbing your home of style, by installing a modern fence like one of these
Full Story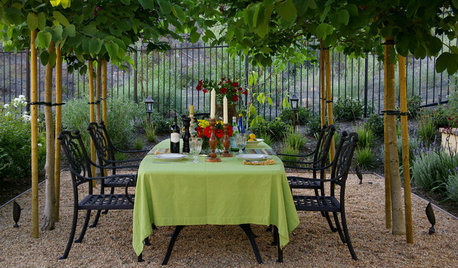
LANDSCAPE DESIGNEnjoy the Romance of Dining in a Classic Gravel Garden
Here’s what to consider when it comes to installing, styling and maintaining a DIY-friendly gravel patio
Full Story
mad_gallica (z5 Eastern NY)