


Make your own grafted roses with T-budding. Step by step pictures
cupshaped_roses
16 years ago
Sort by:Oldest
Comments (15)
Related Stories
WALL TREATMENTSCan't Find the Right Wallpaper? Make Your Own
For one-of-a-kind walls, just use your imagination. Custom wallpaper is easier and less expensive than you might expect
Full Story
GREAT HOME PROJECTSMake Your Own Tranquil Garden Fountain
With this DIY water feature in your yard, serenity is just a few steps away
Full Story
MOST POPULAROrganizing? Don’t Forget the Essential First Step
Simplify the process of getting your home in order by taking it one step at a time. Here’s how to get on the right path
Full Story
ORGANIZINGSmall Steps to Organizing Success
Take care of bite-size projects, and your home's big picture will be an organized dream before you know it
Full Story
BATHROOM WORKBOOKA Step-by-Step Guide to Designing Your Bathroom Vanity
Here are six decisions to make with your pro to get the best vanity layout, look and features for your needs
Full Story
GARDENING GUIDES6 Steps to Get a Garden Off to a Glowing Start
Grow a lush, balanced garden from an empty patch of yard or neglected landscape spot with these easy-to-follow guidelines
Full Story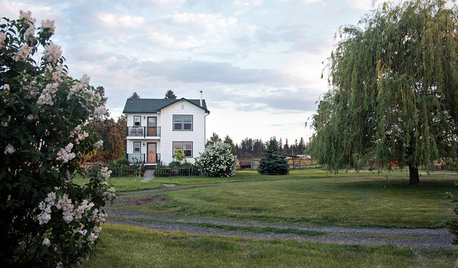
HOUZZ TOURSMy Houzz: Northwest Couple Make a Rural Homestead Their Own
Country life agrees with these first-time homeowners, who have decorated their farmhouse in a rustic, low-key style
Full Story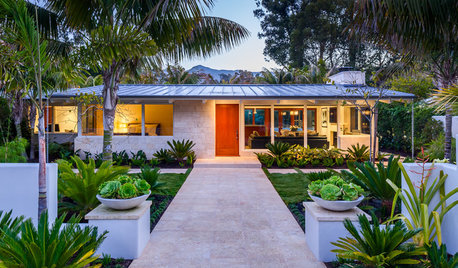
REMODELING GUIDESSo You Want to Build: 7 Steps to Creating a New Home
Get the house you envision — and even enjoy the process — by following this architect's guide to building a new home
Full Story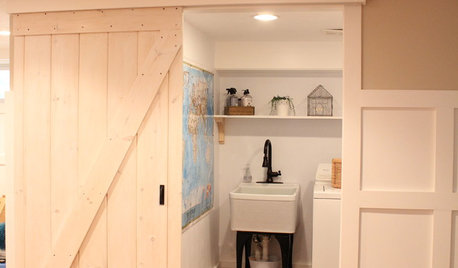
DIY PROJECTSMake Your Own Barn-Style Door — in Any Size You Need
Low ceilings or odd-size doorways are no problem when you fashion a barn door from exterior siding and a closet track
Full Story
HOUZZ TOURSHouzz Tour: Step Inside (and Out) a New Florida Showhouse
2012 'New American Home' at International Builders Show celebrates latest materials and ideas for luxurious, indoor-outdoor living
Full Story

karl_bapst_rosenut
hoovb zone 9 sunset 23
Related Discussions
EDU: Make your own Pickles, even if you don't like them these ar
Q
Dark green / black mold on older rose grafts / bud unions
Q
Sphagnum Moss Rooting Method - Step by Step!
Q
Is this rose (Munstead Wood) grafted or own root?
Q
chuck_billie
Hepatica
moodyblue
riku
berndoodle
berndoodle
cupshaped_rosesOriginal Author
mydream
harryshoe zone6 eastern Pennsylvania
berndoodle
duchesse_nalabama
sautesmom Sacramento
mendocino_rose