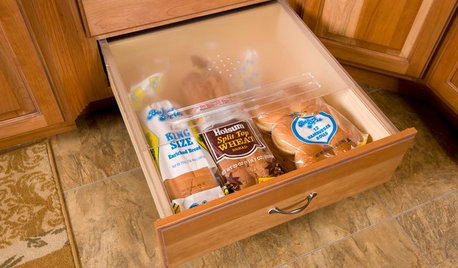
Bread storage question
5 months ago
Featured Answer
Sort by:Oldest
Comments (10)
Related Discussions
Bread baking question...incomplete recipe!
Comments (4)Ended up the perfect advice, LindaC! I added all the rest of the liquid, then added flour in a cup at a time until it felt right. Total was only about 81/2 cups! No where near the 11 written. I ended up making hamburger buns and sandwich rolls (or very small loaves) from it. It's good, a little dense for burgers, but it'll eat!! Sure does taste good! Here's what they looked like when all baked....minus the bit that I sampled first! :-) Thanks again! Deanna...See MoreBread questions: Homemade vs Store
Comments (33)aptosca/Clare- -Be careful how much VWG you add. Too much will make the bread tough, not just give it loft, and it often takes longer to knead and develop the gluten the more you add. -Gluten absorbs moisture like a sponge, so you may also need to use less flour if you add VWG - so go by the "feel" of the dough and aim for a well-hydrated, soft dough. Stiff dry dough will make a dry, squatty loaf. Personally, I think you will get more loft by using King Arthur Baker's Special Dry Milk in an enriched loaf of bread, rather than adding VWG. Additional VWG is generally unnecessary if you use bread flour or even all-purpose flour. If you've never made rye bread before, rye flour in bread dough will cause the dough to be characteristically sticky, and because of this people tend to add too much flour during kneading (especially if the rye flour is 20% of the total amount of flour, or more) to off-set the stickness - a big no-no.... A simple way to solve this problem, if you are making the dough by hand, is by placing the dough in a large freezer zip-lock bag (use a freezer bag because the plastic is thicker and takes more "abuse" from kneading). Place the dough into the freezer-bag, press out as much air as possible before closing, and knead the dough while it's in the bag, from the outside of the bag (a la Bread-In-A-Bag - see link below). You can still adjust the hydration, but this should help keep from adding too much flour because the stickiness from the rye flour won't be sticking to your hands. There are also kneading gloves that can be used for sticky doughs, but a freezer zip-lock bag an easy fix (and probably less expensive). When the dough has been kneaded enough, press the dough into one corner of the bag; open the bag and turn it inside out to get the dough out. BTW - this is one bag you won't want to wash and save ;-). A mistake often made, and why the dough doesn't seem to raise as high as you'd like, is from using the wrong amount of dough for the pan size. This is also the cause of over- or under-proofing. As an example: if you make a recipe that makes 1-1/2-pounds of dough (about 3-cups of flour in the recipe) and place it in a 9x5" pan (which are generally designed to be used for loaves of quick breads), that's the wrong pan for that amount of dough - a standard-size loaf pan is a better choice - 8-1/2x4-1/2". Jumbo pan - 10x4-1/2" - approx. 4-5 c. flour - 2+ pounds of dough Quick Bread Pan - 9x5" - 4 c. flour - 2# dough Standard Loaf - 8-1/2x4-1/2" - 3 c. flour - 1-1/2# dough Medium Loaf - 7-1/2x3-1/2" - 2-1/2 c. flour - 1# dough Small Loaf - 5-3/4x3-3/4" - 1-1/2 c. flour - 8 oz. dough Here is a link that might be useful: Easy Yeast Breads In a Bag...See MoreBread machine questions
Comments (15)CC, my Zo does not have an adjustment for the first rise, I'm assuming the thermostat automatically adjusts to the internal temperature of the machine, and that's only an assumption. FOAS, what would you like for a basic bread recipe? Something like a plain french baguette? Or a sweeter eggier farmhouse white? Even honey wheat? How I bake the loaves depends on the crust I want. If I want crusty baguettes, I shape the loaves and bake them freeform on a hot baking sheet. Many here use baking stones. If I want a tender crust and some white sandwich type bread, I use Grandma's old farmhouse white recipe, with milk and eggs or Sol's recipe for Hnoey rolls: Personally, I really like honey wheat, so that's what I make most of and sometimes I make free formed round loaves with lots of crust and sometimes I bake it in loaf pans for sandwich slices and toast. If I want a soft crust I brust with melted butter when it comes hot from the oven, if I want a crusty loaf I spritz it with some water a couple of times while baking. I know Ann T sprays her oven with water, and she uses a stone to get the proper heat and humidity. Anyway, for what it's worth, here are the recipes I use for those basic things: HONEY WHOLE WHEAT BREAD INGREDIENTS: 3-1/2 to 4 cups all purpose flour  2-1/2 cups whole wheat flour  2 pkg. active dry yeast  2 tsp. salt  1 cup milk  1 cup water  1/2 cup honey  3 Tbsp. oil  1 egg PREPARATION: In large bowl, combine 2 cups all-purpose flour, 1 cup whole wheat flour, the yeast, and salt and mix well. In saucepan, heat milk, water, honey, and oil until a thermometer reads 120-130 degrees F (warm) Add liquid mixture to flour mixture and stir to combine. Beat this batter for 3 minutes. Then, gradually stir in rest of whole wheat flour and enough remaining all-purpose four to form a firm dough. Sprinkle work surface with flour and knead dough, adding more flour if necessary, for 5-8 minutes until smooth and satiny. Place dough in a greased bowl, turning the dough in the bowl to grease the top. Cover and let rise in a warm place about 1 hour, until double in bulk. Punch down dough and divide into 2 pieces. On lightly floured surface, roll or press each piece of dough to a 14x7" rectangle. Starting with shorter side, roll up tightly, pressing dough into roll with each turn. Pinch edges and ends to seal and place dough, seam-side down, into greased 9x5" bread pans, making sure short ends of bread are snugly fitted against the sides of the pans. Cover and let rise in warm place until the dough fills the corners of the pans and is double in bulk, 30-40 minutes. Bake in preheated 375 degree oven for 35-40 minutes, until bread is golden brown. Remove from pans and cool on wire racks. I like to brush the bread with butter when it's still hot from the oven for a softer crust. BREAD (GRANDMAÂS RECIPE) 1/3 cup sugar 1 cup milk 1/3 cup butter 2 eggs 1 pkg yeast 1 tsp salt 4  4 1/2 cups flour vital wheat gluten (optional) Mix milk, butter and sugar, heat until butter melts and liquid is very warm. Add eggs, then beat in flour, salt and yeast until stiff dough forms. Turn onto floured surface and knead until smooth and elastic, 7  8 minutes. Turn dough into greased bowl and let rise in warm place until double. Punch down dough, shape into loaves or dinner rolls and let rise again. Bake at 350 until done (25 - 30 minutes for loaves, 12-15 minutes for dinner rolls) Makes 1 large or two small loaves or 18 dinner rolls BREADMAKER INSTRUCTIONS: Heat milk, butter and sugar. Place two eggs in bread pan, add liquid. On top of liquid place flour, salt and vital wheat gluten. Make a well in the dry ingredients and pour yeast in well. Do not allow it to contact wet ingredients. Process as for dough, or allow machine to bake. Honey Rolls 1 cup milk 1/2 cup honey 1/2 cup butter [1 stick] 2 teaspoos salt 1-2 tablespoons granulated sugar* 2 pkges. dry yeast 1/2 cup warm water [110º-115ºF] 2 large eggs, lightly beaten 6 - 6 1/2 cups AP flour Heat the milk, add butter and salt. Set aside while butter melts. Stir in the honey. In another bowl, combine the warm water, yeast and sugar. Let it sit until yeast is completely dissolved, about 6-7 minutes. Combine milk mixture with yeast mixture. And stir in the beaten eggs. Beat in 4 cups flour. Add enough remaining flour to make a soft, but not sticky dough. Place dough in greased bowl, turning to coat both sides. Cover and allow dough to rise 1 hour. Punch dough down, and allow to rise another hour. Punch down again, and shape dough into rolls. Let it rise again 45 minutes to an hour or until doubled in volume. Preheat your oven to 375ºF and bake rolls for 25 minutes or until a deep golden brown. For a very soft crust, brush rolls with melted butter as soon as they come out of the oven. Note: You could omit the sugar from this recipe altogether. I sometimes use about a teaspoon of the honey called for in the recipe to feed the yeast instead of the sugar. Finally, here's one that's especially targeted at the food processor, if you want to try it. It was simple, came out fine, but I liked the one I made with the bread machine better, the interior texture was "holier", if you get my drift. It goes without saying that I didn't proof the yeast, and I do have french bread pans. The dough is pretty "slack", so if you don't have french bread pans you'll need a "baker's couche". I understand that the canvas in a real couche absorbs some moisture and makes the bread crustier. I've used parchment paper to "prop up" the loaves and it works, and I've baked these freeform and it also works but my loaf tends to flatten out. I don't really care, but it's not the traditional shape, LOL. French Bread in the Food Processor 4 cups unbleached all-purpose flour 1 1/2 teaspoons salt 1 teaspoon distilled white vinegar 2 teaspoons active dry yeast (from a 1/4-oz package) 1 2/3 cups warm water (105-115°F) 1 tablespoon olive oil Pulse flour, salt, and vinegar in a food processor to combine. Stir together yeast and 1/3 cup water in a small bowl until yeast is dissolved, then let stand until foamy, about 5 minutes. (If mixture doesn't foam, discard and start over with new yeast.) With motor running, pour yeast mixture and remaining 1 1/3 cups warm water into flour mixture in processor, blending until dough forms a ball and pulls away from side of processor bowl, about 1 minute. Cover processor feed tube and let dough rise until it fills bowl, about 1 hour. Pulse several times to deflate dough. Generously oil bread pans with olive oil. Turn out dough onto a work surface and divide in half (dough will be very soft). Press 1 half into a 10- by 8-inch rectangle and fold in the 2 short outer sides to meet in the middle, pinching edges together. Turn over (seam side down), then roll and stretch into a 15-inch-long irregular loaf. Put loaf, seam side up, in bread pan and turn to coat with oil, leaving loaf seam side down. Repeat procedure with remaining dough. Let loaves rise, uncovered, in a warm draft-free place 30 minutes. Put oven rack in upper third of oven, then put a large roasting pan with 1 inch of water in it on bottom of gas oven or on lowest rack of electric oven. Preheat oven to 450°F. Make 3 shallow diagonal slashes down length of each loaf with razor. Bake loaves 30 minutes, then carefully remove pan of water from oven. Remove bread from pans and turn upside down on upper oven rack, then bake until golden and crusty all over, about 5 minutes more. Cool loaves on a rack. Good luck. Don't forget that if your water is too hot, you'll kill the yeast. If you think it the dough needs to be kneaded more, it does. More better than less, when kneading bread. Oh, and if you want to rip that end chunk off hot from the oven, go ahead. It's your bread, but there is a difference in taste and texture if you let it cool a bit. Annie...See MoreQuestion for the bread makers-thoughs on bread making for income
Comments (8)It's really difficult to start up a home business--you have to be properly registered, you have to keep impeccable records, charge and pay the appropriate taxes. And when you decide to do something in the food line? Multiply the red tape by ten. You'd probably better start with the health department. In many jurisdictions, it's not legal to bake/cook food in a home kitchen for sale--if that's true where you live, you'll need to find an approved commercial kitchen to rent--and that's going to cut into your profits. Look, I hate to be a wet blanket, but I've done the home business thing--many years ago, and it didn't involve food. It turned into a nightmare. You have to do every little tiny thing by the book. Perhaps check in with the agency that promotes small businesses in your area. Or what about contacting a restaurant or two, to see if they might be interested in paying you to come to THEIR locations to bake your bread for their use--you might have to do that in the middle of the night, when they aren't preparing meals, but it might be an interesting solution. Pack up some samples of your best wares and visit some of the local independents. Good luck, but please be sure to do all your research before jumping into something that could end up costing you more than you'll make. And hey, if you're good at creating recipes? I'd highly recommend considering recipe contesting. That costs you next to nothing, and can bring in truly big bucks (I've made up to $25,000 for a single recipe, some contests pay even more)....See More- 4 months ago
Related Stories

DESIGN POPBakers’ Home Storage Tips for Sliced Bread’s 90th Birthday
In honor of the bread slicer’s debut in 1928, we offer the best bread storage tips since, well ... you get it
Full Story
ORGANIZINGPre-Storage Checklist: 10 Questions to Ask Yourself Before You Store
Wait, stop. Do you really need to keep that item you’re about to put into storage?
Full Story

BATHROOM STORAGEQuestions to Ask Yourself When Planning Bathroom Storage
Create better bathroom organization by considering these questions at the start
Full Story
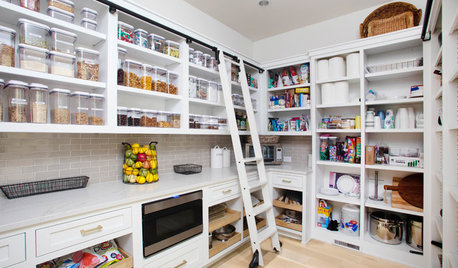
KITCHEN DESIGN9 Questions to Ask When Planning a Kitchen Pantry
Avoid blunders and get the storage space and layout you need by asking these questions before you begin
Full Story
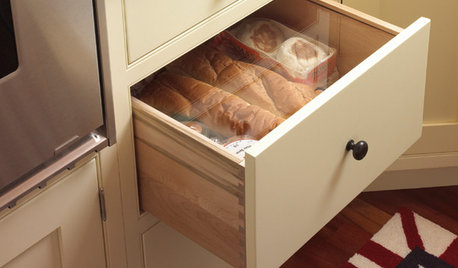
KITCHEN DESIGNKitchen Ideas for Bread Lovers
Any way you slice it, a kitchen designed with bread in mind conveys warmth and homeyness
Full Story

5 Questions for Design Stars
Add Your Ideas for Outdoor Storage, Cheering Up a Fireplace and More
Full Story
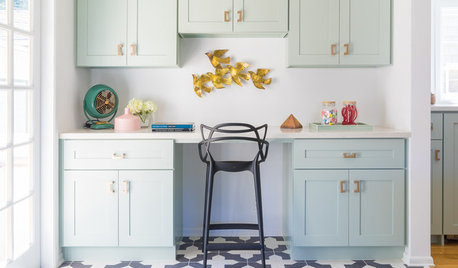
ORGANIZINGAsk These 8 Questions to Get Your Family Organizing Station Right
Households can run better when they have a central organizing hub. Is yours set up well for your family?
Full Story
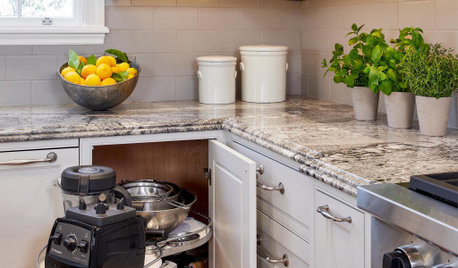
KITCHEN STORAGEFoolproof Storage Solutions for Corner Kitchen Cabinets
Consider Lazy Susans, pullouts and more to maximize storage
Full Story
KITCHEN DESIGNKnow the 3 Zones of Kitchen Storage
Organize storage space around your kitchen’s main activities for easier cooking and flow
Full Story

STORAGEHat Storage: Don’t Get Bent Out of Shape
From boxes to hooks, we look at ways to keep your lid on straight in time for summer hat season
Full StorySponsored
plllog