


Sauce for 2 Specific Raviolis
Suzieque
last year
Featured Answer
Comments (14)
Related Discussions
Making Ravioli - tips/tricks/filling ideas (no dairy)
Comments (12)I ended up making them this past weekend. I did a meatball filling and Marinara sauce over them. I used the won-ton wrappers and folded in a triangle for the lunch batch. I did pillows for the freezer batch and that's how I'll do them in the future as they took less time to fold. The won-ton wrappers were really a nice way to do it. My husband came in from the shop for lunch and looked at them and said you made these with a grin and said he really liked them and my daughter had Ravioli for the first time and after each bite she went "yoli yummy". (She's 2 and loves food). Here is a pic of her plate: and here of the 2nd batch that I finished after lunch for the freezer. Not the best quality pics and I'm not a food artist or even know how to make them look good/appetizing on pics....See MoreNo-boil fresh ravioli casserole??
Comments (2)I've done exactly what you're describing with frozen ravioli. I usually add a bit of extra water, but not too much because I don't want the pasta to turn to mush. I bake them covered until the sauce is bubbling. Then I sprinkle cheese on and bake it uncovered just until the cheese is melted. Unfortunately, I can't remember the temperature I used. With frozen, I think I may have started with 375 or 400. Fresh ravioli wouldn't need such a jump start. I'm sure others could give you better advice....See MoreRecipe of the day March 14 - Ravioli Stuffed Acorn Hearts!
Comments (2)I made this the other day and we thought it was pretty good. Hamburger Potato Casserole a.. 1 tablespoon olive oil b.. 1 yellow onion, thinly sliced c.. 1 pound ground beef d.. 1/4 cup butter e.. 1/4 cup all-purpose flour f.. 3 cups milk g.. 1 pint heavy cream h.. salt and pepper to taste i.. 5 potatoes, sliced j.. 2 cups shredded Cheddar cheese k.. 2 cups shredded Monterey Jack cheese l.. 1 cup milk DIRECTIONS 1.. Preheat oven to 350 degrees F (175 degrees C). 2.. Heat oil in a large heavy skillet over medium heat. Cook and stir onions until translucent; set aside. Cook ground beef until evenly brown. Drain excess fat, and set beef aside. Melt butter in the skillet. Add flour, and stir with a whisk for 5 minutes. Gradually whisk in 3 cups milk, then the cream. Simmer, stirring frequently, over medium-low heat for 10 minutes until the sauce has thickened and is smooth. Season with salt and pepper, and remove from heat. 3.. Spread a small amount of sauce in the bottom of a 9x13 inch casserole dish. Alternate layers of potatoes, onions, ground beef, cheese and sauce, with 2 to 3 layers of each. Reserve some cheese to sprinkle on top. If you run short of sauce, press down on all layers, and add milk as needed. Sprinkle remaining cheese on top. 4.. Bake in preheated oven for 45 to 55 minutes, or until potatoes are soft....See MoreTried Homemade Ravioli for First Time.... Need Help! :)
Comments (9)Mark, it sounds like you most probably did roll it out too thickly - when hand rolling this is often an issue. It shouldn't be gummy at all - as you know. I make the same dough for most things (adding semolina if I want more bite). The recipe below makes enough for four servings of fettuccine or spaghetti - I double it if making a lot of raviolis. Please let your dough rest a good 30 minutes at room temp to allow the gluten time to relax - in my recipe below, the pasta looks dry, but once it sits long enough it's like velvet, and never sticks to the rolling pin or pasta machine. I don't have to put mine in the fridge. I've let mine rest longer (room temp) if I get busy. Rolling ravioli pasta takes work, but once accomplished, it's amazing. That they didn't fall apart in the water is a great start! My basic pasta recipe, also used for ravioli: • 1+ plus cups all-purpose flour • 1 egg, room temperature • 1 tps salt • ½ Tbls olive oil • ¼ Tbls warm water • Optional: Up to ¼ cup Semolina flour (stay away from semolina if you've not made pasta before, it can be difficult, but adds a nice chew and bite) 1) In a large food processor add room temp egg, salt, olive oil. Run processor to mix. 2) Begin adding flour a bit at a time (very gradually), running processor as you go. First make a wet slurry, then add enough flour to form a ball as the processor runs. Continue to add flour a little at a time – it will initially separate, crumble, and balls will form. Initially smaller than peas, and finally about like course corn meal. If needed, add more flour or water as you go. 3) Stop and test the pasta by pinching it between your fingers. If it holds together without being remotely sticky, it’s ready – it may appear dry but that will leave as it rests. 4) Collect the pasta, form a ball, and wrap with saran wrap. Let rest at room temperature for at least 20-30 minutes to allow the flour to be hydrated and the gluten to relax....See More
Suzieque
last year
Islay Corbel
last yearmoosemac
last year
plllog
last year
sleevendog (5a NY 6aNYC NL CA)
last yearlast modified: last year
Related Stories
HOUZZ TVSee How 2 Families Make Life Work Under 1 Roof
Sisters and their husbands hire a kitchen designer and remodel a New York dream home for a shared life
Full Story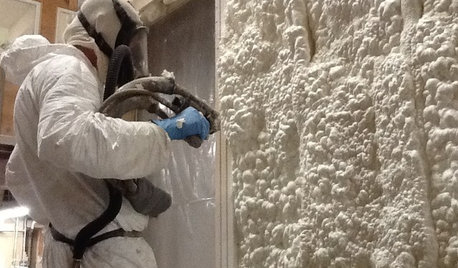
MATERIALSInsulation Basics: What to Know About Spray Foam
Learn what exactly spray foam is, the pros and cons of using it and why you shouldn’t mess around with installation
Full Story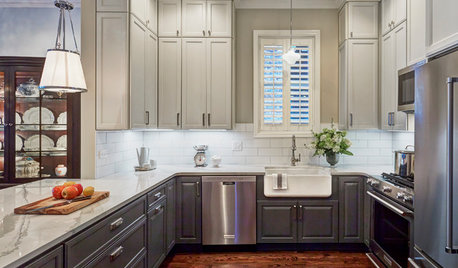
KITCHEN DESIGNMost Popular Features for a New Kitchen? A Pro Tells All
A kitchen designer describes the seven elements her clients most frequently request
Full Story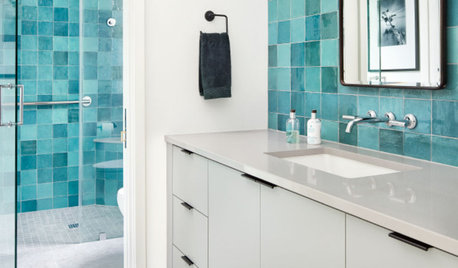
TILEPorcelain vs. Ceramic Tile: A Five-Scenario Showdown
Explore where and why one of these popular tile choices makes more sense than the other
Full Story
KITCHEN DESIGN8 Kitchen Sink Materials to Consider
Learn the pros and cons of these common choices for kitchen sinks
Full Story
DECLUTTERINGYour Clutter-Clearing Plan for the New Year
Tackle these tasks month by month for a decluttering strategy that will really pay off
Full Story
LIFEGet the Family to Pitch In: A Mom’s Advice on Chores
Foster teamwork and a sense of ownership about housekeeping to lighten your load and even boost togetherness
Full Story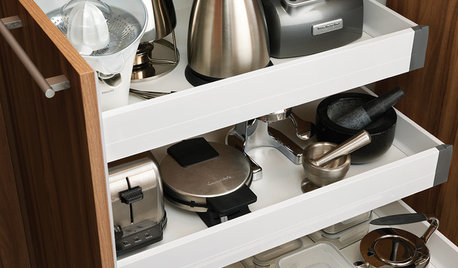
DOWNSIZINGSimplifying: What Items in Your Kitchen Are Just Taking Up Space?
Here are some of the cooking tools, small appliances and dishware you may not need
Full Story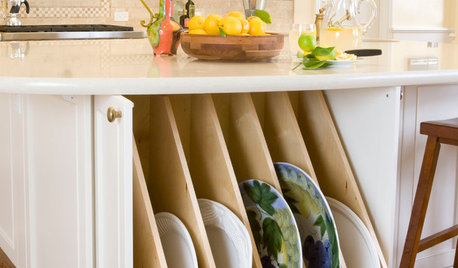
KITCHEN DESIGNKitchen Confidential: Amp Up Your Storage With Pullouts
See 12 types of cabinet pullouts that make your cooking and cleaning items easier to find and use
Full Story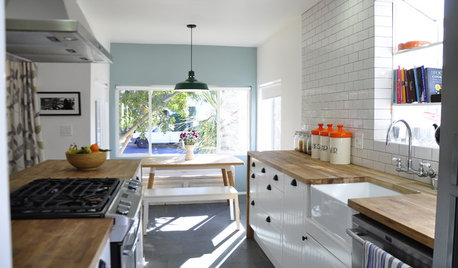
HOUZZ TOURSHouzz Tour: Sunlight and Family Friendliness for a California Cottage
A family of 4 gets comfy in a guesthouse, thanks to lots of light and forgiving materials
Full StorySponsored


plllog