


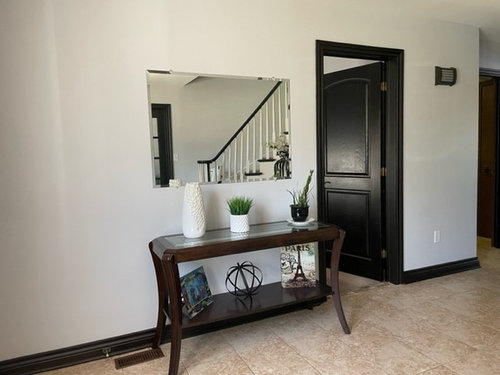
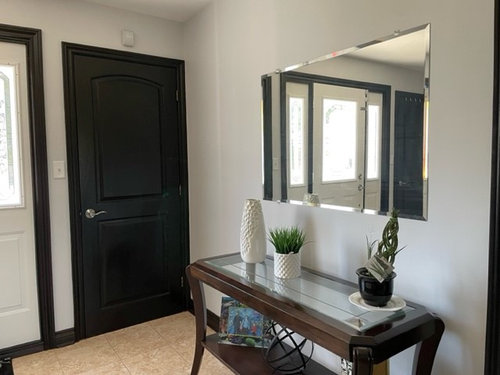
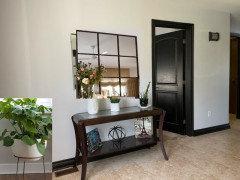
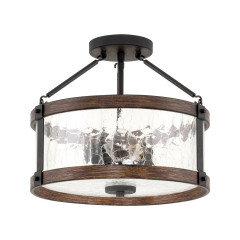
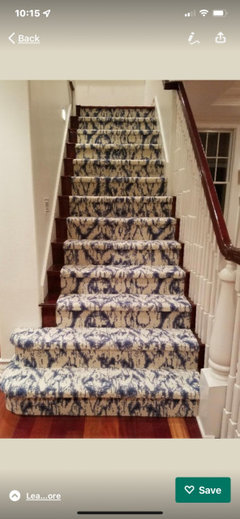
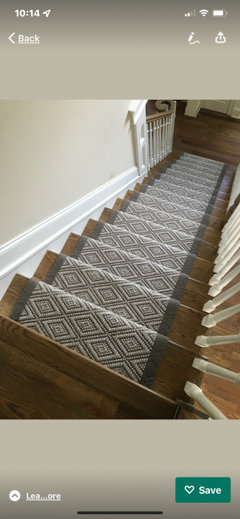
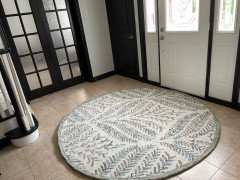
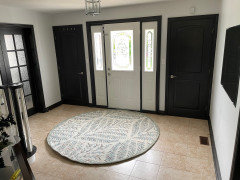
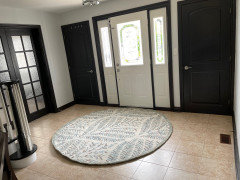
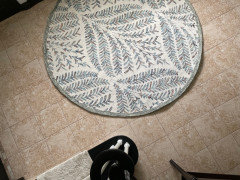
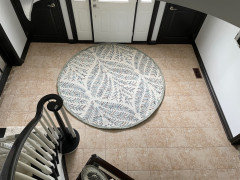
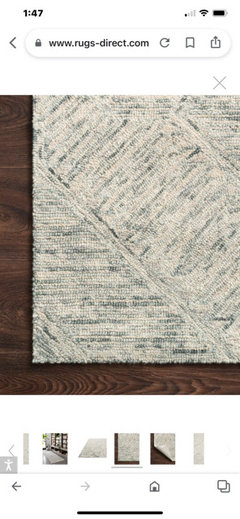
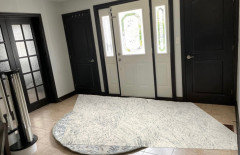
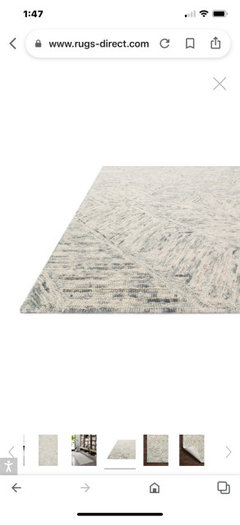
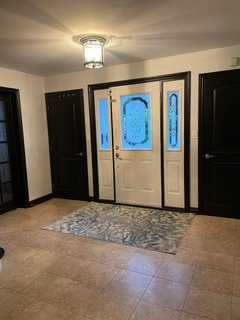
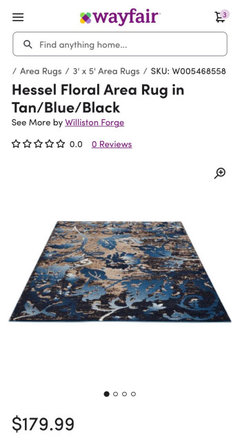
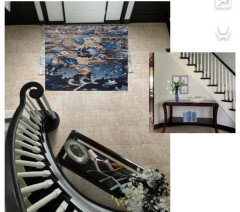
Home entrance suggestions
rberesh73
last year
Featured Answer
Sort by:Oldest
Comments (248)
 PRO
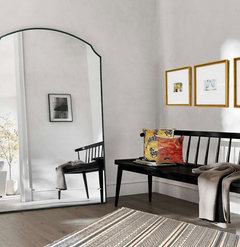
PROFlo Mangan
last yearRelated Discussions
Entry Exterior Suggestions.... Anyone have brick/shingle siding?
Comments (2)Thanks for the kind words. My heart is typically drawn to one allover exterior, but am now fearing a brick entry would be overkill. Curious as to what a shingle/siding entry might look like as we are doing shingle siding on the dormers. I tried to repost with a different title but it may have gotten deleted. I have always love the cottage cedar shake look but was fearful of using in oklahoma. No one does it here unless you are in a historical district(like soonermagic) I wasn't crazy about doing a brick home with rock entry which everyone does here. I just couldn't fit the rock in with what I had in my mind. I guess I am still trying to find a cottage/beach house/hampton vibe in there somewhere.......See MorePavers stop short of the entry to home - what to do for the entry?
Comments (4)Well, you have to ask yourself, "How much do you love that concrete?" As suggested, the low cost option would be to stain it. A higher cost choice, but more "lovely" in the long run, would be to get rid of the concrete and extend your existing, or complimentary pavers. A driveway just looks better when it extends all the way to a garage door. Just sayin.'...See MoreSuggestions for an entry and foyer for a home with a wall of windows?
Comments (4)Wow, I’m not trying to be snarky, but I think invest in a really good outdoor rug to clean feet on and remove shoes, then just go put your shoes away. A little extra trouble but totally worth it. You have an incredible view, and there would not be anything I would do to obstruct that. That wall of windows, and really cool patio ... AMAZING....See Moredesign suggestions for center hall entrance on 700sq ft home
Comments (2)You can make a space feel smaller by adding bulky furniture. several paint colors, and busy patterns on the walls and floor. Adding coats and shoes will make it smaller, too. So if you want to make it seem larger, do the opposite....See More- PRO
Flo Mangan
last year 
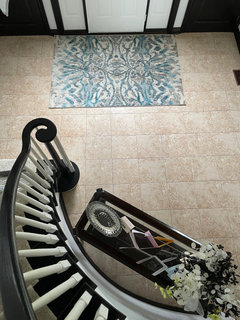
rberesh73
last yearrberesh73
last yearrberesh73
last yearrberesh73
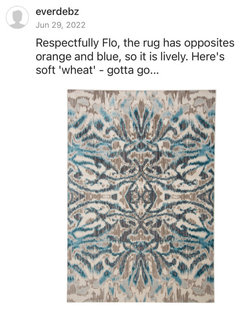
last yeareverdebz
last yearlast modified: last yearrberesh73
last year- PRO
Flo Mangan
last year everdebz
last yearlast modified: last yearterrib962
last yearrberesh73
last yearrberesh73
last yearhollywaterfall
last yearwiseca9
last yearlast modified: last yearrberesh73
last yearrberesh73
last yearrberesh73
last year- PRO
Flo Mangan
last year rberesh73
last year- PRO
Flo Mangan
last year wiseca9
last yearlast modified: last yearrberesh73
last yearSammie J
last yearrberesh73
last yearlast modified: last year- PRO
Flo Mangan
last year rberesh73
last yeareverdebz
last yearlast modified: last yeareverdebz
last yearlast modified: last yearrberesh73
last year- PRO
Flo Mangan
last year rberesh73
last year- PRO
Flo Mangan
last year


Related Stories

HOUZZ TOURSHouzz Tour: Nature Suggests a Toronto Home’s Palette
Birch forests and rocks inspire the colors and materials of a Canadian designer’s townhouse space
Full Story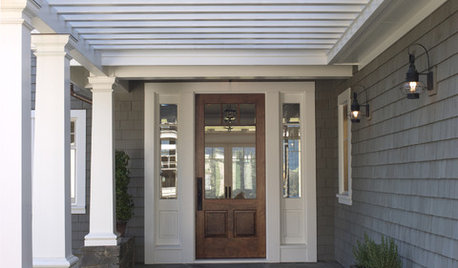
REMODELING GUIDES6 Ways to Create an Inviting Home Entrance
Welcome your guests with light, greenery and comfortable transition from the outdoors in
Full Story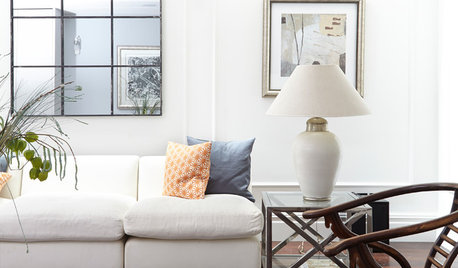
FEEL-GOOD HOME9 Ways to Boost Your Home’s Appeal for Less Than $75
Whether you’re selling your home or just looking to freshen it up, check out these inexpensive ways to transform it
Full Story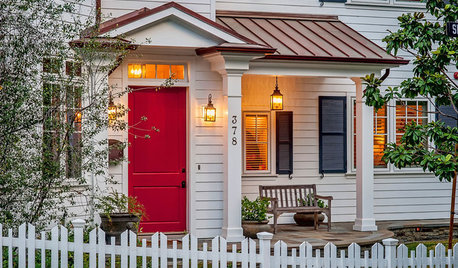
EXTERIORS10 Ways to Bring Charm to Your Home’s Exterior
Give your facade, driveway or garage doors a more appealing look to make a strong first impression
Full Story
MOVINGMaking a Home Away From Home
Feeling like a stranger in a strange land? These tips can help ease the transition after a big move
Full Story
GREAT HOME PROJECTSHow to Bring Out Your Home’s Character With Trim
New project for a new year: Add moldings and baseboards to enhance architectural style and create visual interest
Full Story
ROOFSWhat to Know Before Selecting Your Home’s Roofing Material
Understanding the various roofing options can help you make an informed choice
Full Story
HOME TECHHome Tech: There's an Easier, Affordable Future for Home Automation
Say goodbye to the headaches and high price of current systems, and hello to home automation products for the masses
Full Story
FLOORS10 Ways to Make the Most of Your Home’s Original Floors
Save yourself the cost of replacing your old floorboards with these tips for a new finish
Full Story
EXTERIORSTake It Outside: How to Use White on Your Home’s Exterior
The right shade of white on walls or just trim will make your house look crisp and clean
Full Story

decoenthusiaste