


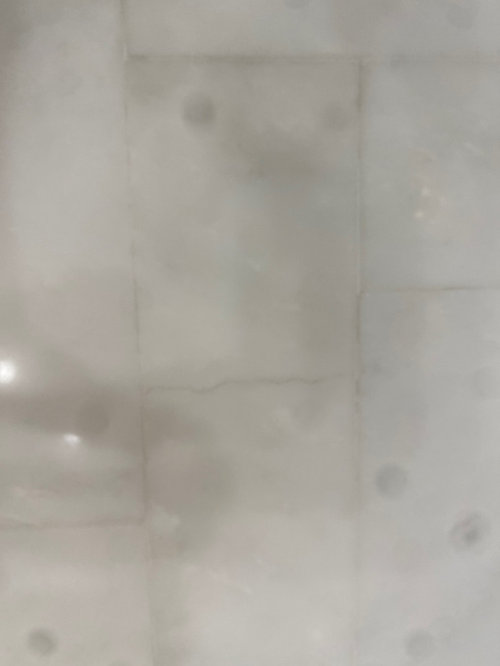
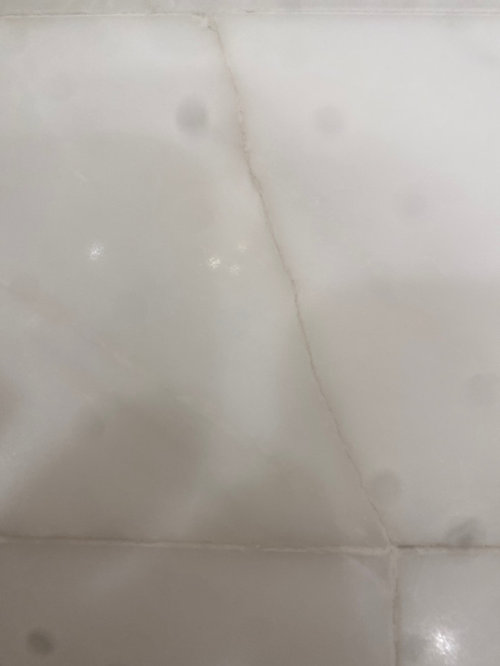
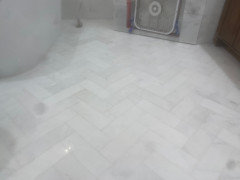
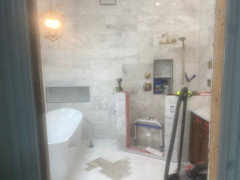
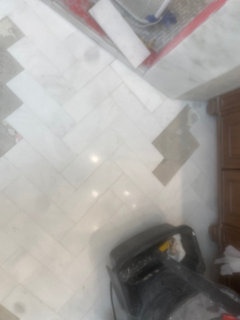
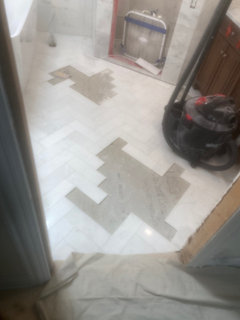
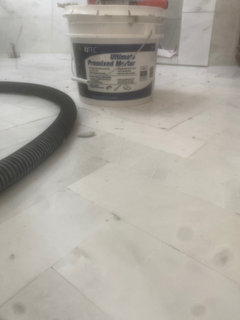
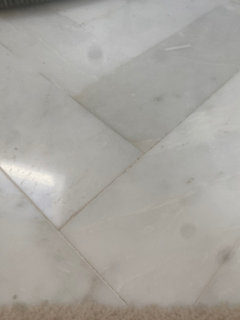
cracked marble in new bathroom renovation
Y G
2 years ago


Featured Answer
Sort by:Oldest
Comments (38)

Y G
2 years ago
chispa
2 years agoRelated Discussions
Bathroom Reveal, Thanks to the Bathroom and Remodel Forums! (pic
Comments (56)This old thread got revisited. @dani_m08 to answer the question about extra probe, I believe I ordered an extra one when I bought the set up. The probe wire is just setting in the junction box I think but honestly I cant remember. When I laid out the underfloor heating and the probe, I just ran another probe near the first probe, and it was then sealed into the floor self leveling compound as per instructions. then the end was just threaded into the wall like the one that would be live, and not connected, but just laying there in the box. Regarding the tile layout. I just decided to run it this way, after getting instructions on the 90Degree way, IIRC. The herringbone that I love is from my childhood and the side walks in my neighborhood that all ran at 45Degree. so that to me is herringbone. I know you posted on @sochi thread about her amazing bathroom and a wall mounted faucet. I would totally do it if I had the right sink for it. In my case I had made my sink out of soapstone and an integrated backsplash. The pictures of this bathroom reveal are no longer available because of the use of photo bucket, when it was Gardenweb. I did not keep my account with photo bucket. I'll add some of the reveal pictures so you can see the sink and floor. Regarding the sink there is no ledge for water to drip from my hands when using the faucet. The water drips right into the sink. In my other bathroom with a deck mounted faucet I am always wiping up drips and it is a nuisance. I much prefer the setup for this sink. Below: I love the flush finish from the faucet to the bottom of the sink. nothing drips on a counter or edge of a sink. Below: looking in from the doorway. Below: Here I am finishing up the sink. the backsplash was epoxied on as a separate piece. The whole soapstone install in the room took next to nothing to buy as they were all small pieces that I epoxied together with a 3 part stone epoxy. Below: this is the counter at the tub, and is in 2 long pieces but I was able to epoxy them together at there edges to make a wide slab for the top. All the soapstone was finished with a 60 grit sandpaper to be rough and this lovely soft tone of blue/green/gray/white. I did not oil it so this color tone would remain light. Below: If I recall correctly @sochi helped me decide on this Hubberton Forge Mirror. I have 3 different metals in this room, but they are all a cool silver to black color. Below: the center of this tower shares space with the kitchen on the other side of the wall. there is also some extra space that houses some electrical wiring. this is an old simple house. this bathroom was an add on when it got move to the farm in the 30s IIRC. The plumbing was all rearrange and some of the details that were orignially there I kept but updated it, such as this tower feature. The old one went and the carpenter did a wonderful job with this one. Below: This feature was another thing I kept from the old bathroom but flipped it from the other end and had the carpenter put drawers in it. Before it was a hell hole. things got lost and the build was soooo old and creapy I didn't like using it for storage. Now it is perfect for storage....See MoreCracks in bathroom sink
Comments (2)alyjoe16: First, determine what the bowl is made of. If you look underneath and it looks kind of like plaster of paris with random holes, it's cultured marble and is junk. New top and bowl time. If it's a solid surface bowl, polyester or acrylic, you may be able to remove the sink stopper and aggressively sand out the contaminated thermal shock lines. I've had them all come out, had them reduced considerably, and had no success at all. You never know. Sand with progressively lighter grits and finish with a red or gray Scotchbrite pad. If it's a solid surface top, the bowl can be cut out and a new one, solid surface or stainless, installed. It may be difficult to make this cost effective, however. It will depend on the size and configuration of your top and your style and budget....See Moregrout cracks bathroom
Comments (10)I kinda figured out what's happening actually. the cracks in the grout were only the beginning. the top row of large format tiles which were vertically oriented actually are buckled. this is at the seam between the old house and the new house. is not obviously structurally unsound but must have settled... either that or the Hardie board was installed crooked causing strain... i should have put smaller tiles or placed the tiles horizontally. probably high enough not to be a major leak concern. I'll observe this for a few months. the grout cracking actually looks more like shrinkage to me but they should have used caulk. people are just telling me to caulk over it rather than chiseling out the grout. all the floor leveling issues were caused by trying to make new sister joists across the floors, but not being able to change out the old joists which are embedded under the walls. the old and new joists were milled at different sizes (cannot get match) so it caused some discrepancy. again not structurally dangerous but annoying. not sure if it's worth fixing but I'll get a different structural engineer and a leveling company to look at it. so same underlying cause, different symptoms. in another post I noted the stairs cracking. this was just general crappy cosmetic workmanship and not structural. what a pain in the @$$...See MoreTemporary fix for leaking, cracked bathroom tile floor
Comments (16)Because it seemed important to know how bad the situation is, I removed the tiles and mudboard in the problem area. Underneath is just the sheathing. You can see that most of the wood is still in tact, but it's definitely rotted in the corner by the tub. That spot is still very wet, smells earthy, and I can dig into it with my finger. In a 4" x 4" area, I could make a little 1/2 inch hole easily. Now I'm wondering if the best solution might be to: 1) wait for wood sheathing to dry; 2) put down some kind of underlayer or mortar, and then 3) just put on some of that Flex Seal - as a temporary solution. Or, should I put down some kind of PVC board, or something like that over the sheathing - and then put mortar on that - just in case there's reason to worry about the sheathing in that corner giving in. and the PVC board would keep us from falling through the ceiling (until we do the full renovation)! Thanks everyone for your help!...See More PRO
PROHALLETT & Co.
2 years agoY G
2 years ago- PRO
HALLETT & Co.
2 years ago - PRO
Patricia Colwell Consulting
2 years ago  PRO
PROSabrina Alfin Interiors
2 years agoY G
2 years agoY G
2 years agoY G
2 years ago- PRO
HALLETT & Co.
2 years ago 
beesneeds
2 years ago- PRO
HALLETT & Co.
2 years ago Y G
2 years ago- PRO
HALLETT & Co.
2 years ago  PRO
PROCreative Tile Eastern CT
2 years ago PRO
PROJoseph Corlett, LLC
2 years ago- PRO
Patricia Colwell Consulting
2 years ago Y G
2 years agoY G
2 years agoY G
2 years agoY G
2 years agoY G
2 years ago- PRO
HALLETT & Co.
2 years ago kelli_ga
2 years agoY G
2 years agoY G
2 years agoY G
2 years agoY G
2 years agoY G
2 years ago- PRO
User
2 years ago 
dani_m08
2 years ago- PRO
Creative Tile Eastern CT
2 years ago Y G
2 years ago PRO
PROMint tile Minneapolis
2 years ago- PRO
Creative Tile Eastern CT
2 years agolast modified: 2 years ago dani_m08
2 years ago


Related Stories
BATHROOM DESIGNBathroom of the Week: Pamper-Me Features and Marble-Like Tile
An Orlando, Florida, couple’s former cramped, dated master bathroom gets an elegant, contemporary update
Full Story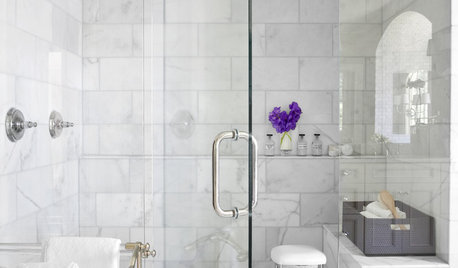
REMODELING GUIDESWhy Marble Might Be Wrong for Your Bathroom
You love its beauty and instant high-quality appeal, but bathroom marble has its drawbacks. Here's what to know before you buy
Full Story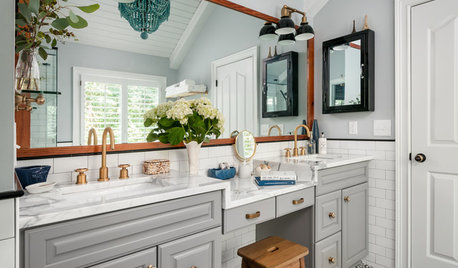
BATHROOM MAKEOVERSWhat I Learned From My Master Bathroom Renovation
Houzz writer Becky Harris lived through her own remodel recently. She shares what it was like and gives her top tips
Full Story
BATHROOM DESIGNNew Year's Resolutions for Your Bathroom Renovation
Add these smart design details for a safe, stylish and comfortable bathroom update
Full Story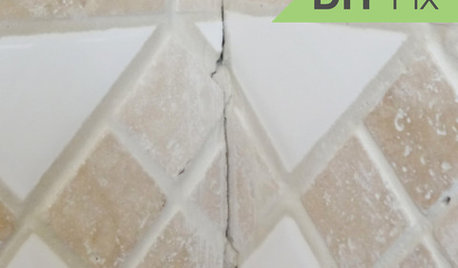
BATHROOM TILEQuick Fix: Repair Cracked Bathroom Grout
Banish an eyesore and safeguard your bathroom from water damage in 30 minutes or less with this DIY repair
Full Story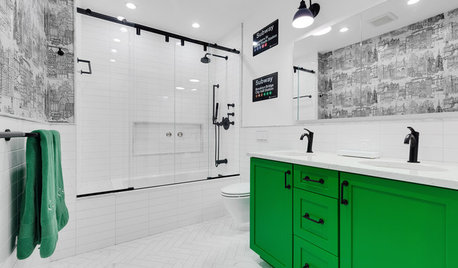
BATHROOM DESIGNSubway Graphics Inspire a Master Bathroom Renovation
A designer helps a New York couple bring happy memories and iconic, bold style from the subway up to their Tribeca loft
Full Story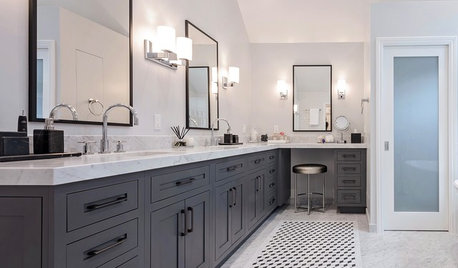
BATHROOM MAKEOVERSBathroom of the Week: Elegant Update With Classic Marble
A designer gives a California couple’s master bath a timeless color scheme and more storage without moving walls
Full Story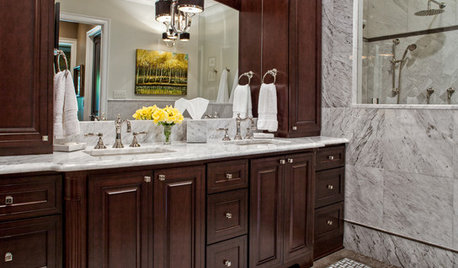
REMODELING GUIDESBathroom Workbook: How Much Does a Bathroom Remodel Cost?
Learn what features to expect for $3,000 to $100,000-plus, to help you plan your bathroom remodel
Full Story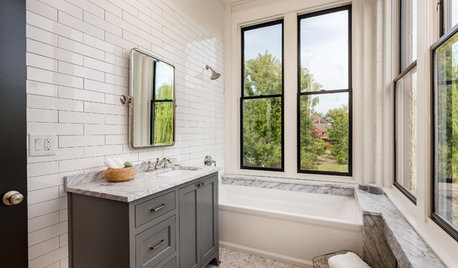
BATHROOM DESIGN10 Bathroom Trends From the Kitchen and Bathroom Industry Show
A designer and his team hit the industry’s biggest show to spot bathroom ideas with lasting appeal
Full Story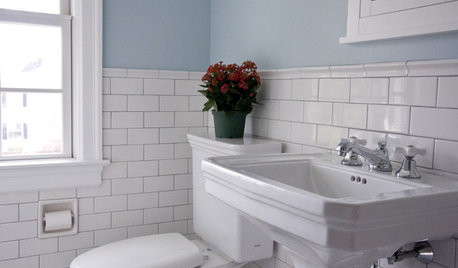
BATHROOM DESIGNRoom of the Day: Renovation Retains a 1920s Bath’s Vintage Charm
A ceiling leak spurs this family to stop patching and go for the gut
Full Story
Creative Tile Eastern CT