


Plumber pushing to replace copper with PVC pipes in shower drain.
taliaferro
3 years ago


Featured Answer
Sort by:Oldest
Comments (6)
Related Discussions
repairing main drain pipe and installing a yard cleanout
Comments (6)You are absolutely correct, Generally the excavation is the difficult & expensive part of your repair, but you seem to have that under control. Now as we discuss the plumbing part of the job allow me to give you the correct trade nomenclature so you will be on the same page with your plumbing suppliers and inspector. Technically speaking, what you are working on is not a drain line, it is the "House Sewer" line. Code requires a main cleanout within 3ft of the point where the house sewer enters the structure. In the case of slab construction it would be found outside and approximately 3' from the foundation. For houses with a basement the main cleanout is generally just inside the footer wall and for houses with a crawlspace it can be inside or outside the footer wall. The line from the main cleanout to the septic tank or municipal main is defined as the house sewer while the main line inside the house is defined as the "House Main Drain". This is important to know because the codes allow different materials for each type of line. The raw cut end of a pipe that has no threads or fittings is called a "Spigot end" or simply a "Spigot" The formed female end of your pipe is called an "End Bell" and pipe which has an end bell on one end and a spigot end on the other end is called "Hub & Spigot" pipe so that glazed clay pipe that you have is "Vitrified clay hub & spigot pipe". It was generally made in 4' sections and when laid, the hub is always placed on the upstream end. While it can be done, as a general rule it is nearly impossible to cut that type of pipe without breaking it. (I have made & attached an illustration to help you understand the text.) To begin your project excavate until you find the end bell on a section of pipe downstream from where you want to install your cleanout. Fernco makes a rubber donute gasket that will fit inside the hub of that clay pipe, then your PVC will be inserted into the center of the Fernco. (make sure the Fernco you buy is listed as "Vitrified clay x PVC") If you can not find the correct Fernco some jurisdictions will allow you to pack the joint with "Oakum" which is a fiberous rope looking material that is impregnated with tar. To install the oakum you wrap it around the pipe and push it into the joint with a broad screwdriver, packing as tight as you can. You can make your cleanout with a Wye & 1/8th bend (sanitary 45deg elbow) in the manner you describe, but what you are making is a running cleanout and in some jurisdictions they require a running cleanout to be installed to the line can be snaked in both directions. The preferred fitting is a "Rodding Tee" sometimes called a "Cleanout Tee". An ordinary sanitary tee has a radius towards the downstream direction of flow, but a Rodding Tee has a radius in both directions. In some jurisdictions if they require a bi-directional cleanout and if you use the Wye & 1/8th bend method you actually have to make two cleanouts, one in each direction. Also not that the one for snaking in the upstream direction must be installed on the downstream side of the downstream cleanout. That is to insure that you can snake the complete line. If they were reversed you could not snake the space between the two cleanouts. You then continue your new PVC pipe to the Spigot end of the vitrified clay pipe on the upstream side of your repair and connect the PVC to the clay pipe with a Fernco coupling. (Careful here. Although both the clay pipe & the PVC are 4", that is the ID of the pipes, but because the clay pipe wall is much thicker than the PVC pipe a common 4" Fernco won't fit. Make sure you get a Fernco coupling that is listed as 4"PVC x 4" Vitrified Clay. (Although I have on occassion found them in Home Depot & Lowes as a rule you will probably have to go to a real Plumbing supply house to find the correct Fernco's) Now to answer your next question, how to cut the PVC. You can easily cut PVC with a hacksaw, a PVC saw or what I prefer for cutting 3" and larger, a common hand wood saw. Here is a tip when cutting pipe with a saw. After you start your cut, when you are about 1/4 of the way through the pipe, rotate the pipe a 1/4 turn, cut down another 1/4, then rotate the pipe again and finish your cut. Rotating the pipe in that manner will help keep a straight cut line on the end of your pipe. Sand is the preferred material for bedding the pipe and continue covering with sand until you have a minimum of 4" on top of the pipe, then you may use "Clean fill dirt" that is free of rocks until you have 12" above the pipe. When you finish backfilling it is best to have the top about 3" or 4" above grade to allow for settling. One a side note, the first clay pipe you found was 4" clay tile that was just laid end to end with no seals around the pipe, then it was covered with pea gravel. Back in the days before perforated poly or PVC they used that method to make leach fields or to install storm drains. The little gaps between the sections allowed the water in the pipe to leach into the soil the same way that modern perf pipe does....See MoreRerouting Shower Drain Pipe
Comments (11)UPDATE... First off, thank you all for your comments and suggestions. I thought you'd like to know the final outcome of our plumbing & venting issues.... We have moved the shower drain pipe. After getting a totally unacceptable estimate of $4,800 to move our shower drain pipe & vent from our kitchen contractor that included punching a hole in the roof to vent the drain, we solicited comments and estimates from 3 outside plumbers. Of those 3, 2 proposed the same solution and a third proposed a different solution...none of these solutions involved punching a hole in the roof. Why not? Well, it turns out we have a whole-house vent stack in the attic that we can tap into. All 3 outside plumbers checked our attic to see if we had one and then proposed solutions using that vent stack. Our kitchen contractor's plumber never checked the attic for that stack so assumed he would have to go through the roof. (You know ASSUME does...) Our first outside plumber proposed tapping into the toilet waste pipe. But, all of the other plumbers were uncertain if that would pass code...this estimate was for $550 + $150 for an express permit The other two plumbers proposed rerouting the shower drain back to the main 2nd floor waste pipe...one was for $925 and the other for $1,000 both + cost of drywall repair. We went with the $925 estimate for a couple of reasons...(1) they were local and have an "A" rating across the board on Angie's List (the first time it's been useful!) and (2) the other plumber was not a master plumber (journeyman), he was not insured, and wasn't even sure if his license was up-to-date in our county...all red flags to us. Anyway, so our plumber came out and moved the drain pipe. He then told us he would try to run the vent to the attic without cutting into the wall (saving us the $500 for drywall repair). It worked! He was able to push the vent pipe up the wall and into the attic without any problems. While he was working on this we asked him about the Polybutelyne water pipes...he, as well as all the other plumbers, had recommended changing them out. We're on well water so there's no chlorine involved, but they did tell us that it would eventually become brittle and split. So, we got estimates for that and, since our kitchen project has been stalled for over 8 weeks, went ahead and had it done ($3,200 for replacing water pipes + $1,900 to repair drywall in 3 bedrooms + LR textured ceiling = $5,100. We already have the ceiling down in the kitchen and the main wall opened up so no charge for repairing those) This was all done fairly quickly and we have had both our final inspection done and the drywall repairs completed...in time for our kitchen to restart Wednesday. The only drawback...previously, since each fixture had it's own water pipe, flushing the toilet had no affect on the shower. Now, however....a very different story! It's taking some getting used to! BTW...it turns out the first plumber's solution would have met code and passed inspection since he had planned to use a sanitary T. I was curious so I asked the inspector about it when he was out Friday. If you want pictures, let me know and I'll post them. Thanks again everyone!...See Morereplacing drain pipes
Comments (3)Decision made and pipes now ALL removed back to the stack including toilet flange assembly. I think what may have persuaded the plumber to do it all was looking through under the wall to the corridor bathroom that has a common wall with the bathroom being remodeled and seeing a leak there (the kitchen ceiling is now down in that area to repair that). Ironically the position of that leak was at the junction of a copper and galvanized pipe. This work was done 5 years ago during a kitchen remodel when the contractor had the ceiling down and saw rusty pipes in the ceiling. He told the plumber to repair what he could but he joined copper directly to the galvanized it seems (probably would have been better to have left it alone in that case). Anyway back to the remodel bathroom. The pipes were really crudded up (see pic)and it has all gone up to the other side of the toilet flange where a piece of 4" pipe is sticking out from the also steel stack although apparently in the basement it is cast iron (all original 1930s). I am not sure how he will join the new plastic pipe but it does not seem to be an issue. Here is a link that might be useful: 2 1/2 inch galvanized waste pipe removed...See MoreWhat would it cost to change out drain pipe under shower?
Comments (1)Not enough information to go on, but I'd start with a guess of about $100 for materials (5 ft of 2" copper pipe plus fittings), depending on what your total length is. I'd expect labor to be close to double what you paid last time. Is there easy access to the entire run of drain pipe? Could you possibly wrap the PVC with sheet metal (aluminum flashing) and clamps. Rats/rodents cause other problems. What are you doing about the root issue? JM$.02W...See More
taliaferro
3 years ago PRO
PROJoseph Corlett, LLC
3 years agotaliaferro
3 years ago
Related Stories
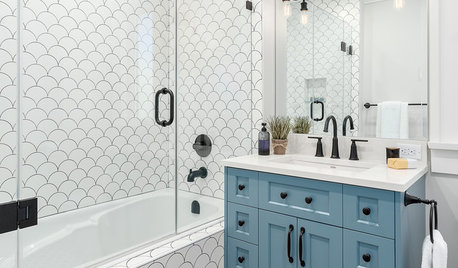
BATHROOM DESIGNShower Curtain or Shower Door?
Find out which option is the ideal partner for your shower-bath combo
Full Story
WORKING WITH PROSHow to Work With a Plumber
Follow these guidelines, and your plumbing job will flow as smoothly as water through clean pipes
Full Story
BATHROOM DESIGNConvert Your Tub Space to a Shower — the Fixtures-Shopping Phase
Step 2 in swapping your tub for a sleek new shower: Determine your mechanical needs and buy quality fixtures
Full Story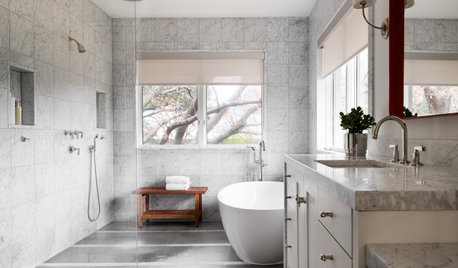
BATHROOM DESIGNDoorless Showers Open a World of Possibilities
Universal design and an open bathroom feel are just two benefits. Here’s how to make the most of these design darlings
Full Story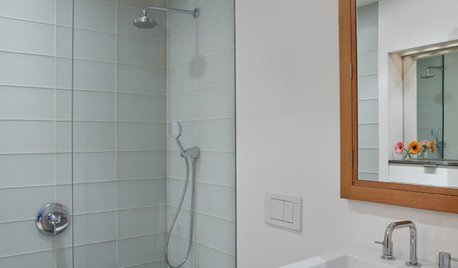
BATHROOM DESIGNConvert Your Tub Space to a Shower — the Planning Phase
Step 1 in swapping your tub for a sleek new shower: Get all the remodel details down on paper
Full Story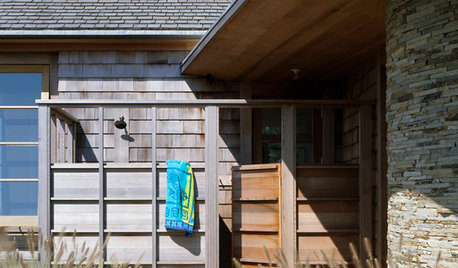
GREAT HOME PROJECTSHow to Add an Outdoor Shower
New project for a new year: Experience bathing in a whole new light with a shower in the fresh air
Full Story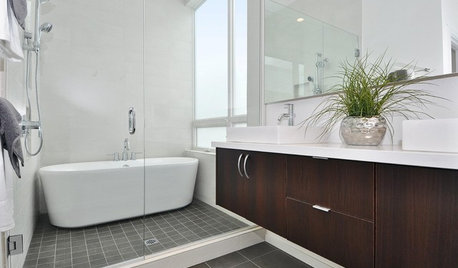
BATHROOM DESIGNWhy You Might Want to Put Your Tub in the Shower
Save space, cleanup time and maybe even a little money with a shower-bathtub combo. These examples show how to do it right
Full Story
MOST POPULARPhoto Flip: 50 Showers That Create a Splash
Find fresh inspiration in these bathrooms with mosaic and large-format tiles, pebble flooring and more
Full Story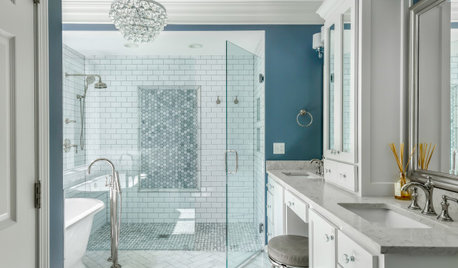
HOUSEKEEPINGHow to Clean a Glass Shower Door
See which tools and methods will keep those glass shower walls and doors sparkling clean
Full Story
HOUSEKEEPINGWhat to Do When Your Pipes Freeze
Here’s how to thaw frozen pipes and avoid having them freeze in the future
Full Story
Jake The Wonderdog