


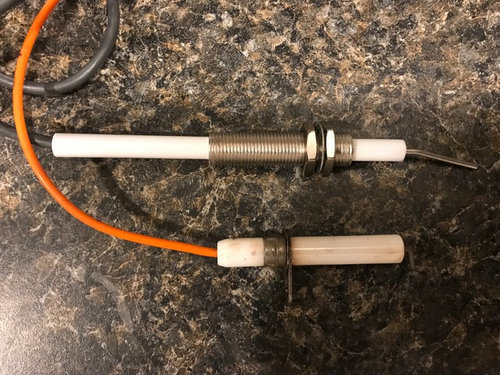
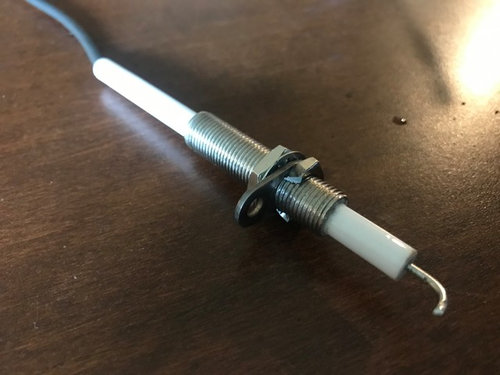
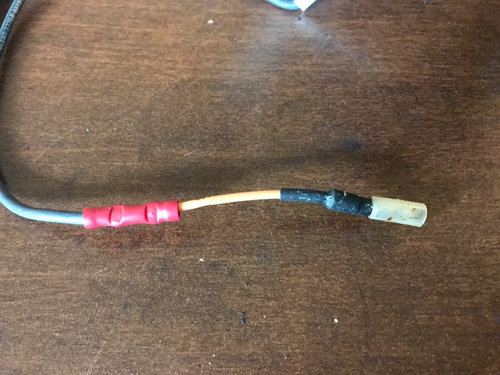
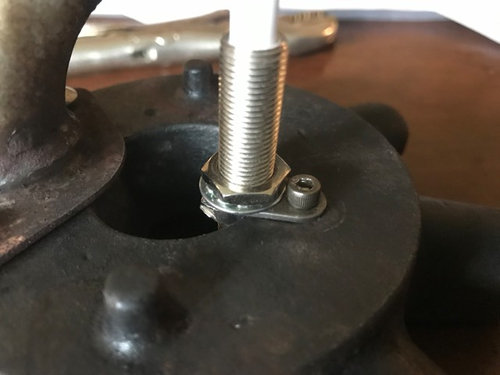
Bluestar range ignitor / igniter replacement....finally a solution
Matthew Rieger
4 years ago
last modified: 4 years ago

Comment
Related Stories
KITCHEN APPLIANCESDisappearing Range Hoods: A New Trend?
Concealed exhaust fans cut visual clutter in the kitchen
Full Story
KITCHEN DESIGNHow to Get Your Range Hood Right
Get a handle on the technical specs, and then learn about fun design options for creating a beautiful kitchen feature
Full Story
MOST POPULARBefore and After: 13 Dramatic Kitchen Transformations
See the wide range of ways in which homeowners are renovating their kitchens
Full Story
KITCHEN DESIGNShow Us Your Best Kitchen Innovation
Did you take kitchen functionality up a notch this year? We want to see your best solutions for the hardest-working room in the house
Full Story
KITCHEN APPLIANCESFind the Right Cooktop for Your Kitchen
For a kitchen setup with sizzle, deciding between gas and electric is only the first hurdle. This guide can help
Full Story
BATHROOM DESIGNTrending Now: The 20 Most Popular New Bathrooms of 2017
Smart storage, warm finishes, clear glass, tiled walls and other favorite bath details grew in popularity this year
Full Story
KITCHEN DESIGNA Cook’s 6 Tips for Buying Kitchen Appliances
An avid home chef answers tricky questions about choosing the right oven, stovetop, vent hood and more
Full Story
KITCHEN DESIGNSo Over Stainless in the Kitchen? 14 Reasons to Give In to Color
Colorful kitchen appliances are popular again, and now you've got more choices than ever. Which would you choose?
Full Story
KITCHEN APPLIANCESFind the Right Oven Arrangement for Your Kitchen
Have all the options for ovens, with or without cooktops and drawers, left you steamed? This guide will help you simmer down
Full Story
HOUSEKEEPING7-Day Plan: Get a Spotless, Beautifully Organized Garage
Stop fearing that dirty dumping ground and start using it as the streamlined garage you’ve been wanting
Full Story
Related Discussions
Bluestar - Finally an aftermarket ignitor
Q
Generic BlueStar range ceramic ignitors?
Q
Bluestar ignitor question
Q
bluestar 30' RCS oven ignition system
Q