


Adding 2x4s to studs to support floating vanity
Tony K
6 years ago

Featured Answer
Sort by:Oldest
Comments (11)

ksc36
6 years ago
Tony K
6 years agoRelated Discussions
Supporting a floating vanity
Comments (5)I've done several floating vanities over the years and I've installed them in several ways. Easy way is to use a piece of angle iron or with a wood ledger. You can lag or screw it to the wall studs and then rest the cabinet on the angle iron/ledger. This way the angle iron/ledger supports the full weight of the cabinet. Then screw through the cabinet sides/back into the wall studs to hold it in place. If the cabinets don't already have one, you might want to consider adding a "screw strip" to each cabinet, in the upper inside. Where the cabinet back meets the cabinet top. Just a length of 1" x 3" or so. You'll get more support/strength by screwing through the screw strip and through the cabinet back and into the studs, versus just screwing through the cabinet back into the studs. Some cabinet backs can be rather thin. Make sure the back is well secured to the cabinet carcass too. Don't use drywall screws. Wood deck screws are okay, but drywall screws lack the strength and can shear. Another consideration: Check out the door hinges. Can the doors be opened with the cabinets butted to each other and when butted against an adjacent wall? Or will you need a filler strip for door clearance? Consider adding rope or strip lighting under the cabinets. It'll really set off the floating effect....See MoreInstalling floating vanity
Comments (17)homey_bird: while the bathroom was gutted, in anticipation of the vanity, my contractor did place an additional 2x6 for bracing across two studs for added measure. the vanity came with only fours bolts (and washers) about 4-5" in length and four sheetrock anchors. the holes on the back of the vanity are placed 16" apart, so that it could be drilled into two studs, which is preferable. i feel there should be at least one bolt drilled into a stud. four bolts into sheetrock only, even with anchors, seems to precarious for comfort. my duravit washbasin is chunky and runs the whole length of the console. it's much heavier than the streamlined looks of the one dollfanz posted. btw, my contractor looked at the picture of the braces on that one too, and says they provide no added security. i will try to post pictures in the next couple of days. good luck....See MoreFloating Vanity Warning for Condo Owners: WATCH OUT FOR FALLING .....
Comments (40)I'm glad you were able to do it and I do hope it lasts. I don't see, anywhere, how the absolute front of the cabinet structure is supported from weight focused at the front (most likely location), especially if that weight were to be left and right or twist-like challenging the joints (kid dancing or otherwise moving left and right) or up and down (kid jumping up and down). I see no triangles. But if that setup truly works long-term in real life, then you're a better man that me for conjuring it up. You may be able to stand on it when freshly installed, but can you after a couple years? I become concerned then and that's why, with this type of box construction anyway, I wouldn't put my name on that, ever... I mean no offense. Cheap particle board degrades over time with humidity, movement, weight. If we're talking furniture-grade MDF or plywood... okay, I'm more comfortable....See MoreFloating vanity owners: any regrets??
Comments (27)@thisisnotadrill, yes, we are pleased with all four of our IKEA vanities + sinks (including the super thrifty one in our powder room). The only downside is the Odensvik sink is not a super bright-white, so, from the side, it looks a tad gray in comparison with the glossy bright white sides of the Godmorgon. But it's not something that I obsess on. :) Overall, I think the Odensvik sinks are very good value. Decent quality porcelain for the price! Though they are not as ultra modern looking as some, they clean up easily and I don't feel I have to be extra careful as I might with sinks made of composite materials (which can chip and yellow over time). All and all, solid value. I also bought them during the summer bathroom sale, which saved a good chunk. Good luck!...See Moreksc36
6 years agoTony K
6 years agoksc36
6 years ago
enduring
6 years agoMongoCT
6 years agolast modified: 6 years agogeoffrey_b
6 years agoenduring
6 years agoMongoCT
6 years ago
Related Stories
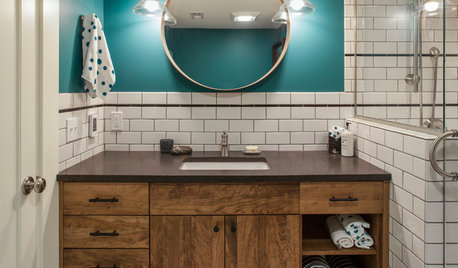
BATHROOM DESIGNNew This Week: 4 Stylish Bathroom Vanity Areas
See the colors, materials and design features that make these bathrooms a success
Full Story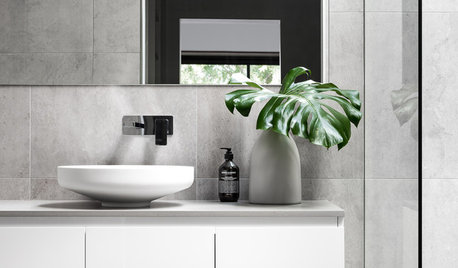
BATHROOM VANITIES5 Spot-On Bathroom Vanity Areas From This Week’s Stories
See how these bathrooms bring the vanity, mirror, lighting and other elements into near-perfect harmony
Full Story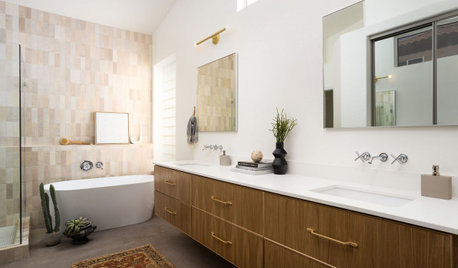
BATHROOM DESIGNBefore and After: 4 Bathrooms With Dashing Double Vanities
New double vanities add counter space, storage and style to these remodeled bathrooms
Full Story
DECORATING GUIDESQuick Fix: Find Wall Studs Without an Expensive Stud Finder
See how to find hidden wall studs with this ridiculously easy trick
Full Story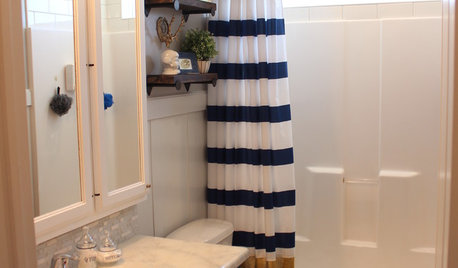
MOST POPULARShe’s Baaack! See a Savvy DIYer’s Dramatic $400 Bathroom Makeover
You’ve already seen her dramatic laundry room makeover. Now check out super budget remodeler Ronda Batchelor’s stunning bathroom update
Full Story
LIFEData Watch: What’s Great, and What’s Not, About a Smaller Home
Houzz asked more than 200 U.S. homeowners about life in 1,000 square feet or less. Here’s what they said
Full Story
HOUZZ TOURSMy Houzz: A Paean to the 1950s and '60s in Pennsylvania
With vintage furniture, a sunken den and pristine original details, this home is a true homage to midcentury style
Full Story
VACATION HOMESHouzz Tour: 1950s Maine Nostalgia Guides Tiny Cottage’s Design
A designer taps into her memories to give her clients the vintage coastal-cottage look they yearn for
Full Story
BATHROOM VANITIESYour Guide to Perfect Bathroom Vanity Lighting
Follow this lighting expert’s list of 9 do’s and don’ts to select the best light fixtures for your bathroom vanity
Full Story
STORAGETap Into Stud Space for More Wall Storage
It’s recess time. Look to hidden wall space to build a nook that’s both practical and appealing to the eye
Full Story

Joseph Corlett, LLC