


Starting my Kerdi install tomorrow - a few questions
7 years ago
last modified: 7 years ago
Featured Answer
Sort by:Oldest
Comments (10)
 7 years ago
 PRO7 years agolast modified: 7 years ago
Related Discussions
I'm starting tomorrow, any advice appreciated
Comments (5)The fastest germinating/establishing grass is perennial rye. Perennial rye can make a beautiful dark green lawn, but if you use it you can't just overseed it to change what you have. Overseeding PR with anything other than PR can also be difficult as mature PR can inhibit other species of grass from germinating. PR is a bunch grass, which means it doesn't spread like Kentucky bluegrass, so periodic overseeding will be necessary if you experience stand loss (although there are a few spreading ryegrasses on the market now). If you want to change what grass you have in the late summer you will have to kill it all and start over....See MoreKerdi valve seal installation question
Comments (9)1) In a steam shower I want to do the best I can to prevent vapor from getting into the wall through the valve opening. While it depends on the valve, when Kerdi-ing I'll try to slice the Kerdi and adhere it to the valve body with Kerdi-Fix. Neatly as possible, without gunking up the valve or it's threadings, or adjustment screws, or... 2) Plaster Guard, it depends on the valve. Some valve bodies come with a plaster guard that is simply meant to protect the valve during installation. It gets removed during the finishing phase. Other valves have plaster guards that remain in place after the work is complete. Some are hybrid guards/mounting plates. If I can use the guard to my advantage, I keep it. If it's in the way, then out it goes. It all depends on the end goal, which for me in a steam shower is sealing the opening without compromising the valve. There's often not a "one size fits all" solution. Just detail things as you're able. 3) Unsealed escutcheon. I might not have been clear in my previous post, but I install the escutcheon just like the installation instructions say. In a regular shower the hole in the wall behind the escutcheon can remain open. In a steam shower I seal the opening behind the escutcheon. All the above is a "my way" type of thing. It's not the only way for sure....See MoreHalfway thru Install & Tile Guy Says Can't do Glass & Kerdi
Comments (12)Soonermagic, Kerdi is the perfect choice for a steam shower. No if's and's or but's. Here's the deal as best as I can describe on the forum...what follows is not a perfect description, but generalities: Unmodified thinset cures via a chemical reaction. Essentially, it does not need air to cure and harden. The chemical reaction consumes water in the cure. Put a dollop of unmodifed thinset in a zip lock bag and it will still cure and harden. Add a latex modifier to the thinset for lightly modified thinset? You still have the "no air required" chemical cure for the thinset, but the latex modifier needs exposure to free air to dry. No air, it'll remain slightly soft. Highly modified thinsets need even more exposure to free air so the additional latex modified portion of the thinset can fully dry. Put a dollop of highly modified in a ziplock bag and it may not fully harden, even after several days. What is Kerdi? A polyethylene sheet membrane. Air can't pass through it. Air can't pass through glass tile either. So a modified thinset will take longer to cure and harden when sammiched between Kerdi and glass than would an unmodified thinset. Small glass mosaic tiles like yours have a lot of grout joints, the modified thinset can "air dry" through those joints. It may take longer than glass over cement board (air can pass through cement board), but will usually eventually dry. This is why Kerdi recommends using non-modified thinset in a lot of their installation documents. It depends on what you're tiling, the size of the tile, etc, but in general Kerdi recommends non-modified, or "dry set" thinset. Glass tile, being smooth, needs something that will grab and hold it. That's why most glass manufacturer's will recommend a modified thinset to adhere glass, as the modified has better bonding properties and has a bit more flex to it, meaning it's bond is not as brittle as a dry set bond. Therein lays the conflict. I've installed a lot of glass over Kerdi. You just need to know what you're doing before you attempt it. It takes a bit of reconciliation between the tile installation instructions and the Kerdi instructions, with a bit of common sense thrown in. Tilers need to better educate themselves before attacking installations like yours. Tile products have evolved over the years, and continuing education is the difference between a true professional and someone who just shows up to work with his lunch pail. I'm not necessarily knocking your installer, but your GC and tiler should have been on top of this long before the first batch of thinset was mixed. Best, Mongo...See MoreQuestions for the kerdi experts
Comments (6)2) Seams won't need to be taped. The Kerdi will bridge the transition from sheet to sheet. 4) You want all the rough plumbing, including the installation of the shower valve, to be complete before the cement board goes up. 6) No need for Kerdi fix to attach the niches. They should fit in between the framing so as to be able to put a screw in on either side. The only time you'd need to use any kind of sealant behind the niche flange is if you were doing a conventional shower (as opposed to a Kerdi Shower). The Kerdi is all the seal you'll need. 7) One thing to think about-- If your walls are 42", you might want to think about running the Kerdi horizontally, being that the roll of Kerdi is 39" wide. Otherwise you'll be using a 5-6" strip to finish it off. Horizontally, there won't be as much waste. As for how far to run it down the wall, I'd run it all the way down. That way, you're assured of being able to have your 2" overlap once the pan goes in. As for the whole valve assembly thing, all you need to do is make sure there's enough room in that hole to allow the valve stem to protrude, and for the screws that hold on the face plate to go in. 11) Schulter says you can use a 3/16" v-notch trowel. I've found that sometimes it just doesn't put enough thinset on the wall, so I'll usually use a 1/4x1/4 notch. Now, the one I use is well worn, but even with a new one, you can always "squeeze" out the excess. I'd rather see a little too much and squeeze out the excess than not enough, and have a bubble not sticking in the Kerdi. 12) no need to atach the Kerdi to the valve. The face plate has a foam gasket that'll keep water out. 16) [do i have to make sure to use the outside corner pieces of kerdi with the premade niches? Use the outside corners, and even though the niche piece is sealed, you want to have a completely continuous membrane, so Kerdi the entire niche. 31) Next to it....See More- 7 years ago
- 7 years ago
- PRO7 years ago
- 7 years ago
- PRO7 years ago
 PRO7 years agolast modified: 7 years ago
Related Stories
TILE6 Questions to Answer Before You Install Tile Flooring
Considering these things before tackling your floors can get you a better result
Full Story
KITCHEN BACKSPLASHESHow to Install a Tile Backsplash
If you've got a steady hand, a few easy-to-find supplies and patience, you can install a tile backsplash in a kitchen or bathroom
Full Story
DOORS5 Questions to Ask Before Installing a Barn Door
Find out whether that barn door you love is the right solution for your space
Full Story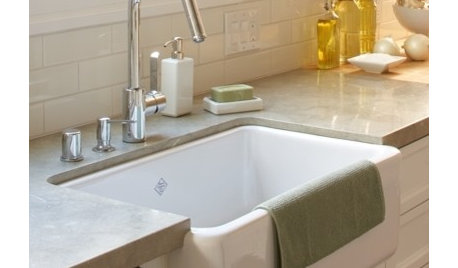
CONTRACTOR TIPSContractor Tips: Countertop Installation from Start to Finish
From counter templates to ongoing care, a professional contractor shares what you need to know
Full Story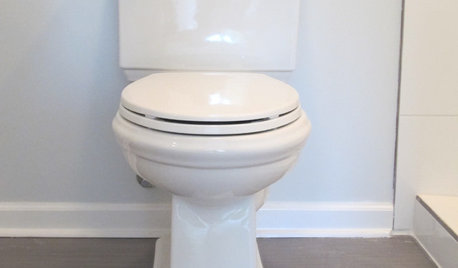
BATHROOM DESIGNHow to Install a Toilet in an Hour
Putting a new commode in a bathroom or powder room yourself saves plumber fees, and it's less scary than you might expect
Full Story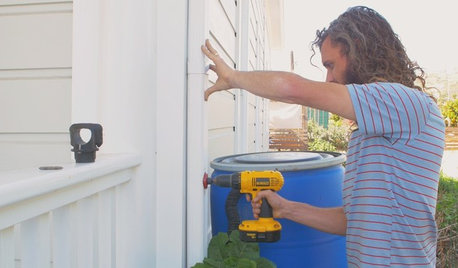
HOUZZ TVHouzz TV: How to Install a Rain Barrel
This DIY tutorial shows how easy it can be to capture rainwater from your roof to use in your garden later
Full Story
GARDENING GUIDESHow to Install a Drip Irrigation System
Save time and water with a drip watering system in your vegetable garden — a little patience now will pay off later
Full Story
FENCES AND GATESHow to Install a Wood Fence
Gain privacy and separate areas with one of the most economical fencing choices: stained, painted or untreated wood
Full Story
KITCHEN DESIGNHow to Choose the Best Sink Type for Your Kitchen
Drop-in, undermount, integral or apron-front — a design pro lays out your sink options
Full Story
BATHROOM DESIGNShould You Install a Urinal at Home?
Wall-mounted pit stops are handy in more than just man caves — and they can look better than you might think
Full Story


Creative Tile Eastern CT