


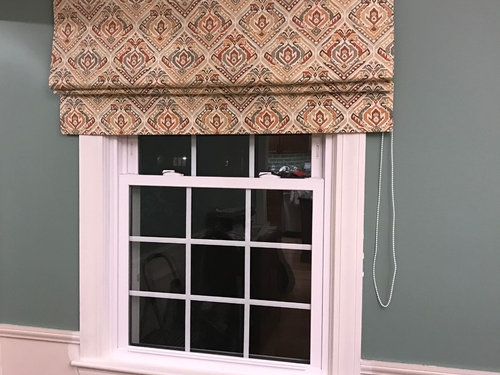
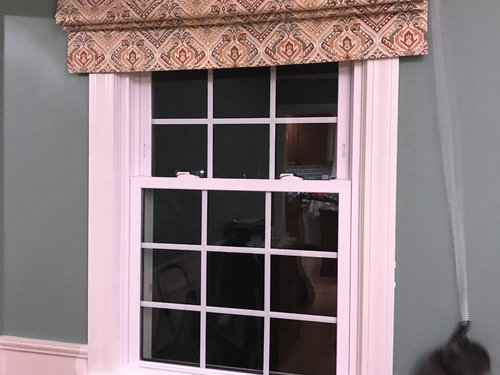
Latest DIY roman shade with continuous loop
pippiep
7 years ago
Featured Answer
Sort by:Oldest
Comments (25)
Related Discussions
Latest project - bay window sill
Comments (31)Thanks again I found them (low stock) by searching for the item number off the old order form. JCP's "window Designer" is saying for window over 100" need two 216" long scarves, shows them overlapping over center window so tails hang down in between? Think I should order the same striped fabric and do scarves (I need to find/make medallions!) over all three "windows" in the room (bay, double window and slider), with the slider one hung at the same height as the others? Since this is FR (casual) should I look for old doorknobs (love that look), so should I just try to find plain medallions in satin nickel to match light fixture and my "cheap cleats" (drawer knob on a hanger bolt)? See the pic of the slider for finish on the knob. I also have 6 birdcage holdbacks that are kind of "U" shaped that I don't think I'll use in LR - so I can do the bay and the window with those, and slider with a matching (extra) rod if you think that will work. It would mean 1 big swag over the double window though - these have been discontinued too (at least I couldn't find them in the store again, and I never saw them online). Does anybody kno how you hang a swag from a "U" shaped holdback without the screws showing? Here is a link that might be useful: U shaped holdback...See MoreWoven Wood Shades for Kitchen? (PICS)
Comments (19)I just reread the original post. You may want to see an actual shade with the type of wood you are considering. Depending on the thickness and how they rise, they will hang differently. Notice lkplatow's stack behind the hanging shade. Because my HD's have the privacy liner, the stacking depth is thicker and they do NOT look like a valance at the top when they are fully raised. Also, I chose a sort of round wood, not flat so it is thicker. If you notice in most catalogs and magazines, they show woven woods lowered half way down the window. They usually don't show them all the way up b/c they don't look that great. Also, if you mount them 6" above the window, because of the way they stack, when you raise them they might get caught on the top molding....See MoreFavorite DIY roman shade (real/faux) tutorial?
Comments (10)Just to throw a monkey wrench in the system before you start sewing : ) , take a look at NikkiDesigns, http://nikkidesigns.ca. I found her shop on Etsy, but she also has a website. She is reasonably priced anyway, you get 10 percent off for subscribing to the newsletter, and because she's in Canada, if you're in the U.S. you get the benefit of the weak Canadian dollar. Also free shipping over $300 if I recall correctly. She has Best of Houzz badges for 2016 and 2015, too....See MoreQuestion on Hunter Douglas Vignette modern roman shades
Comments (5)If you go to the Hunter Douglas web site you can find info. The wider the blind, the more problems you will have winding it up. Some blinds have batteries in the head rail. May be a pain to replace. You could use a power supply with a transformer - but you will need an outlet. Vignette - Hunter Douglas Web Site...See More
pippiep
7 years agopippiep
7 years agopippiep
7 years agopippiep
7 years ago
Laurie
7 years agopippiep
7 years agopippiep
7 years ago
lizzierobin
7 years agoLaurie
7 years agopippiep
7 years agopippiep
7 years agoLaurie
7 years agopippiep
7 years agoLaurie
7 years agopippiep
7 years agopippiep
7 years agoLaurie
7 years agopippiep
7 years ago

Related Stories
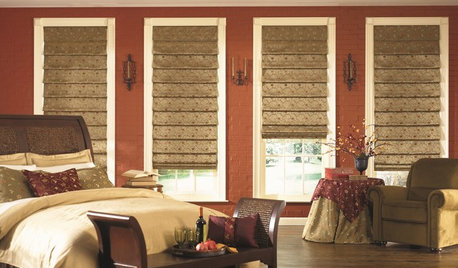
WINDOW TREATMENTSHow to Choose the Right Window Shades
Should you roll with rollers or do as the Romans do? This mini guide to choosing window shades can help
Full Story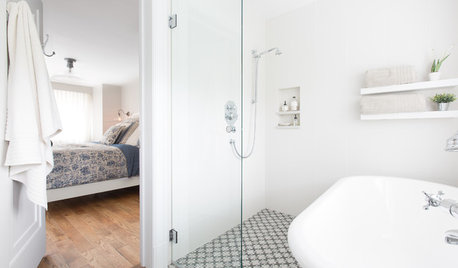
BATHROOM DESIGNSweet Retreats: The Latest Looks for the Bath
You asked for it; you got it: Here’s how designers are incorporating the latest looks into smaller master-bath designs
Full Story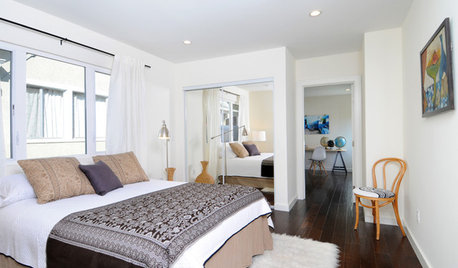
SELLING YOUR HOUSEHome Staging to Sell: The Latest Techniques That Really Work
Get up to speed on the best ways to appeal to potential buyers through accessories, furniture, colors and more
Full Story
KITCHEN DESIGNHouzz Call: Pros, Show Us Your Latest Kitchen!
Tiny, spacious, modern, vintage ... whatever kitchen designs you've worked on lately, we'd like to see
Full Story
DOORSLet's Walk Through the Latest Door Trends
The functional feature has been getting a dose of flexibility, creativity and glamorous detail
Full Story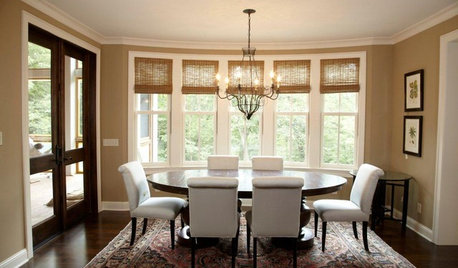
Woven Wood Shades Tie Rooms Together
Contrasting sharp modern edges or complementing a contemporary look, these window shades are a lovely finishing touch for any room
Full Story
DECORATING GUIDES8 Reasons to Jump Off the DIY Bandwagon
You heard right. Stop beating yourself up for not making stuff yourself, and start seeing the bright side of buying from others
Full Story
HOUZZ TOURSMy Houzz: Creative DIY Personalizes a 2-Bedroom Bungalow
Stenciling, custom finishes and furniture, and Scottish-inspired style give a 1920s home personality and warmth
Full Story
SALVAGEDIY: Secrets of Successful Upcycling
Learn how to find and customize salvaged pieces and materials to create one-of-a-kind furniture and accessories you love
Full Story
Call for DIY Projects: Show Us What You've Got!
Share a Pic of Your Handiwork with the Houzz Community
Full Story


msmeow