


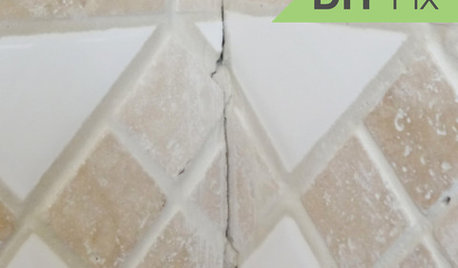
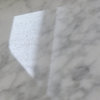
Octagon floor tile + grout + shower walls = epic cleaning failure?!?
zellycat2
8 years ago
last modified: 8 years ago

Featured Answer
Sort by:Oldest
Comments (13)

mark_rachel
8 years agoRelated Discussions
Shower pan to wall transition (How?)
Comments (4)dave, a couple of things: "There is a former Kerdi seller who now carrys ProVa-Mat who whines on every forum about how they took his bread and butter, but he made one good point- Kerdi doesn't want you to use modified thinset because it isn't faced to accept it well. " Kerdi doesn't want you to use modified not because "it isn't faced to accept it", they don't recommend using modified because the latex modifiers need exposure to free air to dry. The portland cement portion of the thinset cures via a chemical reaction...no drying or exposure to air is needed. But the latex modifiers found in modified thinset need exposure to free air to dry. When thinset is sandwiched between a sheet of Kerdi and a porcelain tile, the only air exposure is through the grout lines. Small tiles that would result in a lot of closely spaced grout lines, you might be okay. Large format tiles with few grout lines and little exposure to air, not so good. If you were to just smear modified thinset on Kerdi and let it cure, you'd find it will adhere quite well. The Kerdi thread you like with no photos and the Kerdi thread you dislike with photos are essentially the same thread showing the exact same steps. You wrote: "I also found this kerdi thread that has pictures...but he doesn't go up the walls from the floor with the membrane, instead he seals thinsets at the floor/wall transition- not recommended. " The method in that thread is correct. With Kerdi, any membrane overlap or at least 2" is correct and watertight. Remember you can have a 2" seam on the floor slope itself...there is also an overlap seam where every Kerdi floor membrane seals to every Kerdi Drain. Any Kerdi seam is fine as long as it's at least 2" of overlap. Kerdi doesn't have to be "lapped for drainage" like other membranes. "I am putting my mortar bed on a concrete slab. Do I need anything between concrete/mortar to prevent the slab from sucking the moisture out of the mortar before it cures properly? " You still want a slip sheet between the concrete slab and the slope. A sheet of 6-mil poly or tar paper will work fine. I've never used ProVa-Mat. Whichever membrane you use, just follow the manufacturer's installation instructions. I understand you're using cultured marble on the walls. Are you using it on the sloped shower floor too? Or will the sloped floor be tiled? If the floor slope will be covered with CM, how are you planning on sealing the seams between the sheets of CM?...See MoreShower wall grout cracking, normal with house settling?
Comments (20)"One shower wall is an exterior wall, another has no cabinetry on the other side, and another has very minimal cabinetry." Well then, there you go. It's not due to work that was done on the other side of the wall. ie, no one tiled a wall then had other workers beat the heck out of the other side of the wall, causing the tile to crack. Could it be settling? Sure, But if it is, it's unusual. When a house settles, cracking usually first occurs in the changes of plane (corners) because those are the weakest points in a structure. If the grout between the field tiles within a wall is cracking due to the house settling, that's significant in terms of it being a significant structural issue. Also, you have marble tiles which are not very strong. If you had significant structural issues, your tiles could crack too. But again, looking at the grout itself: pinholes in the grout, raked out grout lines, inconsistent surface texture of the grout within the grout lines. And the cracks that look more like shrinkage cracks instead of structural cracks? Those are all signs of a poor installation by the person that installed the grout. "How can you tell the grout wasn't mixed well? " Because everything you described, and everything I see in the photo, is a symptom of that. I'm not saying I'm right. I'm telling you that's my opinion based upon the evidence you have provided. And that's assuming (rut row) that he properly installed and prepared the tile backer board. If he didn't properly detail the backer board then the seams in the backer board could telegraph through as cracks in the grout. But you provide no information on that. Just the photo. But based upon the information you have provided, in my opinion it's simply a grout installation issue, and it's the fault of the installer. But again, that's simply my opinion. Good luck with your remediation....See MoreTile failure - PO Woes...help!
Comments (12)obviously I meant landfill instead of landlord. :) Bill, a question about care: I assume that until I am able to fix the water-sensitive mastic I should keep the water off the floor as much as possible, so... 1) replace "towel" bath mat with something with a rubber back, or put a rubber mat under the towel mat so water doesn't collect in the grout by the tub? 2) I had been deep cleaning with my sooper cool carpet/hard floor hot water cleaner. Instead of letting water (even a small amount) stand on the grout, I should maybe just wipe the tiles with a dampish rag (maybe a bit of soapy bleach water)??? 3) I should discontinue scrubbing the grout with a toothbrush and bleach or oxyclean? I have a feeling this grout wasn't well sealed either......See MoreWhich grout color for white subway tile in shower?
Comments (38)All of the tile I used for my bathrooms and kitchen came from RAI Design in Garden City, NY. Specifically I used their light blue penny round tile in the shared bathroom and for my backsplash in the kitchen I used their tile called “Soho”. The “Soho” tile dimensions are labeled as 2x10 but the actual measurements of the tile are about 2.25x9.75. Not too big or too small and the white color is not too bright so as to compete with my white cabinets. I looked at SO MANY white tiles and this one was the best dimensions and color, and rather inexpensive, too. I highly recommend RAI if you are not too far from NY....See More
LE
8 years agomark_rachel
8 years agozellycat2
8 years agolast modified: 8 years agovpierce
8 years agozellycat2
8 years agoLE
8 years agozellycat2
8 years agomark_rachel
8 years ago PRO
PROCabot & Rowe
8 years agozellycat2
8 years agomrspete
8 years ago

Related Stories
BATHROOM TILEQuick Fix: Repair Cracked Bathroom Grout
Banish an eyesore and safeguard your bathroom from water damage in 30 minutes or less with this DIY repair
Full Story
BATHROOM DESIGNConvert Your Tub Space Into a Shower — the Tiling and Grouting Phase
Step 3 in swapping your tub for a sleek new shower: Pick the right tile and test it out, then choose your grout color and type
Full Story
HOUSEKEEPINGHow to Clean Grout — Stains and All
If your grout is grossing you out, this deep-cleaning method will help it look new again
Full Story
REMODELING GUIDES9 Ways Grout–Yes, Grout–Can Add to Your Design
Choose From a Palette of Grout Colors for a Warm, Unified Look
Full Story
TILEEpoxy vs. Cement Grout — What's the Difference?
Grout is grout, right? Nope. Cement and epoxy versions have different appearances, durability and rules of installation
Full Story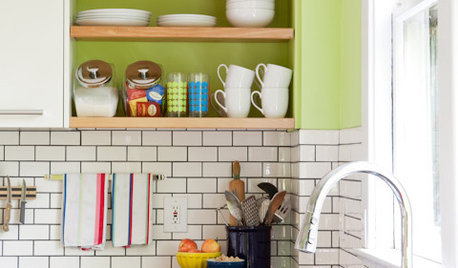
KITCHEN DESIGNSubway Tile Picks Up Gray Grout
Heading into darker territory, subway tile offers a graphic new look for kitchens, bathrooms and more
Full Story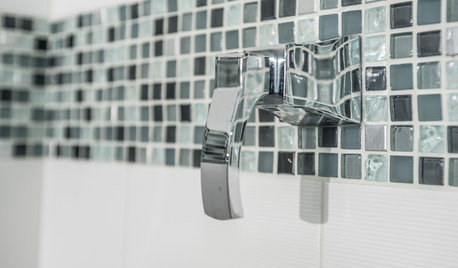
TILE3 Key Steps for Grouting That Looks Its Best
Get your grout right to keep your tile beautiful and for an installation that will last
Full Story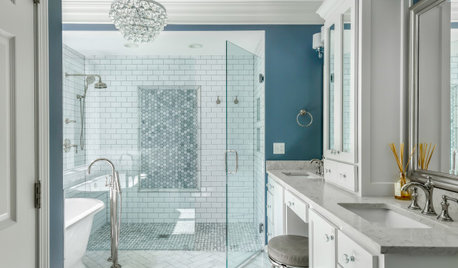
HOUSEKEEPINGHow to Clean a Glass Shower Door
See which tools and methods will keep those glass shower walls and doors sparkling clean
Full Story
BATHROOM DESIGNGreen and Clean: Ecofriendly Bath Floors
Foot-massaging pebble tile, beautiful recycled glass and more can help make your bathroom beautiful and earth friendly
Full Story
BATHROOM DESIGNDesign an Easy-Clean Bathroom
These ingenious strategies and sleek designs for the sink, tub, shower and toilet help your bathroom practically clean itself
Full StorySponsored
Columbus Area's Luxury Design Build Firm | 17x Best of Houzz Winner!


jellytoast