


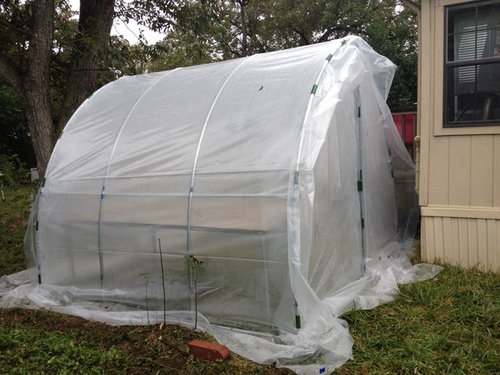
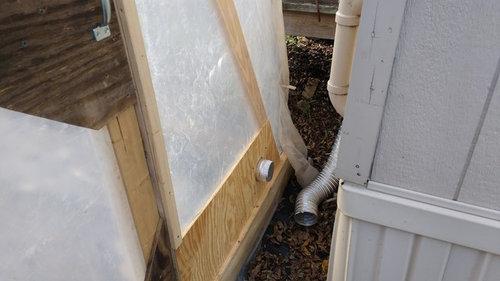
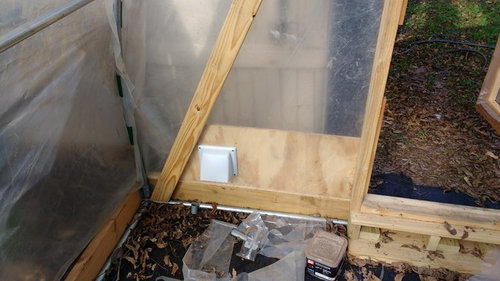
My greenhouse project Zone 8b
User
8 years ago


Comment
Related Stories
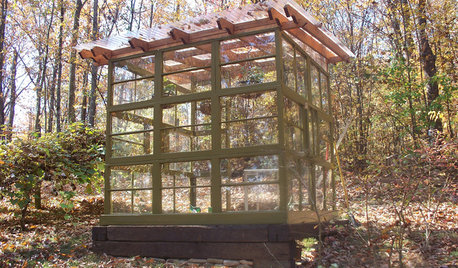
GARDENING AND LANDSCAPINGSee a Family Greenhouse Grown From Scraps
Can-do resourcefulness and less than $400 lead to a new 8- by 8-foot home for plants on a Tennessee family's property
Full Story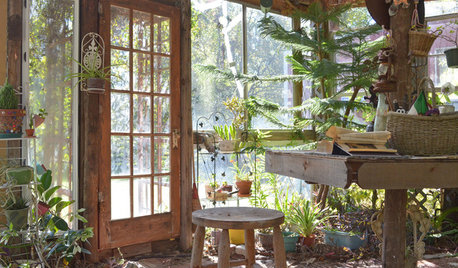
GREENHOUSESA Greenhouse Rises From Texas Tornado Wreckage
Barn damage became a blessing in disguise for a thrifty, creative couple with a hankering for more greenery
Full Story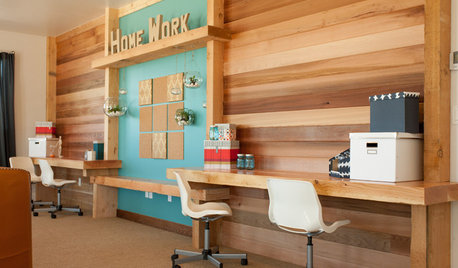
KIDS’ SPACES5 Ideas for a Great Home Learning Zone
Get your child off to a good start this school year with homework areas and strategies that reduce the frenzy
Full Story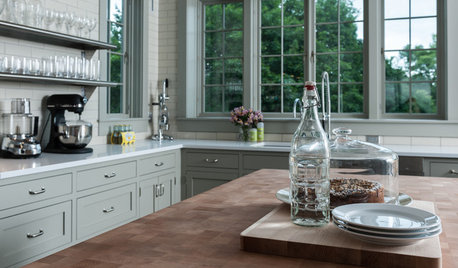
MOST POPULARKitchen Evolution: Work Zones Replace the Triangle
Want maximum efficiency in your kitchen? Consider forgoing the old-fashioned triangle in favor of task-specific zones
Full Story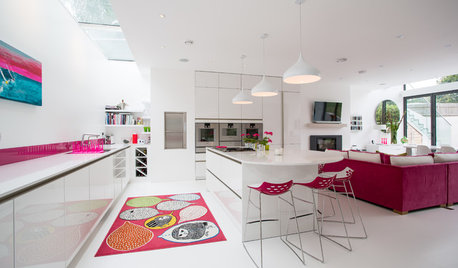
KITCHEN WORKBOOKNew Ways to Plan Your Kitchen’s Work Zones
The classic work triangle of range, fridge and sink is the best layout for kitchens, right? Not necessarily
Full Story
COLORTime to Step Out of Your Color Comfort Zone?
If you always seem to pick warm tones, or you stick to the cool ones, bucking your natural inclination could bring new energy to a room
Full Story
HOUSEKEEPINGClean Up Your Cleanup Zones
Make chore time more pleasant by tidying up your laundry room and updating cleaning tools
Full Story
KITCHEN DESIGNStash It All: Know the 3 Zones of Kitchen Storage
Organize storage space around your kitchen’s main activities for easier cooking and flow
Full Story
HOME GYMS10 Elements of an Inspiring Home Gym
Give yourself an incentive to exercise regularly by creating a workout zone that will get you moving at home
Full Story
OUTBUILDINGSStudio Solution: A Kit Greenhouse Becomes a Creative Private Office
See how an inventive work-from-home designer made an office from a greenhouse, for some inspired thinking in the backyard
Full Story
Related Discussions
Moving to North Carolina, zone 8b
Q
Potted Citrus: Overwinter Indoors or Out in zone 8b?
Q
Dead-looking (but alive) shrubs (zone 8b)
Q
what direction to take this? (PNW zone 8b)
Q