


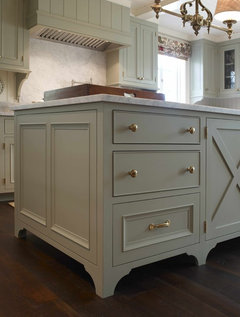
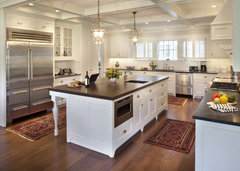
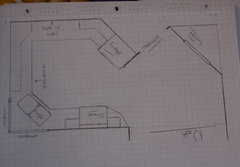
Will this look too odd, island design?
Wendy
8 years ago


Featured Answer
Sort by:Oldest
Comments (41)
Related Discussions
What would you do? Will this look odd?
Comments (5)Thank you all. I'm feeling better about it being off center. Yes, I do plan to make the end piece look like a hutch. that's the next thing i'll think about. I'm trying to figure out how to deal with the crown of the old in white chocolate abutting the new in cognac. One option is to make the new upper 42" with 6" above the old and 6" below so the crowns and light rail don't intersect....See MoreWill chandelier on this ceiling location look odd?
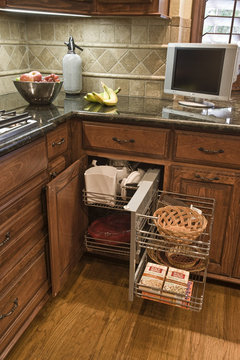
Comments (19)You absolutely can have the fixture hanging at the edge - I have the same situation in my house and it looks fine -- our breakfast area has half of a vaulted ceiling - it's weird. As someone said above, the most important thing is to make sure you are centering the outlet box directly over where the table will be. As long as the light is centered, it will look ok. (Our light was not centered when we first moved in, and we actually paid to have it moved because it was so annoying!). I would probably stick with a light the same shape as your table as well - if you're going with a round table, I'd do a round fixture, not a long one. We have a very long and skinny table and recently swapped the fixture in the pics below (a round one) for a long skinny one like the one linked above and it looks much better. I'll link to some pics I have, but they're really old -- we have color on the walls and a different light and table (and my kids are 6 and 10 and no longer sitting in the blue plastic high chair, LOL!). Plus the angles I have don't really capture how the light fixture looks jutting out into the vaulted area, but hopefully you can get the idea -- it's not that clear from the pics, but part of the ceiling is wooden and slightly vaulted and the other half (the part closest to you in the pics) is an open area straight up to the second floor ceiling with a balcony looking down at the table. I need to find the cord to my camera to take some new pics!...See MoreWood island countertops... an odd request for kitchen places??
Comments (8)LOL - I agree! I live on the Northshore, and when I first fell in love with the idea of a walnut top for our breakfast bar, I also ran into the same problem. I now work at a kitchen showroon, but I know we're not supposed to advertise on here, so I guess I can't say which one. We do carry CraftArt, but I've never had anyone show me how we'd order from them, nor have I had anyone ask me for wood countertops. I will say that I did find a kitchen showroom in Mandeville who quoted me a John Boos walnut top - really not a bad price compared to two estimates I had gotten online from other parts of the country which were very $$$. If you go on John Boos' web site and look for dealers, the kitchen showroom I'm talking about should come up - that's how I found them. Now, she didn't look thrilled to work up the quote for me, but she did it....See MoreDesigning a farmhouse kitchen that doesn't look too trendy?
Comments (28)I'm loving all these responses!! It's making me really wonder WHAT IT IS I'm actually after. I think for the most part I'm driven by my fear of not loving something after a few years, so I'm trying to pick things I've always loved. I change my mind a LOT but when I really love something I wear it to the bone (I have four pairs of the exact same Levis, just different washes. ;) ) I realized the love for most of the things I've chosen is based off of the house I grew up in. It doesn't fit well into any period, it was built in the 1950's (all by hand - even the windows) by the previous owner's husband. I'm from a town in rural Wisconsin of about 150 people, so it takes a LONG time for trends to catch on. Some of the things in the kitchen I loved (that I still love) were the three windows behind the sink, a white drainboard sink (maybe I could find one at a garage sale?), the white cabinets (though they were 3/8 inset, but I'm not going to lie, I love the squeak of those rickety cabinets. Looks-wise, though, inset cabinets have absolutely won me over). Those are things I know I'm not going to grow out of. As far as laminate goes.. That has been a huge struggle for me. I grew up with beautiful (scuffed, but still beautiful) hardwood floors. Our last rental had hardwoods and I hated it with having boys. This house we ripped out the carpets and put in laminate (it doesn't make financial sense to put in hardwoods in this neighborhood) and we've had it for two years now... Not a single scratch. You cannot beat the look and feel of hardwood, that's for sure. But my plan is to use laminate to save initial costs on building (if I'm doing inset cabinets we just can't afford many other upgrades) and then after 10-15 years when all of my boys are older we can splurge and put in custom hardwood (I love when they lay it different ways, not sure what it's called or what time period, just that I love it). Hubby doesn't understand my desire for hardwood floors OR inset cabinets, but he said he's okay with me doing the kitchen however makes me happy (he doesn't want to here me complain I didn't get the kitchen I want ;) ).. I've just started looking at time period appropriate pictures. I have to stop it because I will obsess over it and just can't afford to put a lot of extra money into some of the things I know would make it more appropriate. My main focus is just to get the bones right. jdesign... I absolutely LOVE that island! Maybe if I found an old ornate table and had that turned into my island?! Wow! I wish I had time to respond to everyone individually, I love every kitchen that was posted in the responses.... But right now I have an overtired two year old, a waking-up one month old, and a home-from-school-sick seven year old!!!!!!!!!!!!!! LOL!...See More
Wendy
8 years agoWendy
8 years agoWendy
8 years agolast modified: 8 years agoWendy
8 years agoWendy
8 years agolast modified: 8 years agoWendy
8 years ago
sheloveslayouts
8 years agoWendy
8 years agoWendy
8 years agoWendy
8 years ago
lisa_a
8 years agolisa_a
8 years ago
Gooster
8 years agolast modified: 8 years agoWendy
8 years agoWendy
8 years agosheloveslayouts
8 years agolisa_a
8 years agoWendy
8 years agoWendy
8 years agolast modified: 8 years agoWendy
8 years agoWendy
8 years ago


Related Stories
GARDENING AND LANDSCAPINGDesign Solutions for Oddly Shaped Backyards
Is your backyard narrow, sloped or boxy? Try these landscaping ideas on for size
Full Story
KITCHEN DESIGN12 Designer Details for Your Kitchen Cabinets and Island
Take your kitchen to the next level with these special touches
Full Story
HOUZZ TOURSHouzz Tour: Creative Design Moves Rescue an Island Cottage
Facing down mold and nicotine, two industrious Canadian designers transform an uninhabitable wreck into an artful getaway
Full Story
WORLD OF DESIGNSee 90 of Singapore’s Best Designs on Houzz
To celebrate the launch of Houzz Singapore, enjoy some of the Asian island’s stunning architecture and interiors
Full Story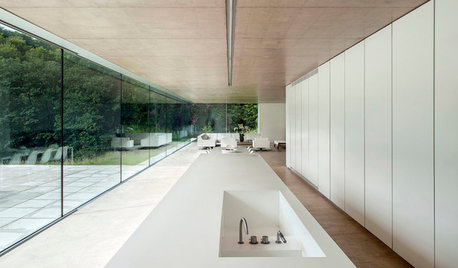
KITCHEN ISLANDSWhat to Consider With an Extra-Long Kitchen Island
More prep, seating and storage space? Check. But you’ll need to factor in traffic flow, seams and more when designing a long island
Full Story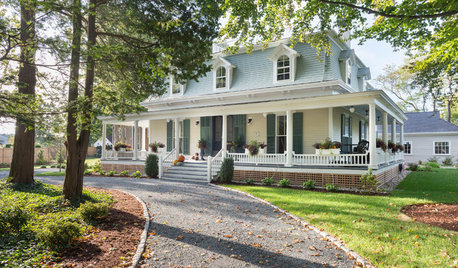
TRADITIONAL HOMESHouzz Tour: Pride Restored to a Historic Rhode Island Home
Designers spruce up Narragansett’s first summer cottage while adapting the Victorian-era home for modern living
Full Story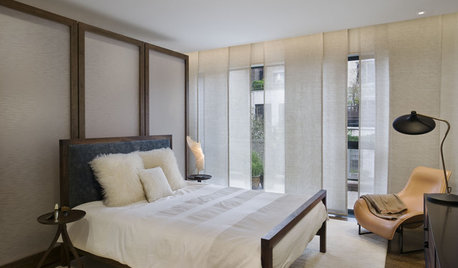
WINDOWSTreatments for Large or Oddly Shaped Windows
Get the sun filtering and privacy you need even with those awkward windows, using panels, shutters, shades and more
Full Story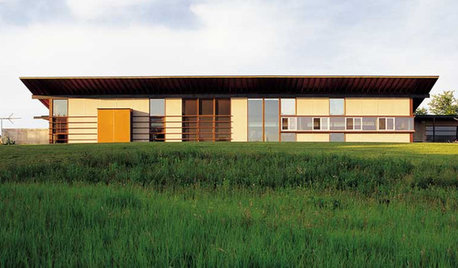
WINDOWSModern Homes Embrace Mixed Views on Windows
Sure, there are walls of glass. But modern architecture affords the design freedom to have small, narrow and oddly shaped windows too
Full Story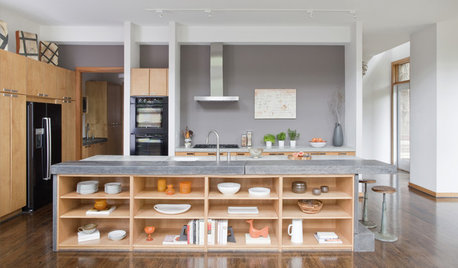
KITCHEN DESIGNHow to Design a Kitchen Island
Size, seating height, all those appliance and storage options ... here's how to clear up the kitchen island confusion
Full Story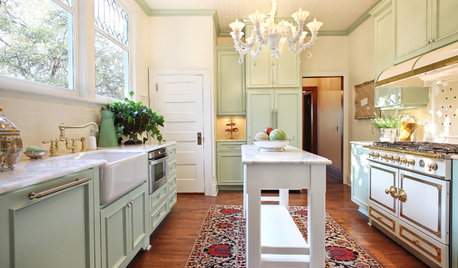
KITCHEN DESIGNKitchen Design Fix: How to Fit an Island Into a Small Kitchen
Maximize your cooking prep area and storage even if your kitchen isn't huge with an island sized and styled to fit
Full Story


funkycamper