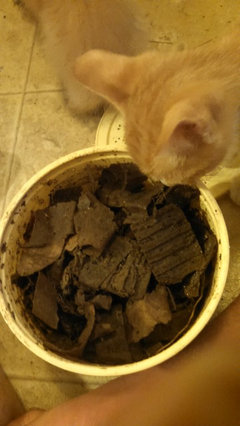
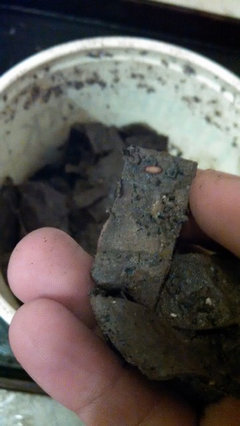
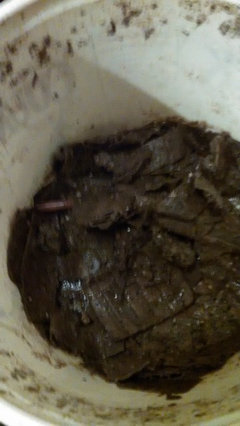
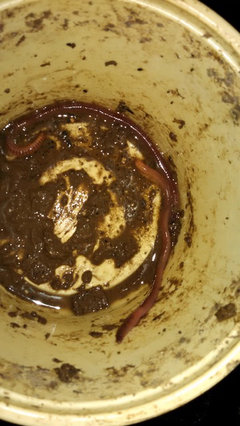
Newbie attempts margarine tub worm bin
Jon Biddenback
8 years ago
Featured Answer
Sort by:Oldest
Comments (35)
Billy Young
8 years agoJon Biddenback
8 years agoRelated Discussions
How to make a worm bin
Comments (3)Proudgm I'm a newby so take this as such. I am on my second week with 15 lbs of worms. I built wood worm bins. The worms have all kinds of escape routes. In fact no effort was made to stop them. What I have learned is if the worms are happy they don't want to leave. out of 15 lbs I have yet to find one worm that tried. Hope that helps. I am in zone 6 as well. My worms are in the garage for now but I will leave some outside next winter. My plan is to dig a hole for my bins to sit in. Probably half in the ground and half above. What I am using now for heat is an aquarium heater in a big glass jar. So far so good on that one. Good luck Darren...See MoreConsidering starting a worm bin - advice for a newbie?
Comments (19)It might be a good idea to line the sides with corrugated cardboard to block the light and it will help absorb excess moisture. It is easier to mist water on the surface of the bin rather than extracting water from a too wet bin. You may keep the bottom bin w/o cardboard lining to discourage worms coming/staying down. Don't panic if you find worms on the underside of the lid because of condensation. Just wait and see before youstart drilling or cutting the lid. Whenever I converted a bucket or tote into a worms bin, I find it easier to make 1 big hole and attach weed cloth to it. One problem with the container material is however to find adhesive that will stick. I used double sided tape on some and on others when I only kept the rim of the lid, I cut a bigger piece of weed cloth so it get over the entire top of the bin and just jammed the lid on it. Hope this gives you some ideas. Welcome and good luck....See MoreGot My First Worm Bin Today
Comments (8)Actually, I just guestimated the size of the box last night because it was late and I was sleepy. The box is 16 1/2 inches by 12 1/2 inches by 9 inches deep. I read some more on this website before I finally went to bed, plus I followed a link provided for a children's website on earthworms (since I don't know much about worms, other than they are an organic gardener's best friend, a child's website did seem an appropriate starting place to learn). Anyway, based on what I read, I think I've figured out a workable battle plan, but could sure use more experienced folks insight on this. Here's my plan, unless you folks have a better solution to share: I'm going to get a second plastic tub that is the same size. I'm going to drill a few 1/2 inch holes at the bottom, placed to facilitate drainage. I'm going to go inside the box with some of this plastic screening that looks like window screening but is made of flexible plastic, and glue patches of this screening over the drainage holes so that the worms can't crawl out. To facilitate air circulation (which the folks my husband bought this from say is important), I'm going to take the lid and cut a big 3 inch by 4 inch hole in it, and then cover that hole up with plastic screening too. After I prepare the new plastic bin with the drainage and top holes, I'm going to move the batch of worms and peat moss from the box I already have to the new, properly prepared bin. Then I will put the properly prepared bin in a drip pan, raised an inch or two in the air by wooden supports (which are taller in the back of the bin than in the front) so that there is a slight angle to the way that the worm bin sits in the pan. This is to facilitate draining. The drain holes will be placed so that excess water will drip out the bin into that drip pan. I will then place this setup in an extra bedroom closet, where it will be dark all but maybe 10 or 15 minutes each day, where I will feed them their Worm Chow once a day and moisten as necessary. I will then put holes in the plastic bin I currently have, and about 6 to 8 weeks from now when the population is grown in the bin, I'll move half of the worms over to the new box and put more moistented peat moss in both boxes to fill them up. I can understand the suggestion to just put the worms outside, however, my garden sits in the middle of Sunstroke Acres and -- despite the fact that it is not even officially summer yet -- we have had 90 degree plus days every day for several weeks now. This is the hottest "spring" on record in these parts. Those little critters would probably bake out there if I put them out right now in these abnormally harsh weather conditions. Plus my garden is completely full of plants right now that have full root systems at this point. Everything is big and coming up fast. I don't want to go disrupting my earthen beds right now if I can help it. You know what they say "Don't mess with somthing that is working quite well." I figure on waiting until the fall, when I prepare my beds for next spring. That's when I routinely fork the organic mulch I use during the growing season (a mixture of shredded leaves and shredded pine bark - a "brown" when it comes to composting) into the top 5 or 6 inches of soil. At the same time I add in some Starbucks coffee grounds (a "green" when it comes to composting, placed into the soil so that I can compost my mulch over the winter). After I have forked in that mulch and coffee combination, I routinely wet it down till it has the moisture consistancy of a wet sponge. This will cause the sheet composting operation to temporarily heat up, so I will have to wait a few more weeks I figure to add the worms in. But the initial heating up of the bed will discipate in a week or two, after which I can wet the bed again to the consistancy of a wet sponge. At that time, I should be able to add the worms into the soil safely, I figure. It will be a cooler climate by that time, and they will have plenty of fresh "eats" and the same soil moisture content that they will be used to. I figure on covering the beds with a crushed oak leaf "winter mulch" after the worms go in, to protect the worms and other soil microorganisms from any harsh winter conditions that we might experience here in the mid-south. Anyway, that's what I'm thinking right now. Any suggestions for improvement in my scheme, or valuable insight you would be willing to share with this newbie?...See MoreBrand new worm Bin, worms running for the hills
Comments (35)Nappy... your guess of about 600 (euro per pound) is probably close however that is not too many for a 13 gal container. I started with two 27 gallon bins, about 2/3 filled and put about 3000 (red wigglers/euros mixed) in one bin and 5000 in the other. That was no where near high density. In the first four months the numbers way more than quadrupled without issues and last month when I added two more bins and split the populations the density was WAY more than what I'd started with in the original bins but know this, I did supply prodigious amounts of food continuously, and a generous part of it were powdered grains and other high protein items in addition to fruit and vegetable pulp. Before I ever introduced any worms into the original bins, I'd had the bins prepared already with the bedding of coir/peat and added soil/leaf compost and buried 10 pounds of juiced pulp under the bedding for about 3 weeks to get the microbe population started and so when the worms arrived in the mail I just dumped them into the bins and they had an immediately available food source from day one... and plenty of it. Within 2 days I found many of them burrowing through the middle of that pulp pile so I assume they were eating... it soon turned into a huge mass before the week was up. Your worms may be wandering out of the bin due to lack of a sufficiently ready food source. Yes, try to get some leaf litter in there or open a can of pure pumpkin or creamed corn or cooked spinach (packed without salt) and put it under the bedding and see what happens over the next few days.... you'll need to wait until a mass of worms begin mobbing it before turning the light off... in any case continue to keep the lid off the bin. Somehow I missed it that you've only had this worm bin set up for 2 days! (which should make it 5 days by now)... Worm bins are an ecosystem that will take time to develop so be patient and give it a week for the worms to settle in. Remember their whole environment was just radically changed and so it will take a few days for them to adjust.... just adjusting to the pH of the bin could take a few days......See Morerayzone7
8 years agoJon Biddenback
8 years agoJon Biddenback
8 years agoJon Biddenback
8 years agoJon Biddenback
8 years agorjfillmore
8 years agoJon Biddenback
8 years agoJon Biddenback
8 years agoquone9bsunset21
8 years agojknsm
8 years agoJon Biddenback
8 years agoJon Biddenback
8 years agoJon Biddenback
8 years agoJon Biddenback
8 years agolast modified: 8 years agoJon Biddenback
8 years agoJon Biddenback
8 years agohummersteve
8 years ago11otis
8 years agoJon Biddenback
8 years agoMackenzie Mielczarek
8 years agoJon Biddenback
8 years agoJon Biddenback
8 years agoJon Biddenback
8 years agoJon Biddenback
8 years agolast modified: 8 years agoJon Biddenback
8 years agoJon Biddenback
8 years agoJon Biddenback
8 years agolast modified: 8 years agoJon Biddenback
8 years agoJon Biddenback
8 years agohummersteve
8 years agoJon Biddenback
8 years agoJon Biddenback
8 years ago
Related Stories
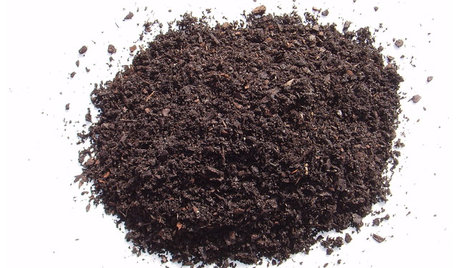
GARDENING GUIDESGet on a Composting Kick (Hello, Free Fertilizer!)
Quit shelling out for pricey substitutes that aren’t even as good. Here’s how to give your soil the best while lightening your trash load
Full Story
LIFEThe Top 5 Ways to Save Water at Home
Get on the fast track to preserving a valuable resource and saving money too with these smart, effective strategies
Full Story
MOST POPULARDecorating 101: How Much Is This Going to Cost Me?
Learn what you might spend on DIY decorating, plus where it’s good to splurge or scrimp
Full Story
REMODELING GUIDES8 Lessons on Renovating a House from Someone Who's Living It
So you think DIY remodeling is going to be fun? Here is one homeowner's list of what you may be getting yourself into
Full Story
SALVAGEDIY: Secrets of Successful Upcycling
Learn how to find and customize salvaged pieces and materials to create one-of-a-kind furniture and accessories you love
Full StorySponsored












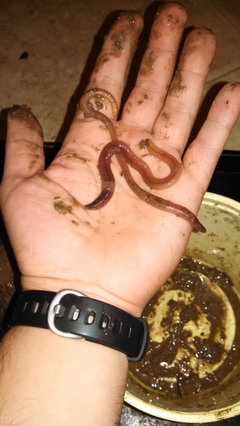

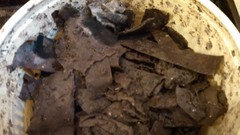


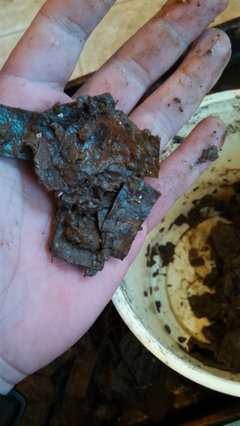




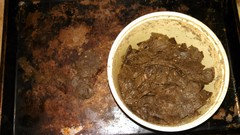
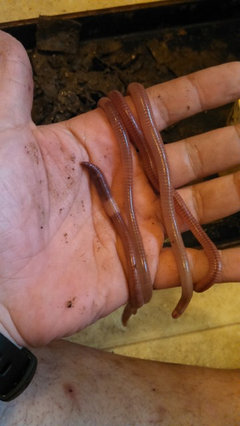




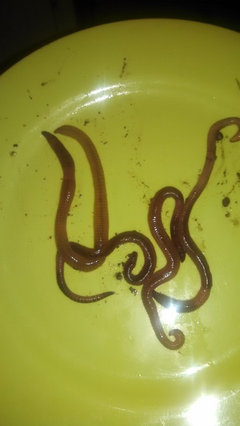


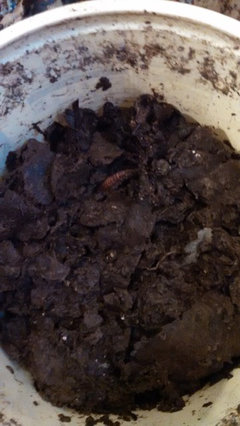
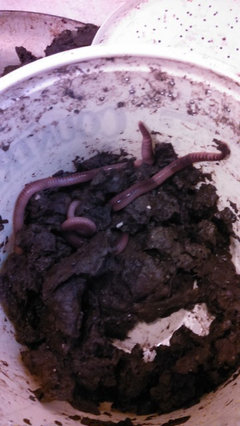
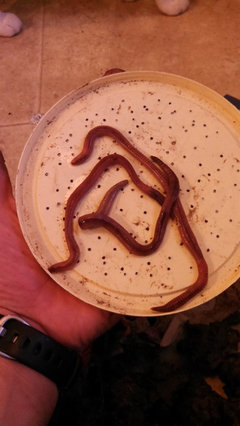

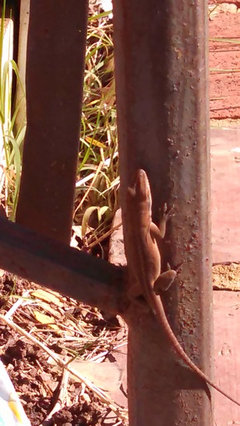

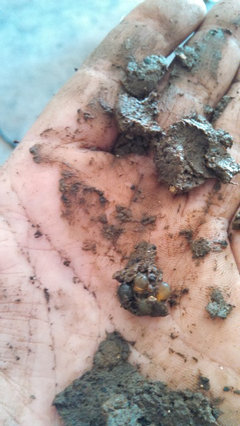


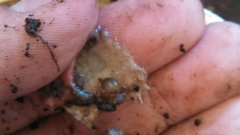


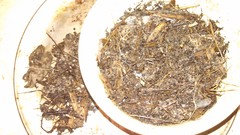


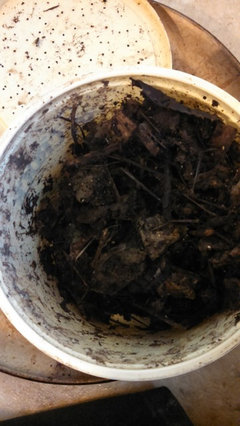


Jon BiddenbackOriginal Author