


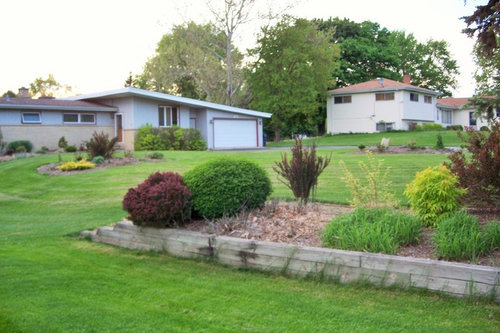
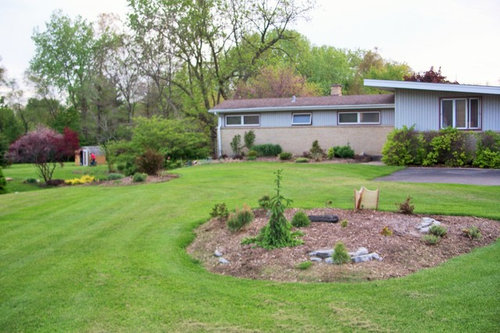
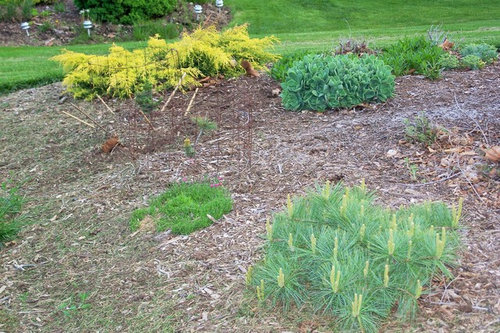
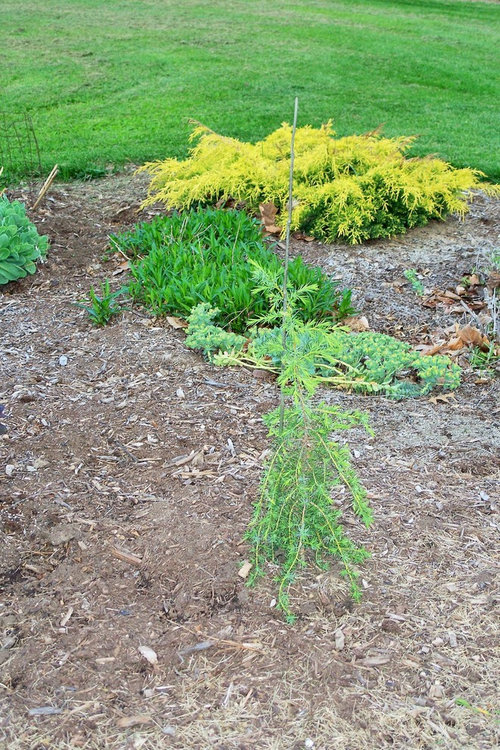
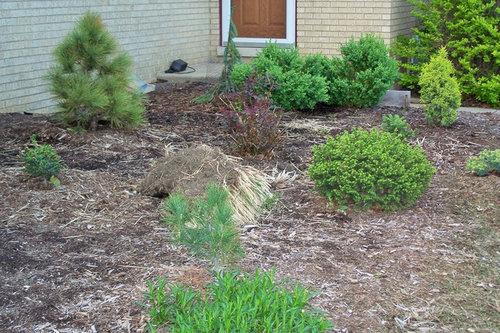
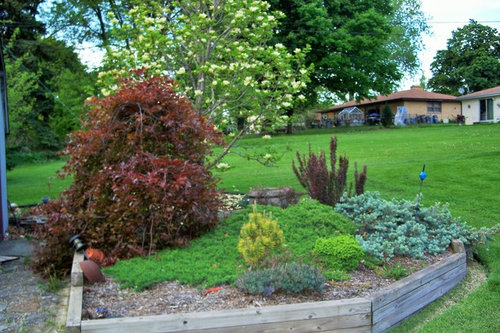
Wider shots
plantkiller_il_5
8 years ago

Featured Answer
Sort by:Oldest
Comments (25)

severnside
8 years ago
plantkiller_il_5
8 years agolast modified: 8 years agoRelated Discussions
Lockhartia micrantha
Comments (2)Grrrrr. That is just the happiest orchid. I can't keep going around blaming ALL my orchid purchases on Jen... I also can't keep going round copying all her successes, either. Grrrrr. Um, thank you for sharing that Happy Plant. It is quite nice, very unique also. Good thing I don't have a decent mini supplier handy......See Morebog garden update (lots of pics)
Comments (19)I haven't been visiting GW much this past year because of personal reasons, but popped in today and was delighted to see your bog garden pics. I remember the earlier postings and you've come a long way. Great job! As someone else said, plants in this kind of setting grow fast!! So expect to have to remove, cut back, split, give away, etc. the plantings quite a bit as time goes by. About your pathway, my suggestion would be to use the one chair you have near the entrance of the path (actually partially on the path - feet on the path where it is dry - and put something with some weight on the opposite side. One idea would be to dig in (a bit) the rock you found (dugout) into the grass area to the side front of the mulch path. Just curve in the bog bed right up to into the mulch path at that point, letting the rock protrude just a bit into the mulch to tie things together and still leave the path usuable. Then add behind and somewhat to the side what I call a "stop and look at me plant", a small sedge like Carex Bowles Golden would be perfect, giving some height and brilliant color, and lastly add a small rustic sign BOG GARDEN or WELCOME, or whatever you like or find to the combo....See MoreClumpalump shots today...(pics)
Comments (17)Thanks for all the very kind comments! Jan, I am sure I'll have a fan or two to spare this fall... can you plant in fall? They do great here when I plant them in Sept/Oct/Nov. Rita - thanks for the compliments! I think some of the back beds need to be reworked a bit... but that can wait! :o) I love seeing garden shots too! Gives me more ideas... Julia - when IV first bloomed, I thought it was the ugliest thing ever... it did not look like the picture posted above. It was this muddy mess of color, but I felt so bad, because the form was fantastic, as was bud count, scape hight and it was growing great. Then it really started to bloom and the color was completely different. I am surprised the color cleared up so well. Rick - when I planted that bed, I was really trying to cover the massive brown fence as our back windows face right at it... I have been pretty happy with the results. I am still not sure that everything is quite right, because I really just shoved daylilies in between EVERYTHING - I needed the room! :o) Juliet - PP is such a little cutie. You should see the amount of buds per scape now that it has really settled in. Amazing. It is putting on another show today. You're gonna love it! I see that I am not the only one that likes my Spacecoast Surprise Purple! It makes me happy to walk out and see that right away....See MoreYellow, white tips?
Comments (2)In some of your photos, the camera has focused on a background feature instead of the main subject, for example, the brick wall and the woven fence. In these cases, you may have to resort to manual focus. The auto-focus technology is not perfect. It follows a set of its own rules and these do not cover all situations. In one case that I know about, the focusing routine (algorithm) looks for hard edges in the scene and adjust the lense to make these as sharp as possible. Thus, the focus routine fails if the central subject is fuzzy. It has difficulty in focusing on fuzzy thistle blossom, but may settle on the leaf edges seen in the near background. I have another brand of digital camera ( a much earlier example). This had excellent color renidition, but only 2 Megapixel. This one had a particular focuing rule: If it could not find a suitable edge to focus on, it racked the lens to infinity and led one to believe focus had been achieved. This was done to keep the focus mechanism from hunting when the camera was aimed at the sky and or clouds. Many of your macro shots are lovely, but then an occasional blossom is out of focus or poorly exposed, or does not have enough dynamic range to differentiate between the varying shades of white. Some of the blur may be due to motion of either the camera or the subject, but I did not detect the unidirectional smear typical of a wind blown blossom. There is a need to increase the depth of field for closeups of the blossoms. This is done by using a small arperature. For floral photography, you can shoot as slow as 1/30 sec with a tripod (highly recommended). Also, a larger len opening, say f/ 5.8, can be used to narrow the plane of focus. You have a Canon Powershot A630. I have the Canon Powershot S2 IS. There may be some similarity between these models. I was disapointed with mine until after I made a series of test shots. What I discovered was that the dynamic range of the sensor was not as large as I expected and the white to light colored objects were burning out in scenes with significant dark values. The default setting was overexposing a bit. This was corrected by reducing the exposure by 1/3 f-stop. (In my camera, this is not adjustable in the auto mode. Switch to the P (program) mode to make custom adjustments.) The default sensitivity is ASA 80. This results in slow shutter speeds for reduced light. This can be boosted to ASA 100 without much noise effect. In fact, the gain in shutter speed will more than offset any noise increase. With these adjustments, my shots were much improved. In a few cases when the result is too dark, it can be brightened with processing software. However, if a scene contains a burned out image, no amount of processing can save the picture....See Moresevernside
8 years agolast modified: 8 years ago
gardener365
8 years agolast modified: 8 years agosevernside
8 years ago
Garen Rees
8 years agoplantkiller_il_5
8 years agogardener365
8 years agoplantkiller_il_5
8 years agosevernside
8 years agoGaren Rees
8 years agolast modified: 8 years agoUser
8 years agoplantkiller_il_5
8 years agoplantkiller_il_5
8 years ago
ladylotus
8 years agoGaren Rees
8 years agoplantkiller_il_5
8 years agonnmjdklil
8 years agoGaren Rees
8 years agoplantkiller_il_5
8 years agonnmjdklil
8 years agonnmjdklil
8 years agoplantkiller_il_5
8 years agonnmjdklil
8 years ago
Related Stories
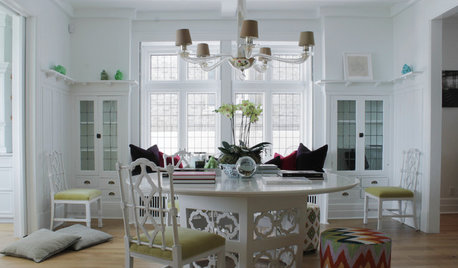
HOUZZ TOURSMy Houzz: Going White and Bright in Montreal
White lacquer and wider doorways help create an airer backdrop for colorful contemporary art in a 1910 Arts and Crafts home
Full Story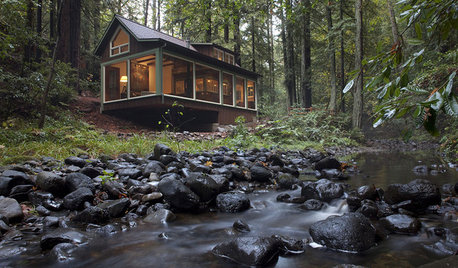
HOUZZ TOURSHouzz Tour: A Creekside Cabin Opens to the Views
With a modern addition featuring expansive windows, a rustic 1930s cabin opens its arms wider to its Northern California woodland setting
Full Story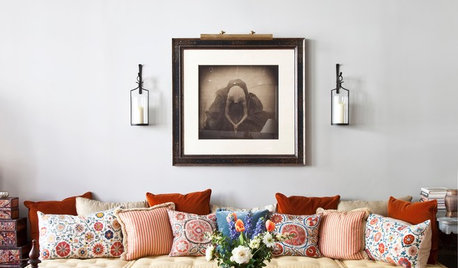
DECORATING GUIDESPillow Talk: Learn the Lingo of Cushions
Don't get boxed in between just square and round — get to know the wider world of cushion options for padding for your pad
Full Story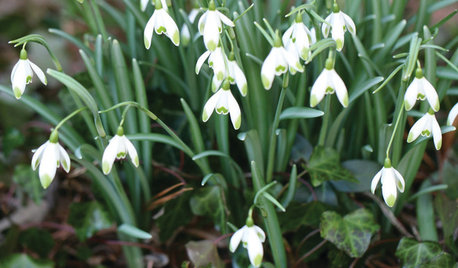
WINTER GARDENINGGreat Design Plant: Snowdrops Offer a Spring Peek
Braving snow and ice, these little white charmers are a sure shot of sunshine in the winter garden
Full Story
14 Ways to Maximize a Skinny Space
Transform a Narrow Spot With Clever Design, Space Savers and Tricks of the Eye
Full Story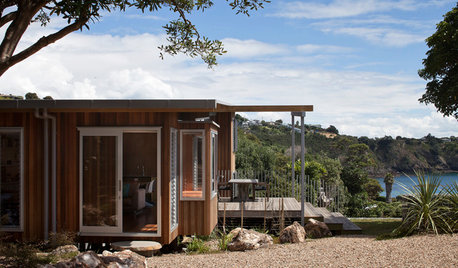
HOUZZ TOURSHouzz Tour: Three Pods Make a Beach House in New Zealand
See how separate living and utility zones boost the beach experience on Waiheke Island
Full Story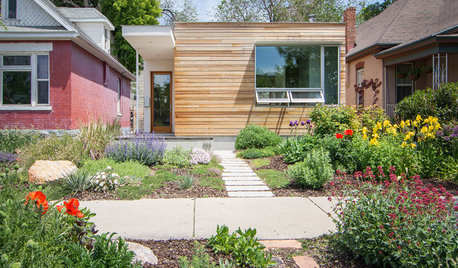
HOUZZ TOURSMy Houzz: A Modern Home Meets Its Neighbors Halfway
Its exterior proportions fit the next-door Victorians, but this Salt Lake City home has its own distinctly modern personality
Full Story


Garen Rees