


Let the games begin! Budget remodel of 65 year old kitchen.
Nicole
12 years ago


Sort by:Oldest
Comments (7)
Related Stories

DECORATING GUIDESBudget Decorator: Let’s Go Thrifting
Dip into the treasure trove of secondhand pieces for decor that shows your resourcefulness as much as your personality
Full Story
REMODELING GUIDESFrom the Pros: 8 Reasons Kitchen Renovations Go Over Budget
We asked kitchen designers to tell us the most common budget-busters they see
Full Story
KITCHEN DESIGNKitchen Remodel Costs: 3 Budgets, 3 Kitchens
What you can expect from a kitchen remodel with a budget from $20,000 to $100,000
Full Story
KITCHEN DESIGNKitchen of the Week: Practical, Budget-Friendly Beauty in Dallas
One month and a $25,000 budget — see how a Texas homeowner modernized her kitchen beautifully working with those remodeling constraints
Full Story
REMODELING GUIDESWhat’s on Your Design Wish List This Year?
Use winter days to begin planning your 2016 projects. Here’s a bit of inspiration to get you started
Full Story
REMODELING GUIDES10 Things to Do Before the Renovation Begins
Prep and plan with this insight in hand to make your home remodeling project run more smoothly
Full Story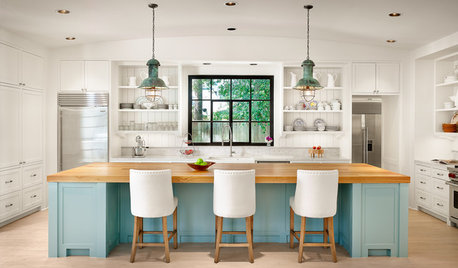
MOST POPULARHouzz TV: Let’s Go Island Hopping
Sit back and enjoy a little design daydreaming: 89 kitchen islands, with at least one for every style
Full Story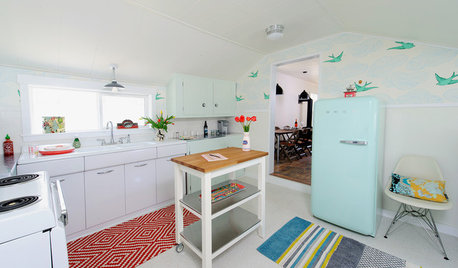
KITCHEN DESIGNKitchen of the Week: A Cottage-Chic Kitchen on a Budget
See how a designer transformed her vacation cottage kitchen with salvage materials, vintage accents, paint and a couple of splurges
Full Story
BUDGET DECORATINGBudget Decorator: 8 Ways to Make Old Furniture Look Brand New
Learn stripping, staining, painting and reupholstering basics to make bargain-basement furniture worthy of center stage at home
Full Story
MODERN HOMESHouzz Tour: 800-Year-Old Walls, Modern Interiors in Provence
Old architecture and new additions mix beautifully in a luxurious renovated vacation home
Full Story


suzanne_sl
NicoleOriginal Author
Related Discussions
Creating a budget for your kitchen remodel
Q
Just beginning remodel of kitchen...lots of ???'s
Q
Help! $2000 Budget for Kitchen Remodel
Q
March 2019, Week 2 Let the New Rain and Mud Games Begin....
Q
brianadarnell
coco4444
harrimann
NicoleOriginal Author
NicoleOriginal Author