


Backsplash Update 11/25
mmqchdygg
16 years ago
Sort by:Oldest
Comments (19)
Related Stories
KITCHEN DESIGN11 Ways to Update Your Kitchen Without a Sledgehammer
Give your kitchen a new look by making small improvements that have big impact
Full Story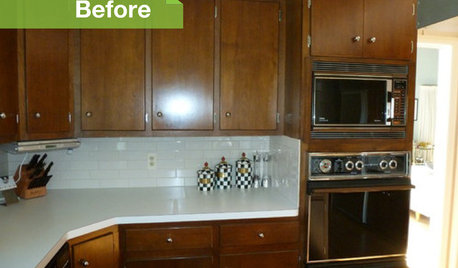
KITCHEN DESIGN3 Dark Kitchens, 6 Affordable Updates
Color advice: Three Houzzers get budget-friendly ideas to spruce up their kitchens with new paint, backsplashes and countertops
Full Story
KITCHEN DESIGNKitchen of the Week: Updated French Country Style Centered on a Stove
What to do when you've got a beautiful Lacanche range? Make it the star of your kitchen renovation, for starters
Full Story
BUDGET DECORATINGBudget Decorator: 15 Ways to Update Your Kitchen on a Dime
Give your kitchen a dashing revamp without putting a big hole in your wallet
Full Story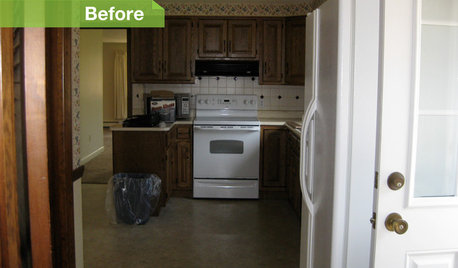
KITCHEN DESIGN6 Kitchens, 6 DIY Updates
Get inspired to give your own kitchen a fresh look with ideas from these affordable, do-it-yourself fixes
Full Story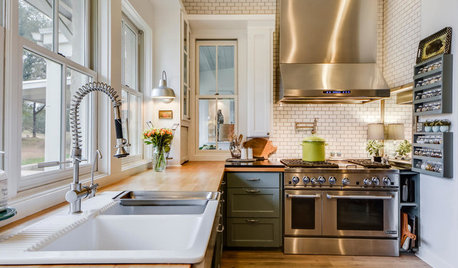
DECORATING GUIDES25 Design Trends Coming to Homes Near You in 2016
From black stainless steel appliances to outdoor fabrics used indoors, these design ideas will be gaining steam in the new year
Full Story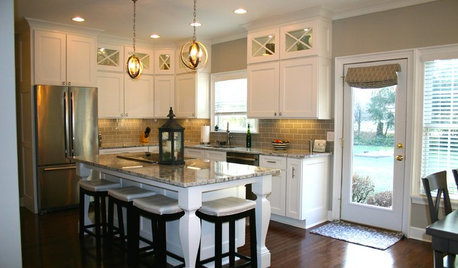
BEFORE AND AFTERSModern Function and Simplicity in an Updated 1970s Kitchen
Goodbye to retro appliances and wasted space. Hello to better traffic flow and fresh new everything
Full Story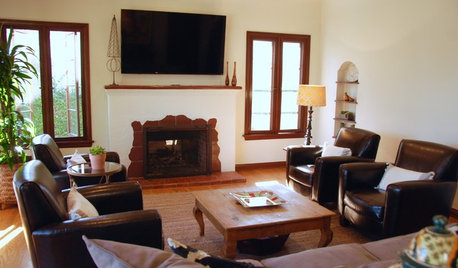
HOUZZ TOURSMy Houzz: Clean, Family-Friendly Update for a 1935 Home
The warm and classic style of this remodeled Spanish-style home is just right for a family of 5 in Southern California
Full Story
KITCHEN DESIGNKitchen of the Week: Elegant Updates for a Serious Cook
High-end appliances and finishes, and a more open layout, give a home chef in California everything she needs
Full Story
MY HOUZZMy Houzz: Charming Update for a 1920s Bungalow in Salt Lake City
Travel-inspired style and new finishes help the original character shine through in this designer’s home
Full StorySponsored
ladyronnie
nicethyme
Related Discussions
update: backsplash opinions please -- all comments welcome!
Q
How to make your own tile and back-splash (pic heavy)
Q
Back to the backsplash...
Q
Backsplash update and, Trimble or no Trimble?
Q
gretch1964
texaswild
crackpotannie
mmqchdyggOriginal Author
chickeemama
bianchi2
mmqchdyggOriginal Author
mylalaland
d3bbi
Bright199
bamasusanna
Calamity_J
nanatricia
stjohnsgypsy
Shades_of_idaho
hrsg
sunshine_funshine